| George Harmon - Dickie Tug Conversion |
|
|
|
|
|
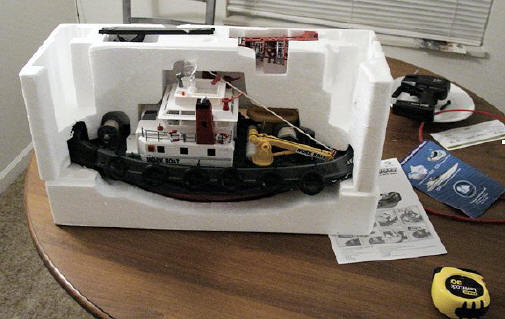
It arrived in pretty good condition with the exception of a broken handrail on the starboard side. I began the tear down right out of the box. I won’t repeat what you have already written about except for what I did (will do?) differently. My tug didn’t have the water proof tub for the electronics. It had a surface mount motherboard that is smothered in wax to water proof it. Oh well, it’s gone now… |
|
|
|
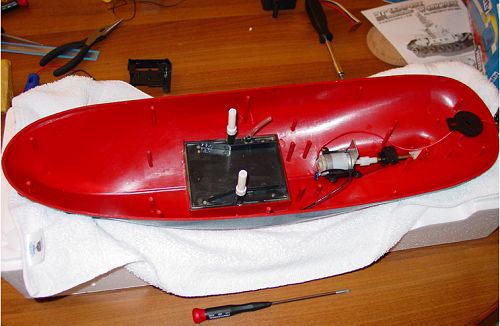
After taking the deck off, I removed everything in the hull.
|
|
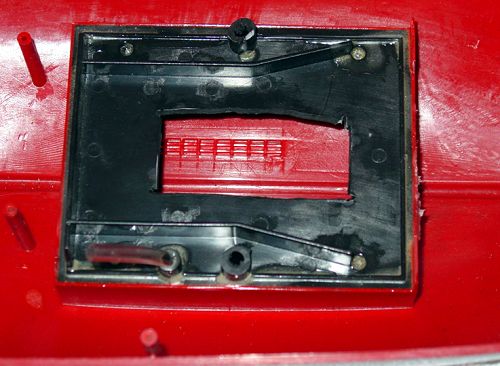
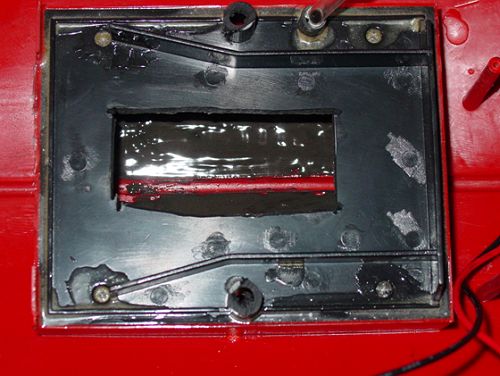
Next I cut open the water box with my handy dandy Dremel tool.
|
|
. I wanted to seal the hull to provide more stable ballast without the water sloshing around. I put masking tape on the bottom of the hull and used JB Weld Kwik to seal the interior. I will use lead shot to get the ballast I want then epoxy it in place when I have a good sea trial.
|
|
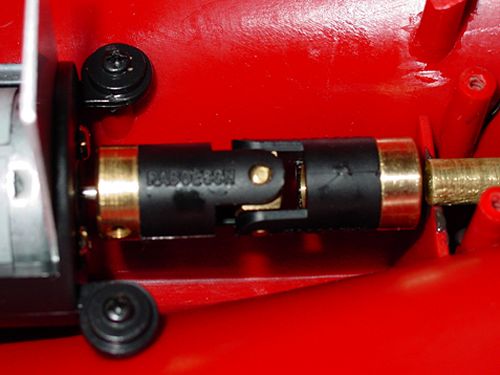
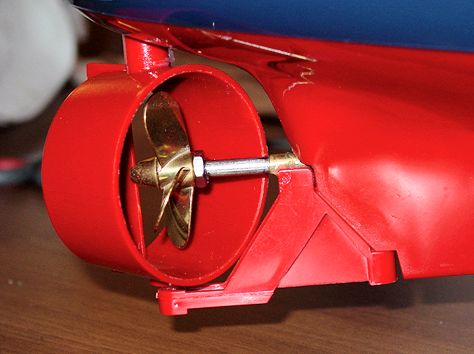
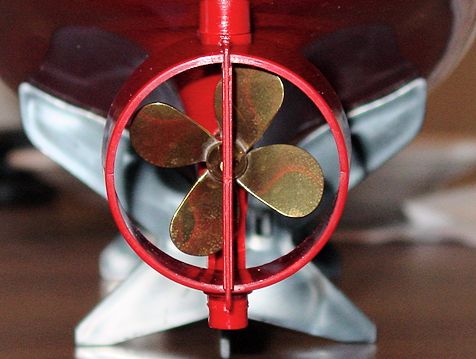
I also read on several sites that the stock dog bone shaft connector is loud and sloppy so I looked for a replacement. The prop, dog bone and shaft are pretty cheesy so I decided to replace them all. I removed the Kort nozzle, drive motor and tried to pull off the prop. It is a press fit over a spline shaft. I used a small crescent wrench and a small hammer to tap off the prop. Then I couldn’t remove the shaft. I used the wrench on the dog bone and tried to tap it off and ended up removing the stuffing tube. (Darn!) Well since it started to come out, I pulled it completely out. I made up a new tube using thin wall 3/16” ID brass tube and made a new 3/16” prop shaft. I looked around for a a replacement coupling and found the Raboesch model 160 couplings. Short, strong and they have a huge selection of sizes that you assemble. (The motor has a 2.3mm shaft if anyone needs to know…)
|
|
The clamp that held the stuffing tube would no longer fit so I used a short piece of brass tube that fit over the 3/16” ID tube as a guide and glued it in place using more of the JB Kwik. Now I don’t have to move the motor mount. The alignment is excellent on this boat.
|
|
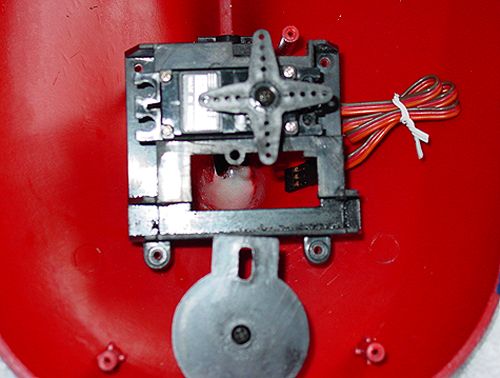
Now that the stuffing tube is done I used the original mount from the rudder servo, cut it out to mount the servo. You need to turn it upside down and space up the front end of the bracket, but it fits perfectly.
|
|
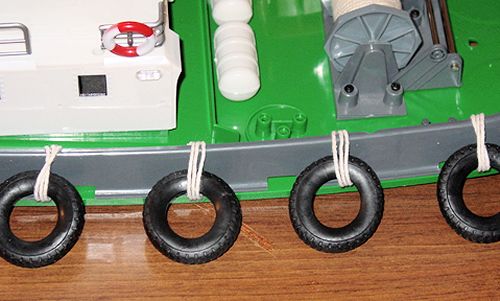
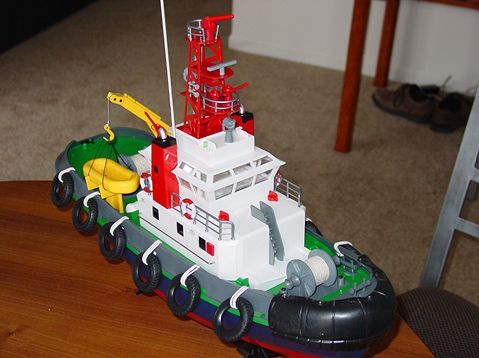
That’s pretty much where I am for the hull right now as I am waiting for my prop to arrive. I will finish cutting the stuffing tube and the shaft to length, then replace the kort tube and make the steering linkage. Some other modifications I have been working on. I hated those cheap tie wraps used to hang the tires off the side so I used some household string to make rope hangers.
|
|
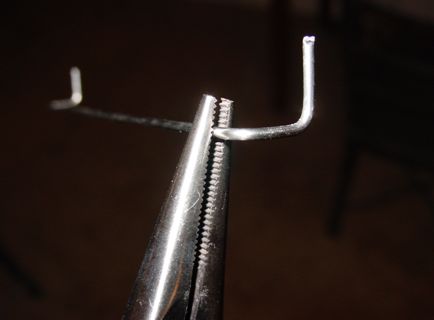
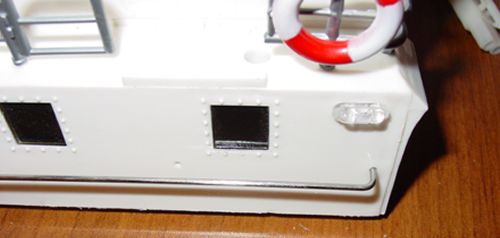
You can see the missing handrail above. I used to Tig Welder fill rod (free from a friend) to make a new handrail from some stainless steel rod.
|
|
I glued it in and;
|
|
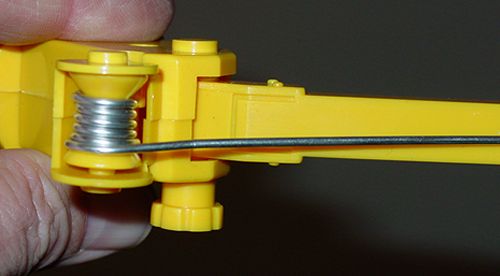
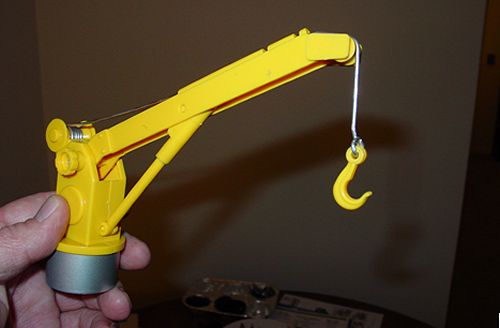
Perfect! I also didn’t like the string on the crane for the hook, so, back to my friend the welder. I got a piece of fill rod for aluminium and made a “cable” for the crane. I like it better.
|
|
|
|
Part 2
(and last)
I was able
to use the stock motor and mount in it’s original location.
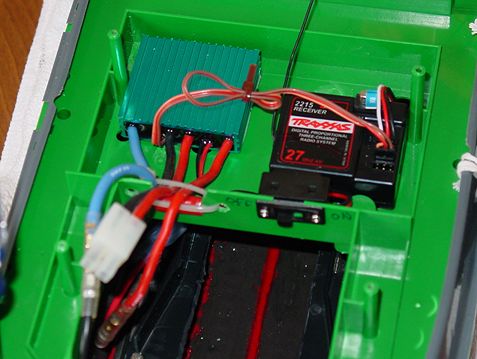
I installed the electronics under the pilot house on the main deck.
The hull is done. I hooked up the speed control and battery and ran the motor for about 30 min. An overnight float test showed that it was watertight. The battery sits in the old water well. A small piece of Velcro holds it in place. You can’t see it in the pic, but there is an inline 5 amp fuse between the battery and the motor.
Another float test in the tub showed me that it was a bit light in the stern. I velcro’d some weight there to achieve level and to make sure the prop was under water. I reinstalled the main deck and checked all the connections. It’s a good thing my girlfriend hasn’t moved in with me yet. I really like not getting a ribbing for floating a toy boat in the bath…
I cut the front bumper down a bit to reduce drag, finished installing the pilot house and now it’s ready for spring.
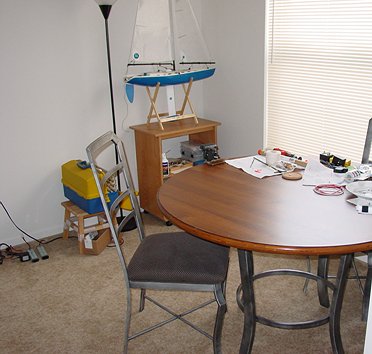
Since I am working in an apartment, and it’s a bit cold this time of year, I don’t have a place to paint, so my Dickie will have it’s launch in it’s natural colours. Maybe when it warms up a bit, I can find a friends garage to repaint it in. Below is my work area (and the sailboat is the reason I wanted the tug).
It has been
a while since I did any modelling and this was kind of fun as well as
re-teaching me a few tricks. (Not to mention it kept me off the streets
and out of trouble for 4 or 5 weekends) Since I still have several weeks
to go before spring, I ordered a Dumas Bluefish Submarine as my next
project. If anyone has any hints on building or modifying the Dumas subs,
I would appreciate an email. |