Hooray! Back up and running again! Well done Martin

Mick - sorry to hear about your bad experience.

Good that you got sorted and ended up with a proper kit.

I mentioned before that my engine hatch had a small twist in it. I had hoped to correct this with a scale-like hatch frame, but in the end decided that a straightforward solution was best. I cut a diagonal beam that had a curve in the top that pulled the hatch straight, and it then fitted just fine.

(Before I started this, I did contemplate doing a proper hinged double hatch as in the full sized boat, and even bought some small piano hinges. In the end, I decided that was for my next boat, and that this one was presenting quite enough challenges without adding to them!

)
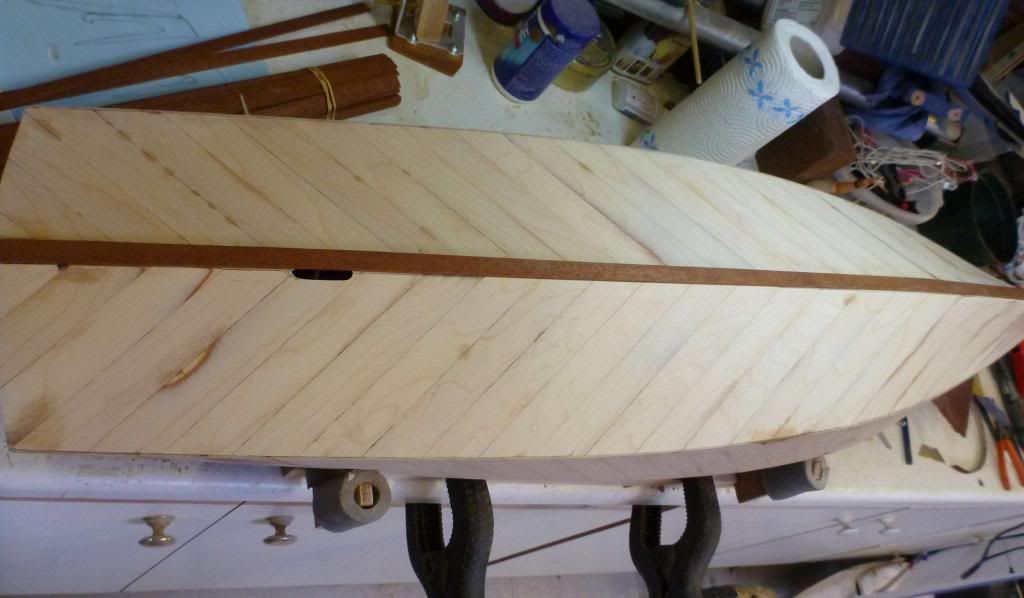
Nothing else for it, got to start the mahogany planking. The very first plank goes along the centreline and ought to be entirely straightforward. The tricky bit is deciding how much to glue down at one go. Using CA it is virtually impossible to do the whole length at the same time (and using any other glue, how do you clamp the plank in place?), and the Dumas instructions suggest doing a 6 section at a time. What they dont explain is, having got your plank partially stuck down, how you then get glue under the next section without snapping it off like I did.

Some who have done this before recommend using kicker on the CA to speed things along. I tried this on the very first section and managed to glue it crooked.

In the end I didnt use the kicker, and I put glue under the plank by squirting some CA under the plank as far as I could go while holding the boat vertical. The glue then ran down towards the previous glued section. I gently waggled the loose end of the plank to pump the glue into the joint. I then laid the boat down and held that section in place until the CA had grabbed. Heres my first plank!
When I got to the bow (I had started fixing at the stern as this looked nice and easy), the twist needed to get the plank to lie against the hull meant I did it in 2 sections rather than 6. I did use the kicker here, and found the whole bow area quite difficult to get right. It really didnt want to lie flat against the hull. In the end it did!
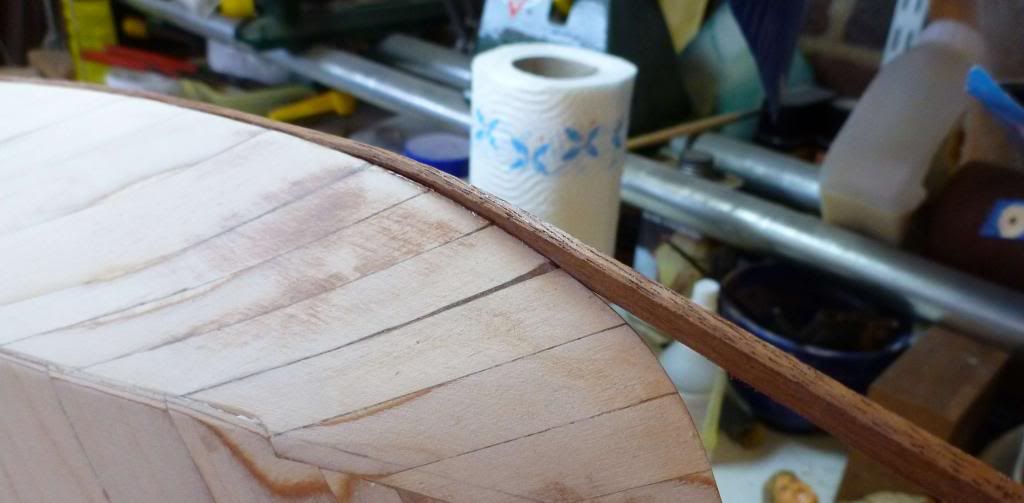
And the next couple of planks were equally annoying. There is a fair bit of twist to get into these planks in the last 3 inches or so, and I wonder if wetting or steaming would have helped. Brute force won in the end.


After this, the rest go pretty easily out to the chine. Heres the first side completed and already with some filler in the gaps!
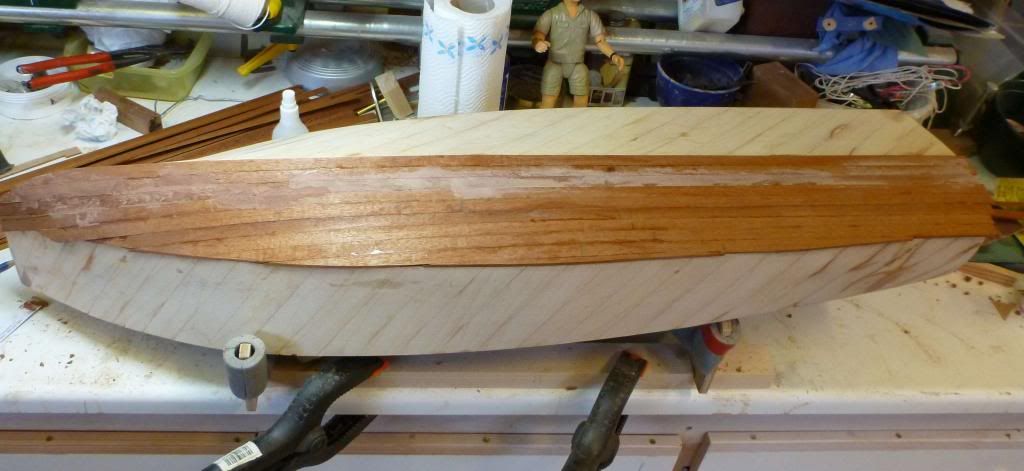
On the subject of gaps between the planks, I was using the bottom as a trial to see how well I could butt the planks together. (The bottom will be painted in the finished boat so a little filler wont notice

). I found that, firstly, I needed to scrape away any glue that had oozed out
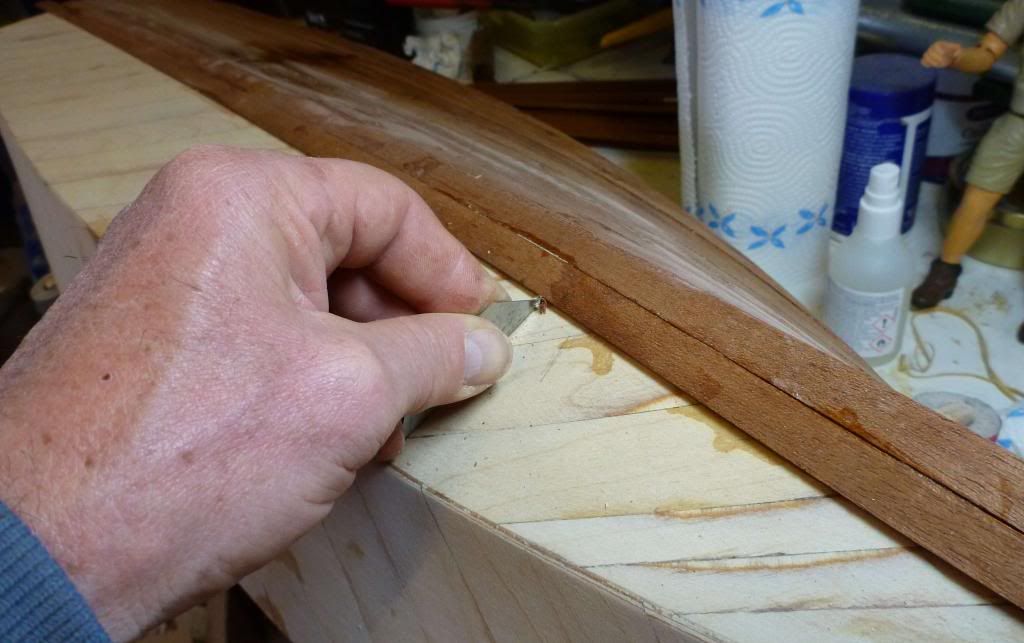
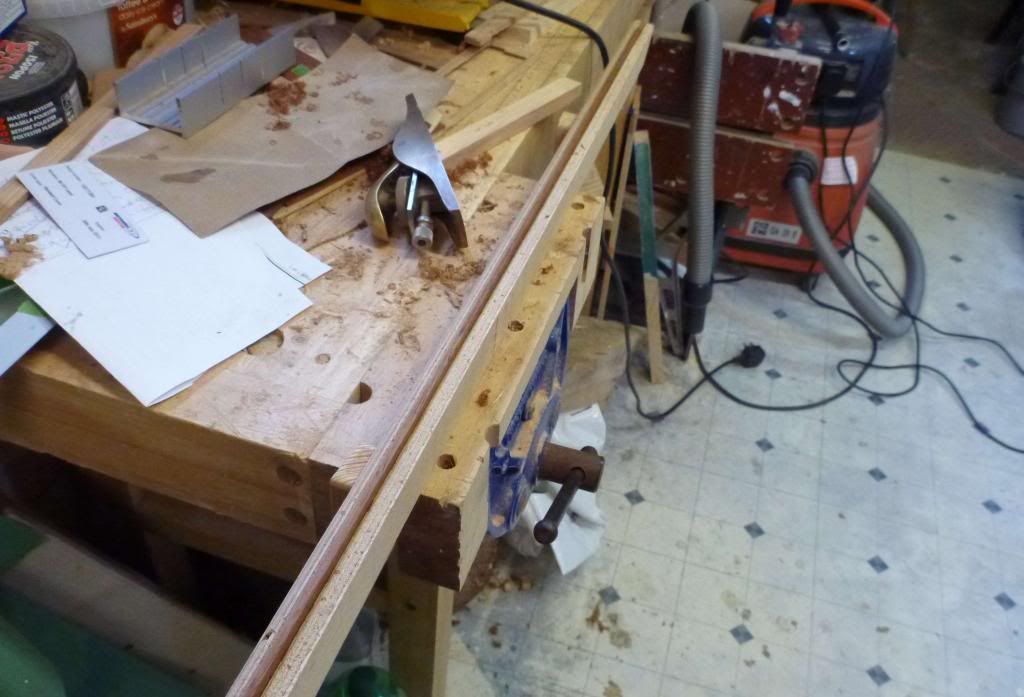
and that planing a small undercut on the plank edge helped a lot. I made up a jig from scrap to hold a plank so I could run a block plane along the edge.
The process I dont understand is how to cut the join between the bottom and side planking at the bow. The Dumas instructions and photos arent particularly helpful. The first photo appears to show the forward ends of the bottom planking sanded to a chamfered edge, but the second shows the side planking butting up to a square edge.
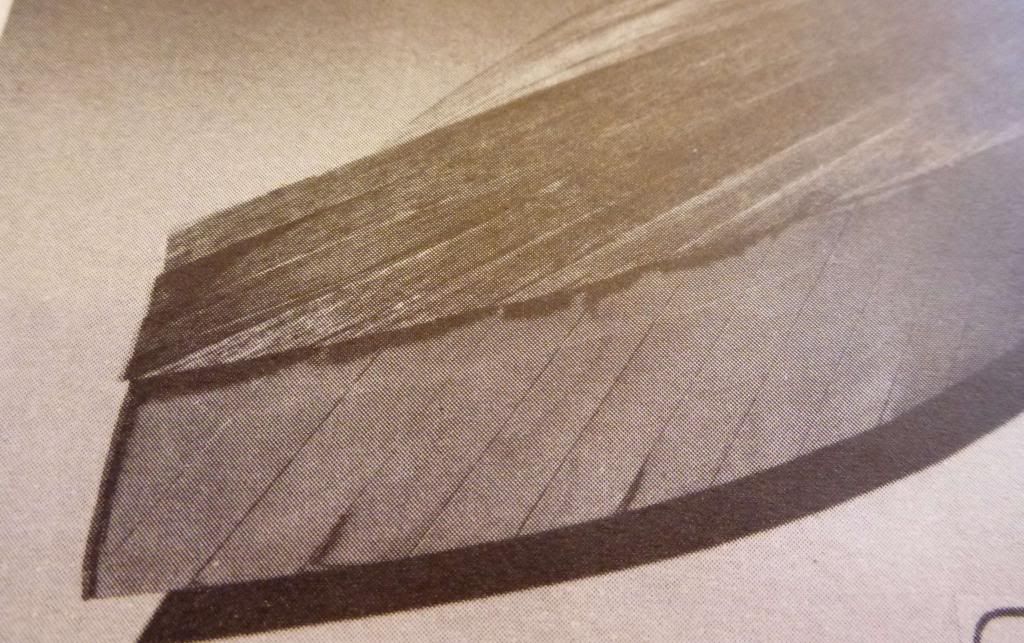
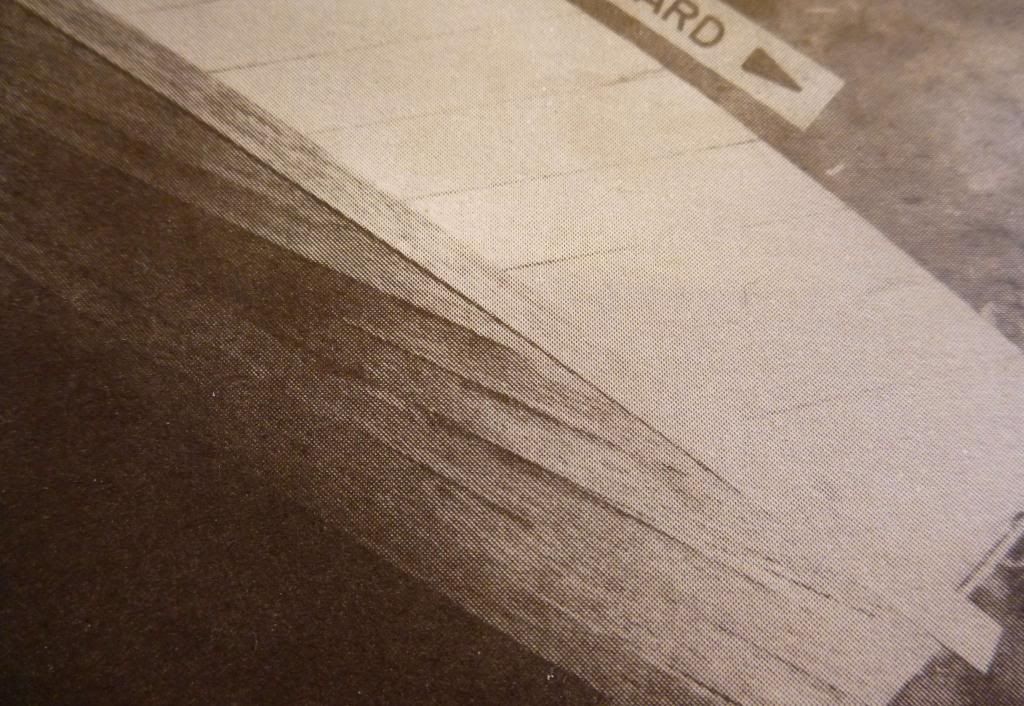
Before I go any further, does anyone have any guidance to offer? Should the meeting of the planks be an overlapping joint or a butt joint? Help!!
Greg


 Author
Topic: Building a Dumas Chris Craft Runabout kit (Read 57154 times)
Author
Topic: Building a Dumas Chris Craft Runabout kit (Read 57154 times)