The deck in this kit is plastic card so has little inherent stiffness. The instructions show a relatively sparse (IMHO) framework on which the deck is laid, so I made some additions to stiffen things up a bit. The deck comes in two pieces (limited by sheet size I guess), and I added a cross member under where the join will be in addition to the one at the forward end of the hatch.

I also added an additional central beam forward of this, under where the gun will be fixed, and a vertical support as the beams seemed quite flexible.

When I had finished the deck framework it looked like this

When I checked everything for flatness, there seemed to be a slight upward bow in the longitudinal beam so I added a brace to try and pull it down. I duplicated this on the other side as well, as it also made the long beam more rigid.

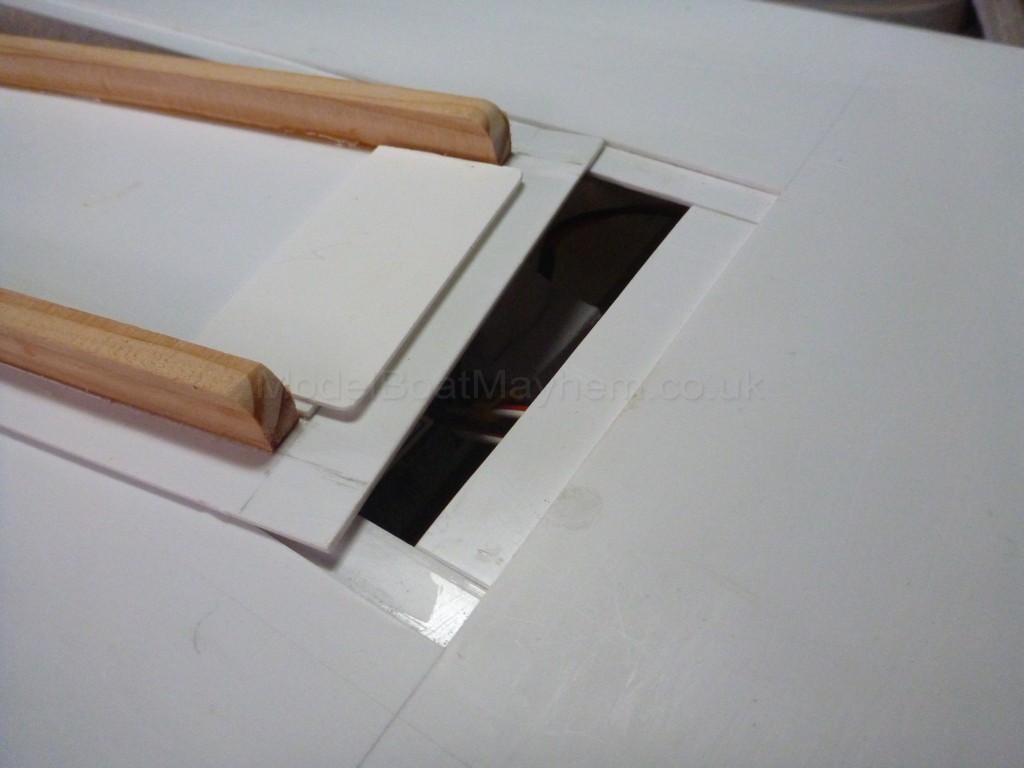
I also wanted to have good access to the rudder system in the stern. The deck as provided covers over this area and would make adjusting or repairing the rudder linkage a bit of a chore. I cut out the rear portion of the deck and made up a latch system to hold the piece in place. I don’t envisage taking this off very often, but if it ever gets messy under there, I have room to see what I am doing and swing an allen key.


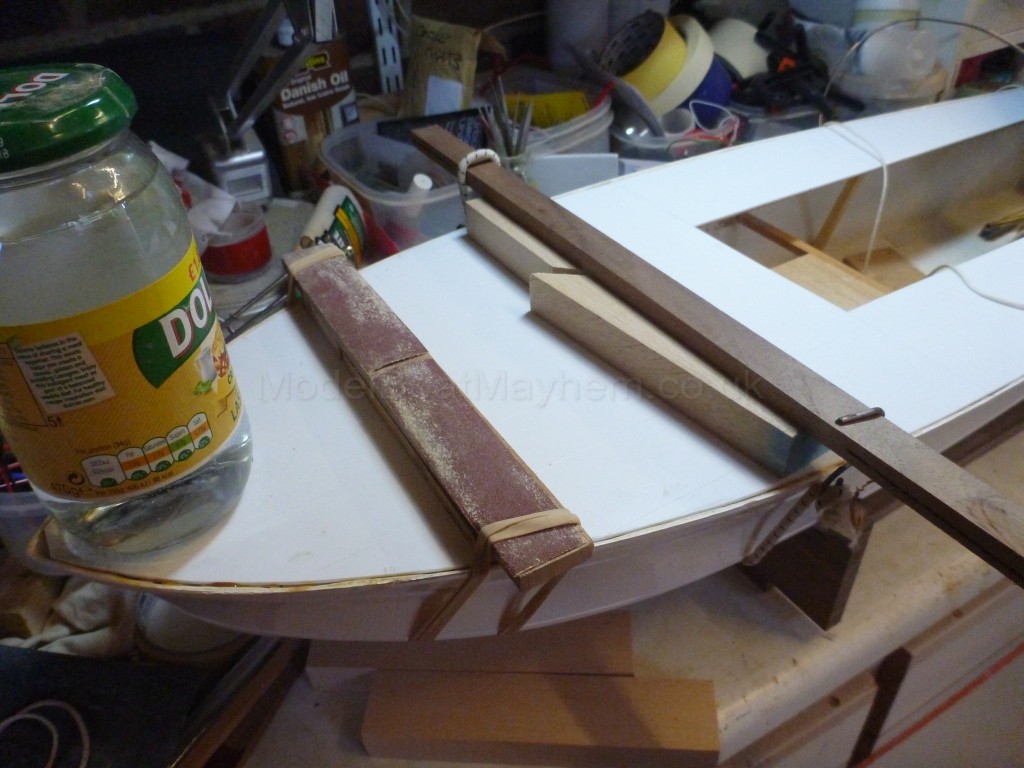
I then came to glue the deck on. Based on multiple recommendations here on Mayhem, I had bought some UHU Plus Acrylit specifically for this job, but when using it on other smaller jobs I realised that the working time for this once mixed is about 3 minutes. I reckoned I was going to need a bit longer than that to get the glue spread over all the beams, the deck properly positioned and clamped/weighted down. I did a little experiment with the UHU, Z-poxy resin, Gorilla gel superglue and Gorilla glue (the standard foaming stuff) to see which would be best for gluing the plastic deck to the wood frame. I wasn’t too impressed with the performance of the standard Gorilla glue or, to be honest, the UHU. Both broke away with relatively little pressure. The epoxy and the superglue both gave good bonds, and I reckoned that the epoxy was easier to work with (and considerably cheaper given the amount I would need). So that was what was used to glue the deck on.


There is a variable gap around the deck edge, and I filled this with a combination of Milliput and Humbrol Model Filler. I was a bit dubious about the latter as it has been knocking around for a good few years, but it seemed to do the job just fine. I used the Milliput on the larger gaps and the Humbrol where there was little more than a crack to fill.
The main hatch piece, which is laser cut so a good fit, needs some stiffening of its own. The instructions suggest a combination of wood and fabricated plastic I-beams, which seemed a bit complicated to me, so I used two pieces of nice straight wood, again glued with epoxy. When I tried it in place, it became clear that I hadn’t eradicated the slight upward bow in the deck frame and one end of the hatch piece stuck up a bit.

I could push the hatch into place relatively easily, so I made a fixing system consisting of a lip at the forward end that engages under the hatch support shelf and a couple of magnets at the aft end to pull the hatch into place.


The magnets in the hull are fixed under those little plywood ears. As an aside, if you use magnets for fixing pieces like this, but find the force isn’t quite enough to hold the piece in place, just pop another magnet under the fixed one – double the attraction!
A little more filling around the edge to catch those little bits I had missed and the basic hull is pretty well complete.

At last been out to the lake for some sailing. Unfortunately, our hot dry spring has encouraged a record crop of weed, so it's airboats only at the moment.


Still, be thankful for small mercies.

And it should have cleared by the time the MGB is finished, cos I think that might be a while yet!
Greg
 Author
Topic: Deans Marine Motor Gun Boat 1/24 scale (Read 29792 times)


