O.k. back to the radio set-up. It's quite a bit of work getting the radio gear set up correctly especially as this is my first R/C boat and I don't really know what I'm doing, I'm basically making it up as I go along. Learning as I go but having a lot of fun in the process. Anyway, I want to finish of the R/C placement so I can then get the model ready for mounting the decks, finish of the basic painting, start gluing the model together then do the weathering ready for its maiden voyage.
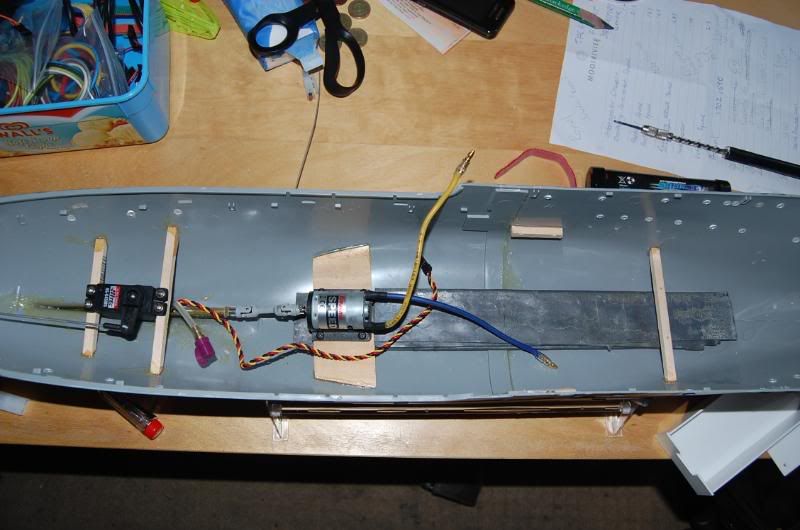
Luckily the radio system I'm using for this boat is pretty basic being a single screw boat. So I'm only doing a basic lay out for the radio gear. Here's a picture of the lead tidied away in the bottom of the hull and shows some where I have added some balsa wood to fix bits onto.
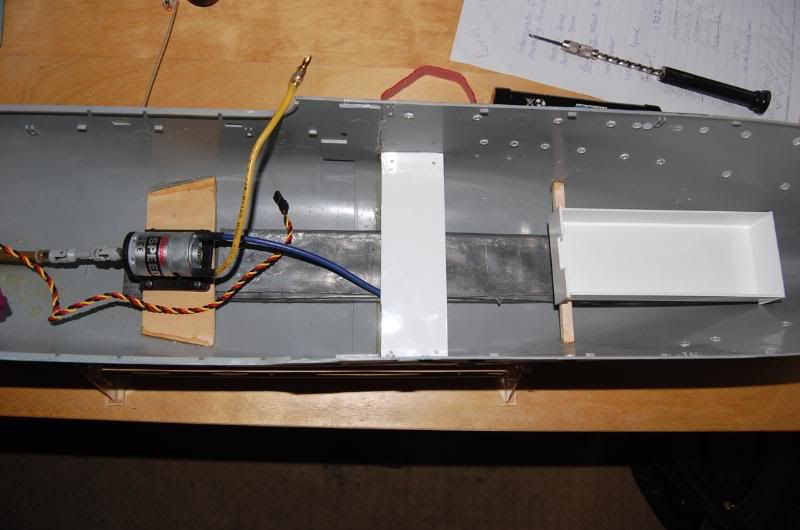
The next step was to make parts for the radio gear to sit on. I must admit I was a worried about building stuff out of plastic card as I didnt know how to cut it. As it turns out I just scored the lines then snapped it and it worked well for what I needed. So using my new knowledge I made a small box for the battery to sit in and cut a section of card for the radio gear to sit on. I then used stainless screws to fasten these parts to the balsa I had fixed to the hull. The idea is to be able to strip it out easily at a later date if I needed to.
Next up was to use Servo tape (basically a double sided foam strip) to fix the receiver and speed controller to the plastic strip. I also have some Velcro strips Im going to use to make sure nothing moves around.
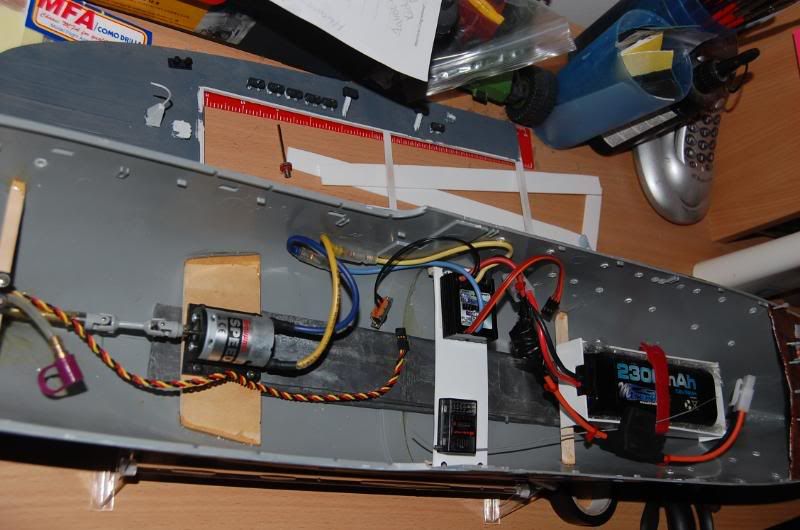
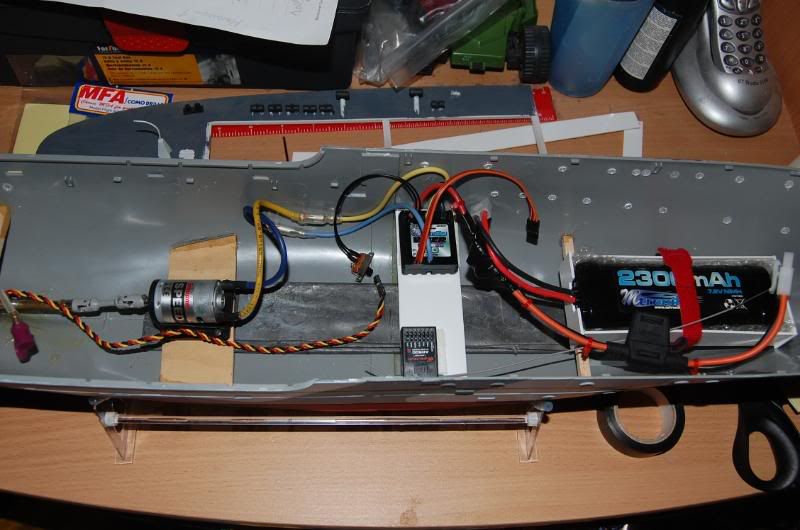
Thats the radio gear set up almost complete. I need to extend the on/off switch as I want that to be accessible via a hatch later.
The next major step for me now is to set the decks up for removable access.


 Author
Topic: Flower Corvette conversion by jonny shoreboy. (Read 29456 times)
Author
Topic: Flower Corvette conversion by jonny shoreboy. (Read 29456 times)