Thanks Kiwi

Yours and other folks' comments are greatly appreciated.
The starboard guard board plank is completed and ready for gluing to the keel.
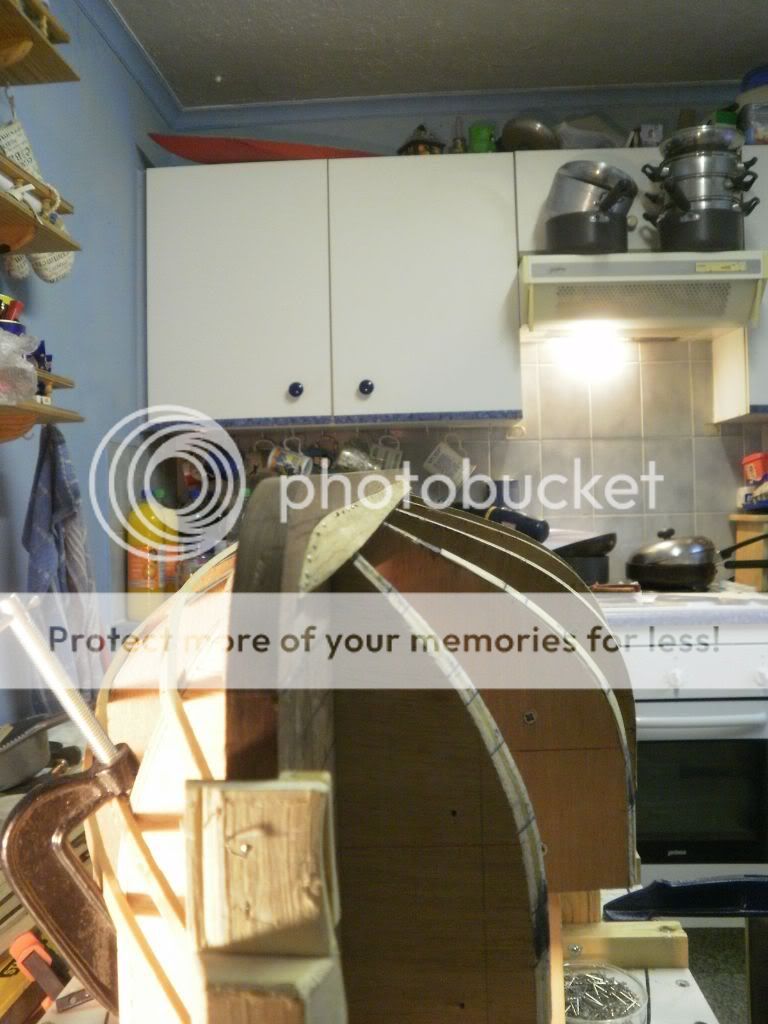
As with the port side I've pinned it in place (no glue at this stage) to make sure a correct fit and I'm pleased to say that apart from a tiny bit of fettling at the bow it's an exact copy of its sister
I cut the rabbet a tad shallower on this side and I've modified the plank rather than mess about with the rabbet at this stage of the build.
I cut the starboard plank whilst it was clamped side by side with the already complete port side in my A.C.M.E. plank clamp and planed the blank down until its edges matched those of the port side ensuring an exact pair. I will do this step with all plank pairs.


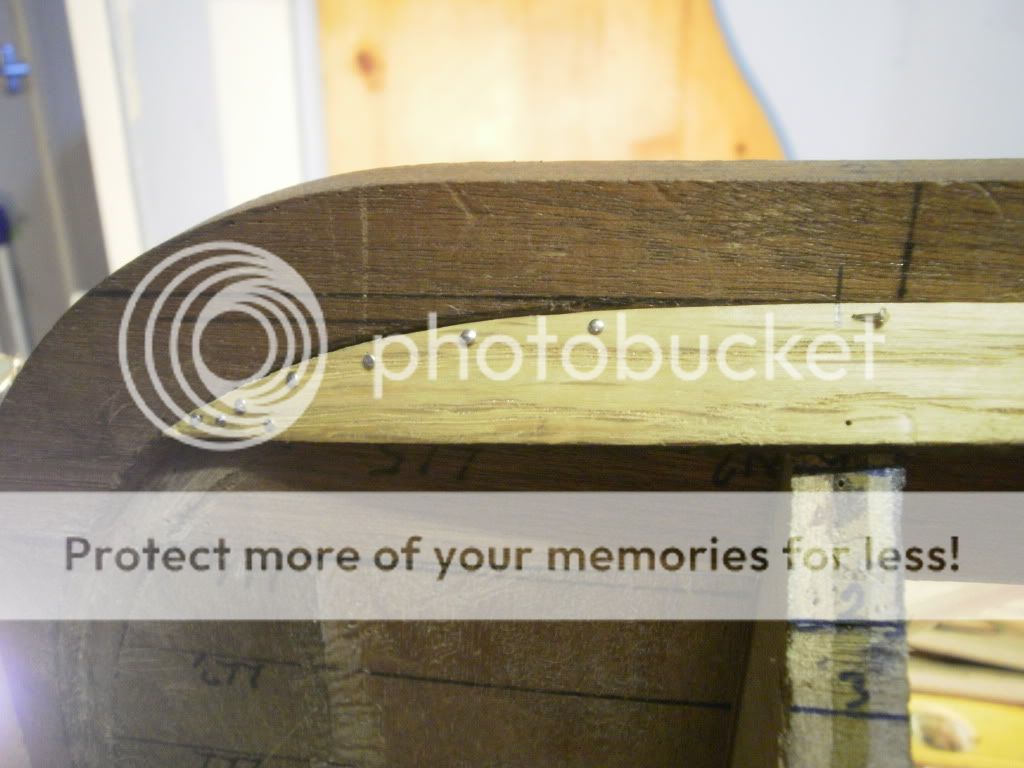
Here is the join between the forward and aft planks
Which has the caulking seam cut in the aft end but is filled with sawdust at the mo and I'm too lazy to clear it for the photo shoot!

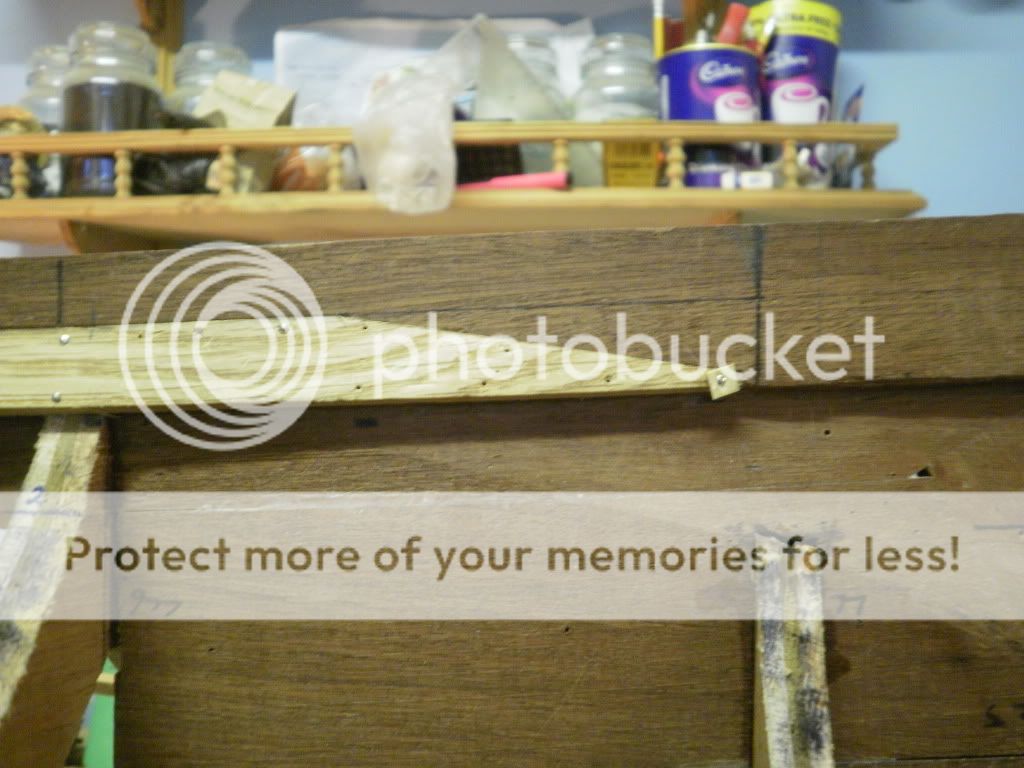
Here is the tail end of the plank . . . .
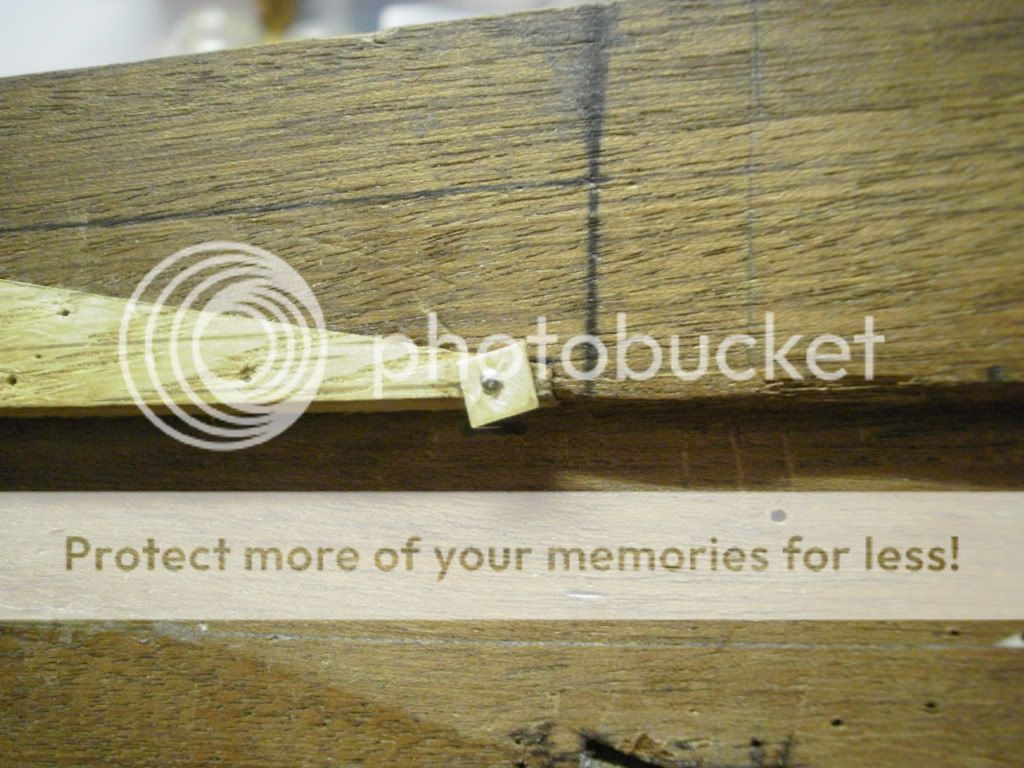
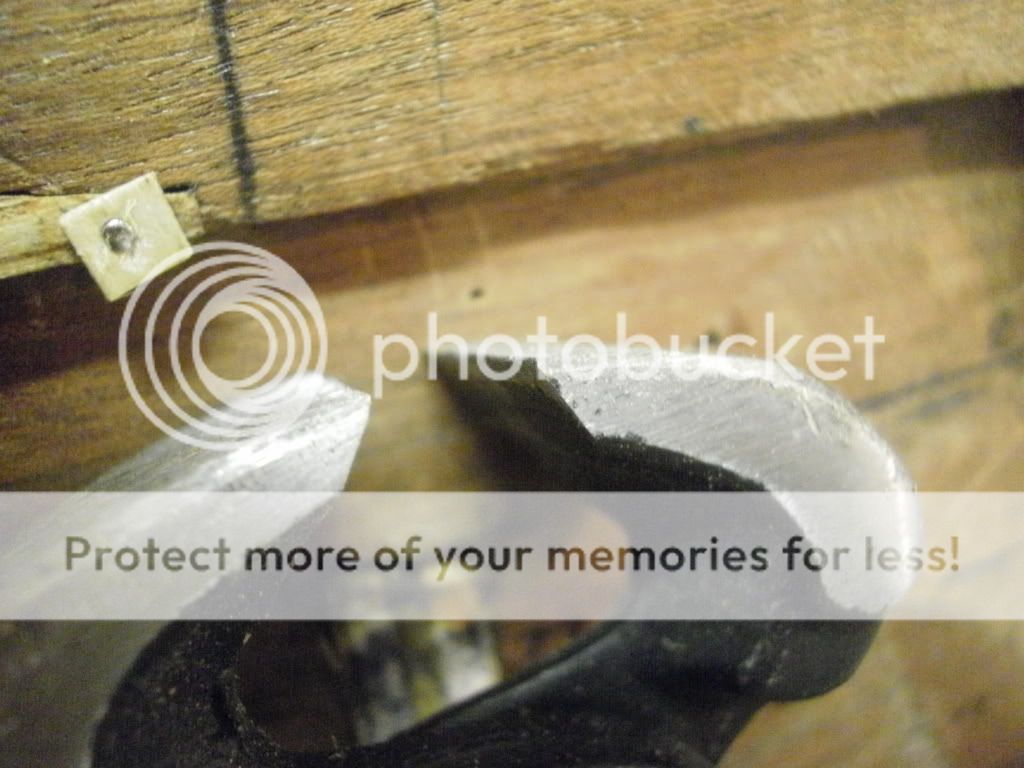
And a close-up-and-dirty shot of the nib end of the plank. The little square pad is made from scrap 1mm birch ply with a pin hole drilled at its centre and is useful for holding down delicate plank ends such as here while the glue dries. I start by cutting 5mm strips in the plywood and drilling the strips at 5mm intervals.
When I need a pad I snip it off the end of one of the strips - saves chasing round looking for tiny squares all the time as my kitchen floor has grey mottled tiles and when something is dropped - its a nightmare trying to find it!

As before, while the plank is pinned in place, I've pre drilled for all fixing holes to save time during the messy job of gluing the plank in place
At that point the pad will be split away and the pin driven home.
During a trip to the cheapy shop I bought myself some cheapo pincers . . . .
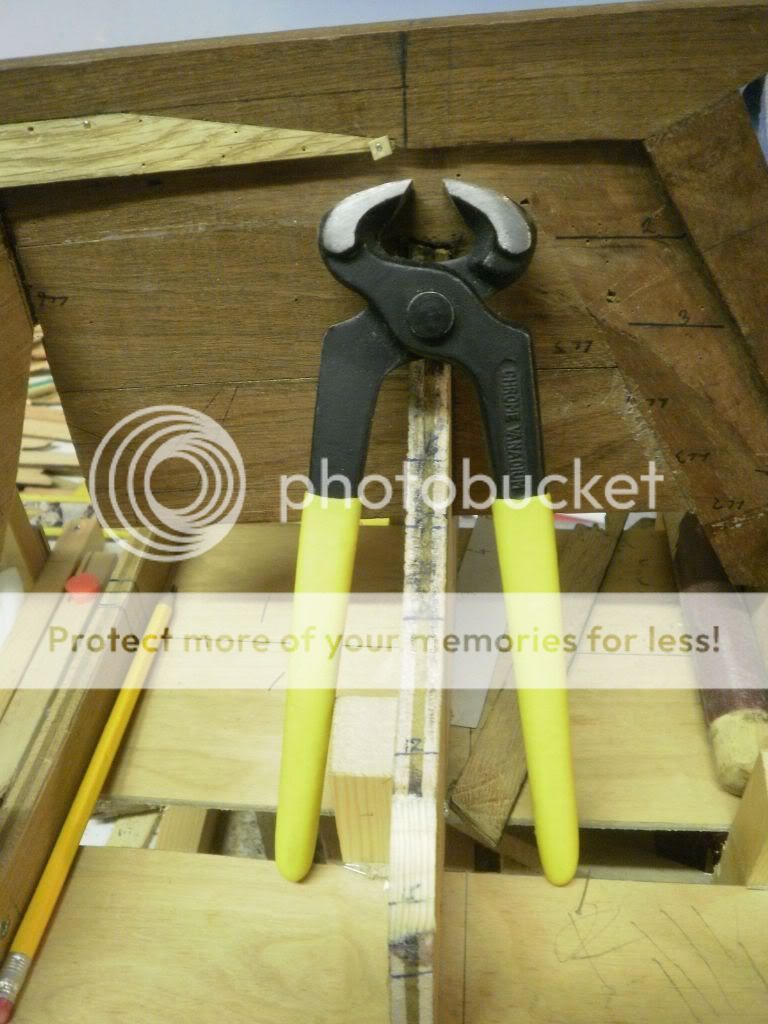
I set to with my bench grinder and ground down the tops of the jaws . . .
So that the jaw faces come to a sharp edge . . . that huge black line on the keel is actually a fine pencil line!

the wonders of modern cameras eh?
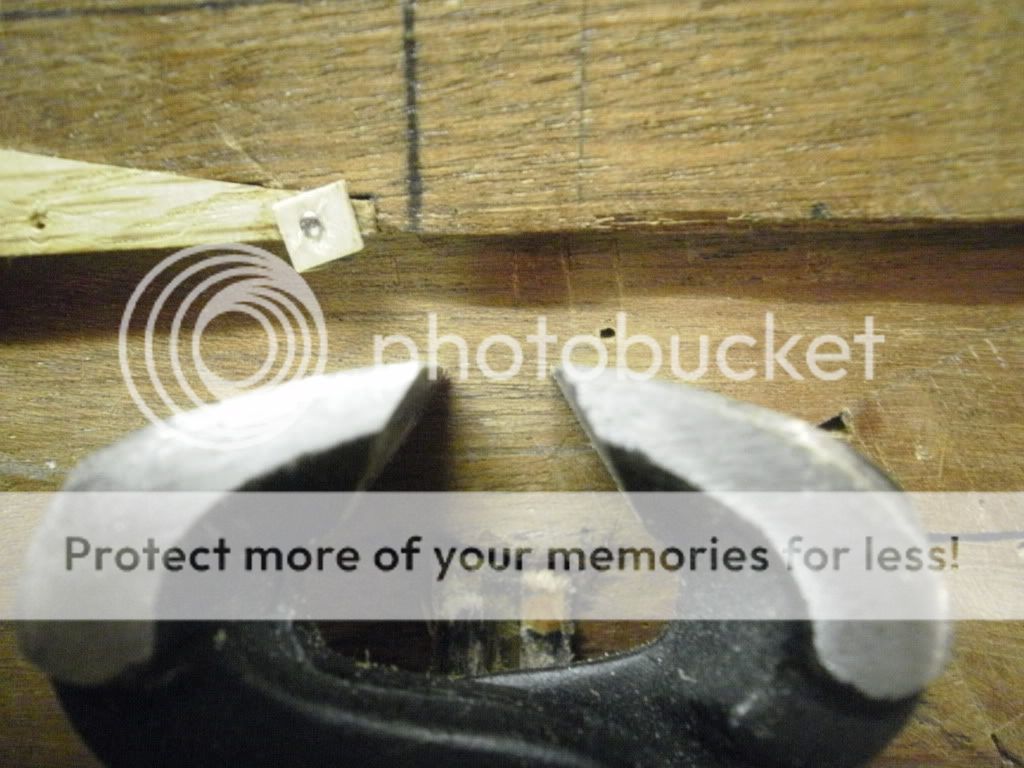
With these modified pincers I can get behind the heads of pins nailed flush to a plank surface to remove them without damaging the plank
Next I will cut and fit the 2nd plank pairs, these are the same width as the guard boards (15mm) and this width is carried right to the bow.
At the stern the plank widens out to 31mm as it sweeps up the stern post, this and the next 5 planks are cut this way to eat up the space at the stern post.
See post 144, the plank battens give you an idea of what we're looking at here.

I will be using the same procedure for making all planks as described for making the guard boards with minor variations which I will of course document

A little note here . . . . I am finding fitting these planks to the hull very easy . . . the guard boards have taken up the sharp twists at the bow and stern with no sign of splitting or cracking and I haven't needed to steam them either.
The planks are straight with no edge set . . . it remains to be seen wether this will be the case around the bilge area but we'll see . . . all part of the fun!
I must say I love working with this oak, it's hard and takes a sharp edge without crumbling, I would recommend it for planking.
So if you come across an unloved oak top table - grab it!
and convert it to planking.
But no making Grandma's treasured and polished table in the living room disappear

- not allowed


 Author
Topic: 3/4" to the foot model of Lowestoft Sailing Trawler Master Hand LT1203 (Read 104183 times)
Author
Topic: 3/4" to the foot model of Lowestoft Sailing Trawler Master Hand LT1203 (Read 104183 times)