Thank you both for those encouraging comments.


The time had arrived when I had to get this sewing thing sorted, so with my wifes permission I set up her, all singing all dancing, pretty modern sewing machine.
With a little guidance I wound a bobbin and set the threads into the machine and chose the stitch pattern; a simple single, in line stitch, at about 12 stitches to the inch.
Then with a piece of material I started to sew: - Hell! the thing almost took off!!

I managed to stop and found I had stitched a row about 5 long in no more than 5 seconds.
This was not controllable! The foot control was far too sensitive for me to handle. At least I had managed to keep my fingers away from the needle area.
 Plan B
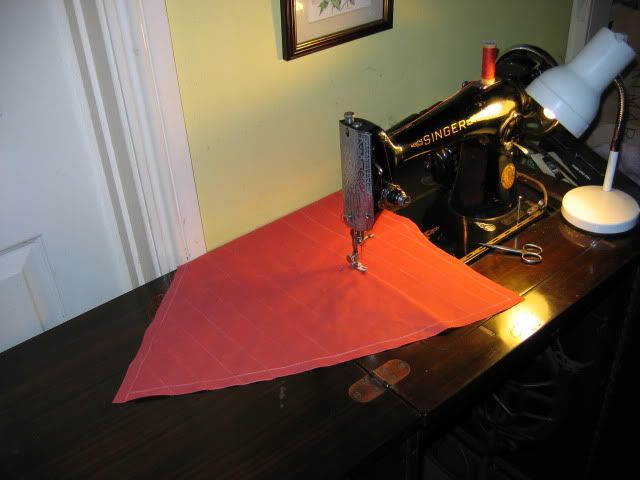
 My mother had a treadle Singer sewing machine in a cabinet. About 50 years ago she bought a kit to convert the treadle machine into a motor driven machine, and as an apprentice engineer at the time I was the one chosen to fit it. It was quite a straight forward job, as I remember.
This machine has been in my possession since my mother passed away 10 years ago and has been acting as a hall table, as it is a nicely polished piece of furniture.
Wow! After setting it up and winding a bobbin (good, solid stainless steel thing, - not clear plastic) I threaded the machine, using the instruction manual still in its clip in the door, and started to sew another piece of material.
What a dream to use. It ran quietly and smoothly like a sewing machine!

Easily controllable from a snails pace to pretty fast.
A little bit of confidence arrived then.
Lets go back a few days.
I had set the rigging up with temporary fixing, to hold all parts in the proper position and measured the sizes the sails needed to be. (Dont use the sail plan drawing it will not be accurate enough!)
From these measurements, I cut brown paper dummy sails and tacked them in place with masking tape. After a few minor adjustments I had the boat carrying a set of brown paper sails cut as the finished size of the completed sails.
Sorry. I didnt take a pic at this point.
Using these templates I transferred the sail outlines to the sail material, using tailors chalk.
The material used for the main, mizzen, topsl and jib, was the sail material; brick red sailcloth supplied by Modelling Timbers. For the inner and out staysls I used an old sheet (previously used as a dustsheet) dyed with tea. These are meant to look like natural canvas, as they were not treated with red ochre and not left rigged. (They were normally used only used in reasonably light winds when sea-going.)
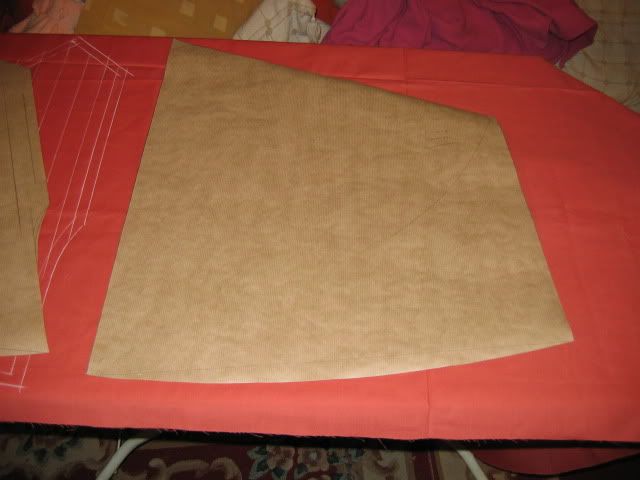
I marked on the cloth lines at the correct scale widths (32mm for mainsl topsl and jib, and 30mm for inner and outer staysls and mizzen) then marked out a suitable (12mm) width all round to allow for the double hem required all round the sail edge.
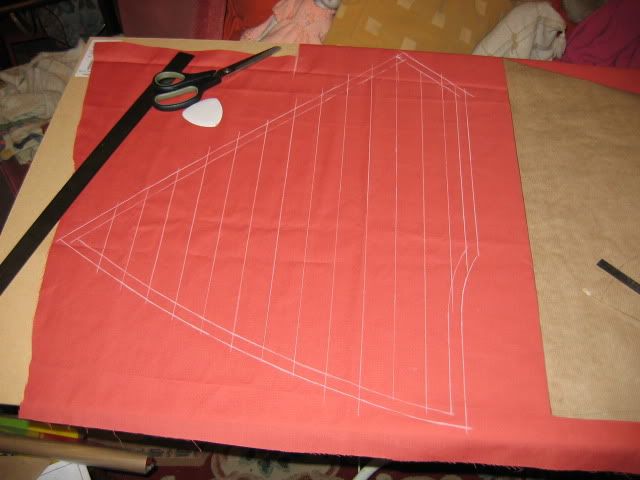
Carefully, I cut the sails out and the first thing to sew is the cloth lines. These lines were sewn, starting and ending, off the cloth. The loose ends were tied carefully and snipped off. If these cloth lines are not sewn straight and parallel and equally spaced, they will stand out like the proverbial sore thumb.
The hems, doubled, were then sewn, stitching very carefully, about 1mm from the inner hem edge. This provided pockets along all edges where I could insert any weighting needed into the sail foot and also mainsl top stiffener.
After several days I now had a set of sails, which looked good, but were missing a vital part of the sail.
Bolt rope and cringles.
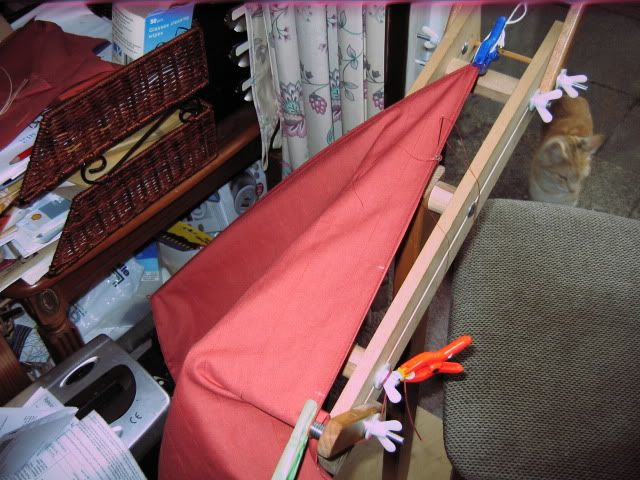
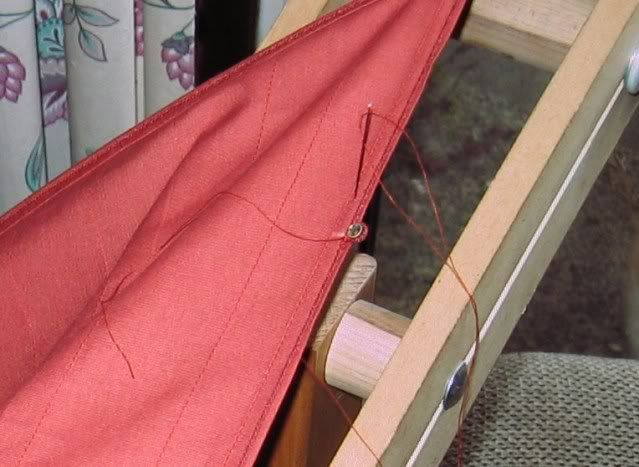
Then came probably the most tedious part of this build; Hand stitching the bolt rope to the sail/s
I used a loom (normally used for bead work) to hold the sail and rope in line whilst sewing it on. I put it close to the window for maximum light.
It was straight forward to do, just remembering to lay the stitches into the lay of the ply of the bolt rope and to let the blood flow stop, (after sticking the needle numerous times into my finger), to ensure that the sail doesnt get blood spots on it.!!!
I did manage to sew my finger to the sail at one point, but I was able to release it using a scalpel (On the skin of my finger! NOT the sail!)
The cringles were sewn in at several points on each sail, at all corners, and on the mainsl leach for braille ropes.
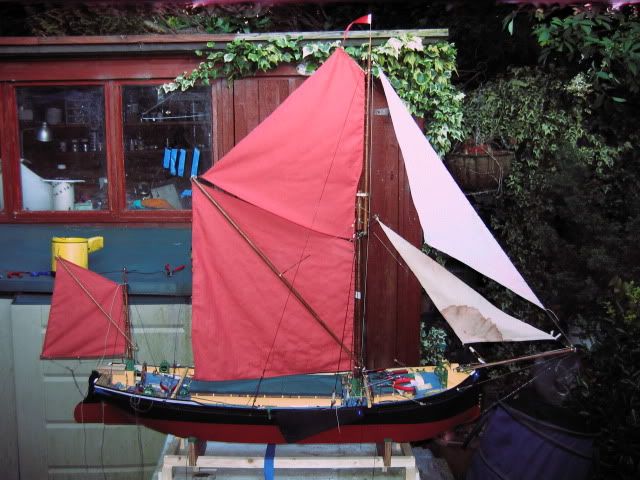
.......Sails on

neary there just the jib to add

The stain on the inner staysl wasnt intended. It appeared after staining with tea. There must have been something on the dustsheet, probably wallpaper paste, which didnt show until after staining.
I left it on, as I looks a bit like an accident with the staysl when in storage??? Well, to me it does.!!!
 DONE !!!
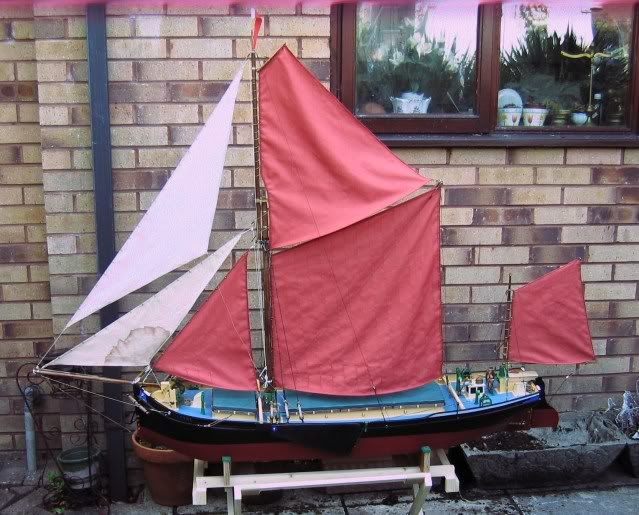
The eagle-eyed of you will also notice that I have added reefing lines to the main and jib. Just a little more realism!
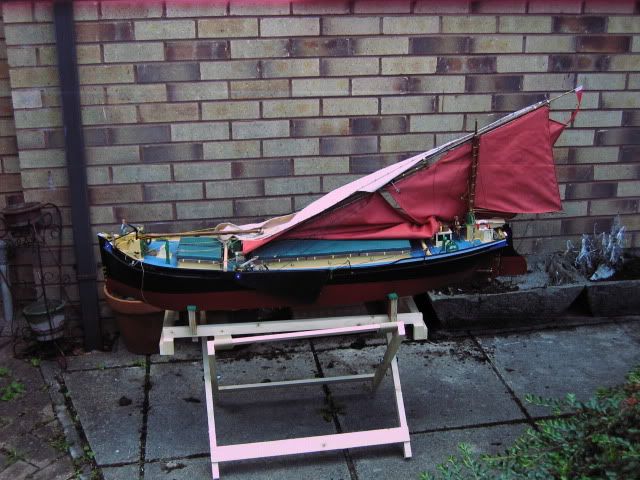
The reason I have yet to fit the braille ropes is; until I have had a few goes at raising and lowering the full rigging, I am not sure whether they will be a hindrance or not.
She does fold down to a reasonable size which enables her to be transported in the vehicle, so I dont have to make a trailer for her.

But I shall be making a storage box; 54long x 14 wide x 24high.
Those of you who know these vessels will have seen, if you look closely, a significant mistake I made with one of these sails.
I will rectify that mistake soon!! No prizes for finding it, just the satisfaction!

No! I haven't painted the boat stand - PINK - it's an unwanted camera effect probably a reflection from the sails.

This is the next to last posting for this build.

Later I hope to add a post of Daphne on the water; assuming of course there are no mishaps and she does sail.


 Author
Topic: Getting to grips with Lady Daphne (Read 19589 times)
Author
Topic: Getting to grips with Lady Daphne (Read 19589 times)