Those who had the patience and fortitude to follow this log as I built the launch will recall the small issue I had with the foredeck lifting. Although I had a go at fixing it, the mend never really worked, and each time the boat was used the deck seemed to lift a little more. As winter approached I decided that I would have to replace the deck. Having made the decision, I - did nothing!

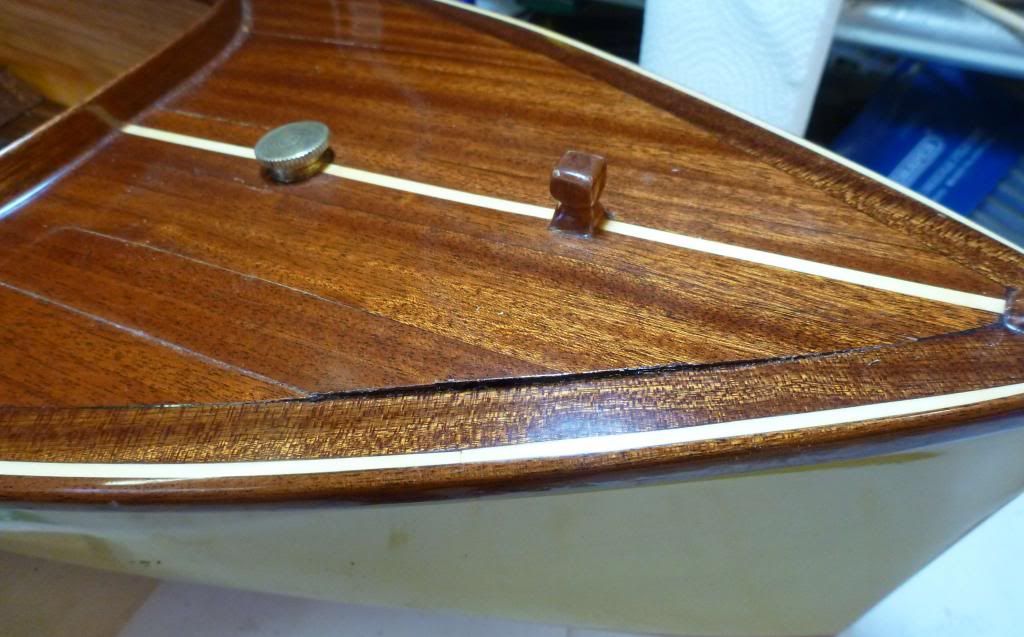
That is until just recently, when the promise of some better weather prompted me to get going. This is a mainly pictorial record of how I did it. Fortunately I still had enough (just!) of the wood I used for the deck to prepare another foredeck-worth of planks. Here's what the deck looked like at the start -
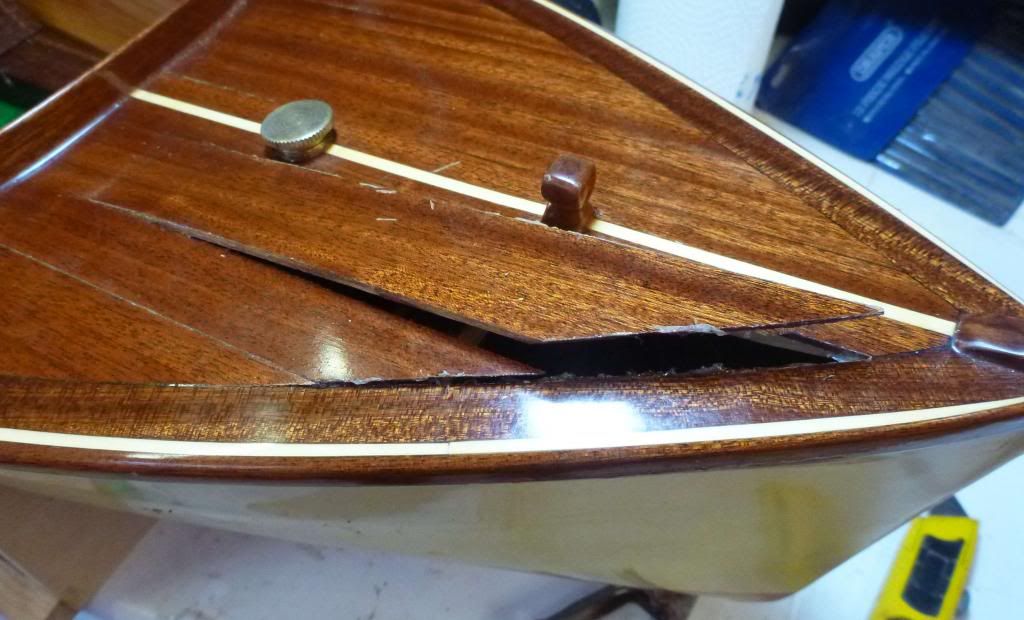
and here is the first painful breaking out of the deck

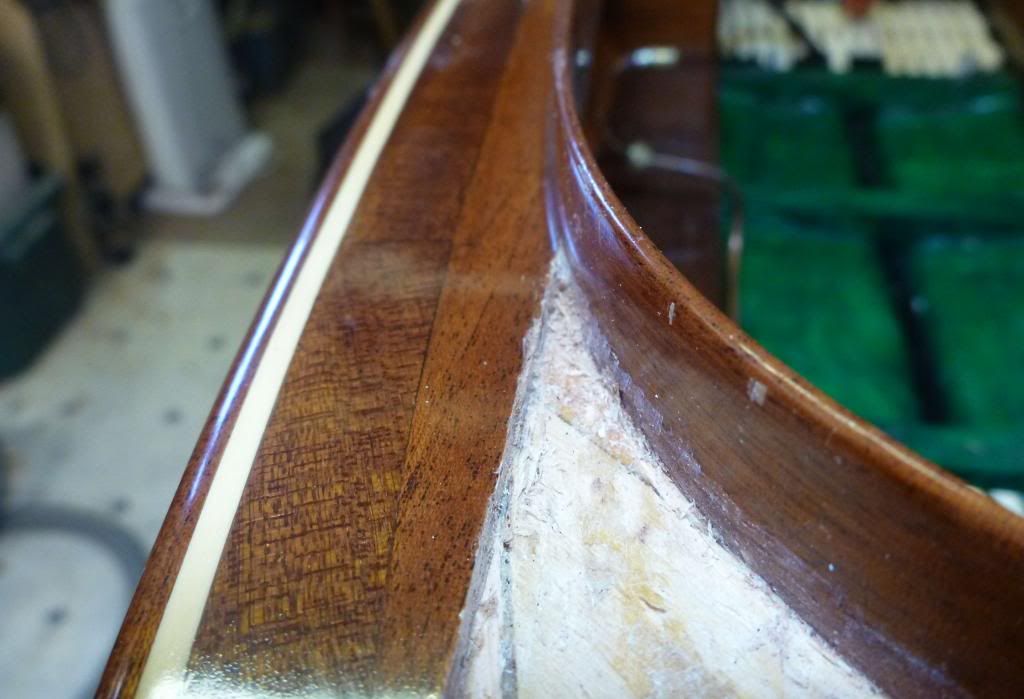
Getting a neat job in the corner took a while - lots of picking away of tiny pieces.
Then it's just a matter of being fairly brutal and ripping the deck off piece by piece

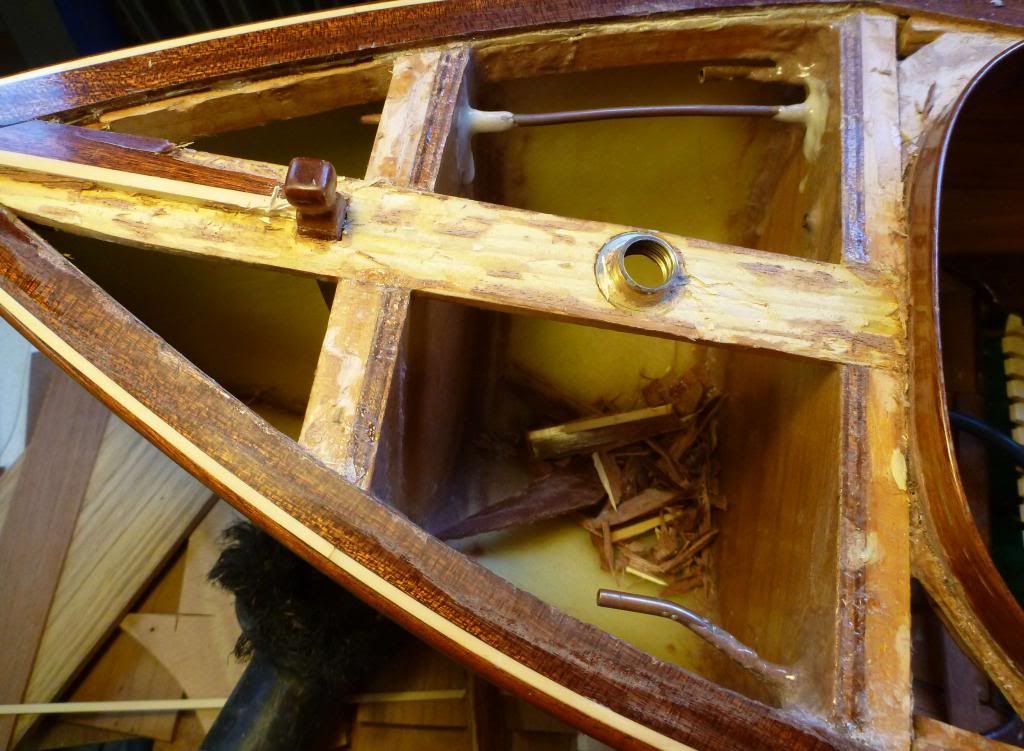
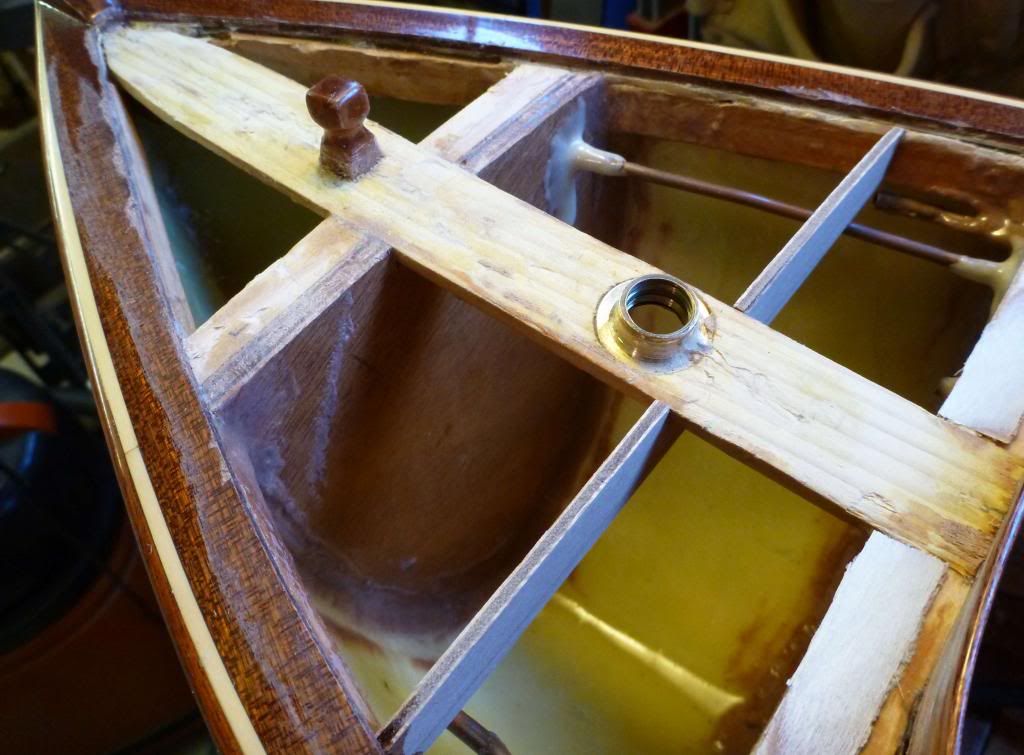
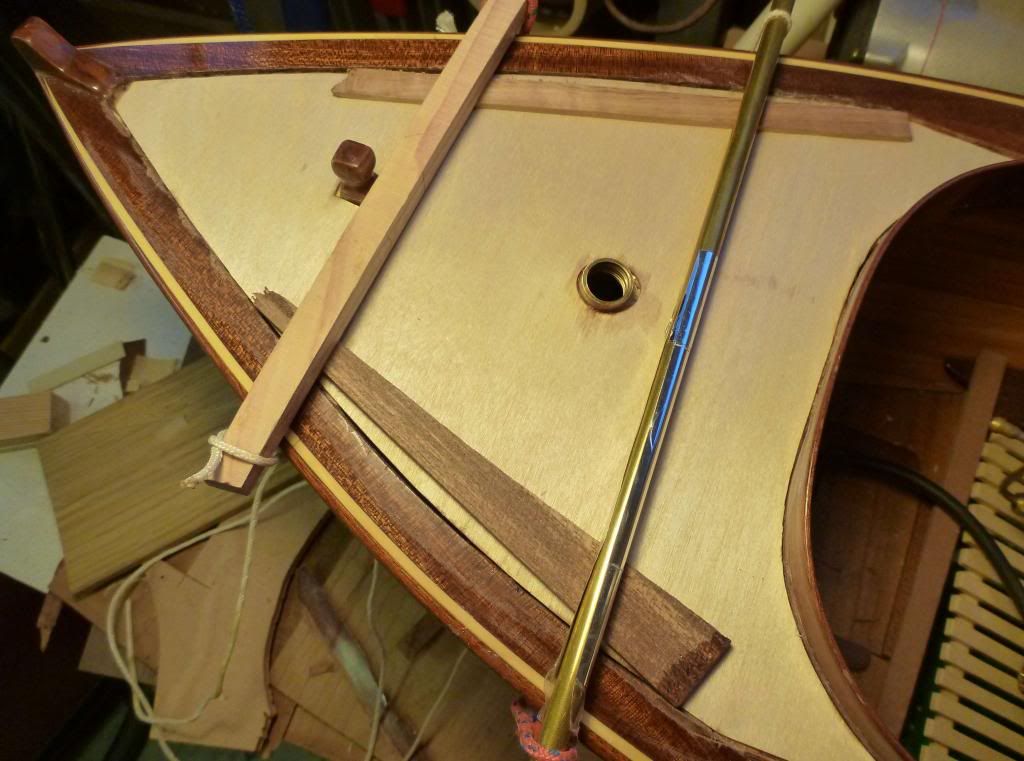
The old foredeck wasn't really supported well enough (which might have been part of the original problem) so I decided to add another deck beam and put in a ply subdeck before putting the planking back. Here is the new beam just behind the filler cap -
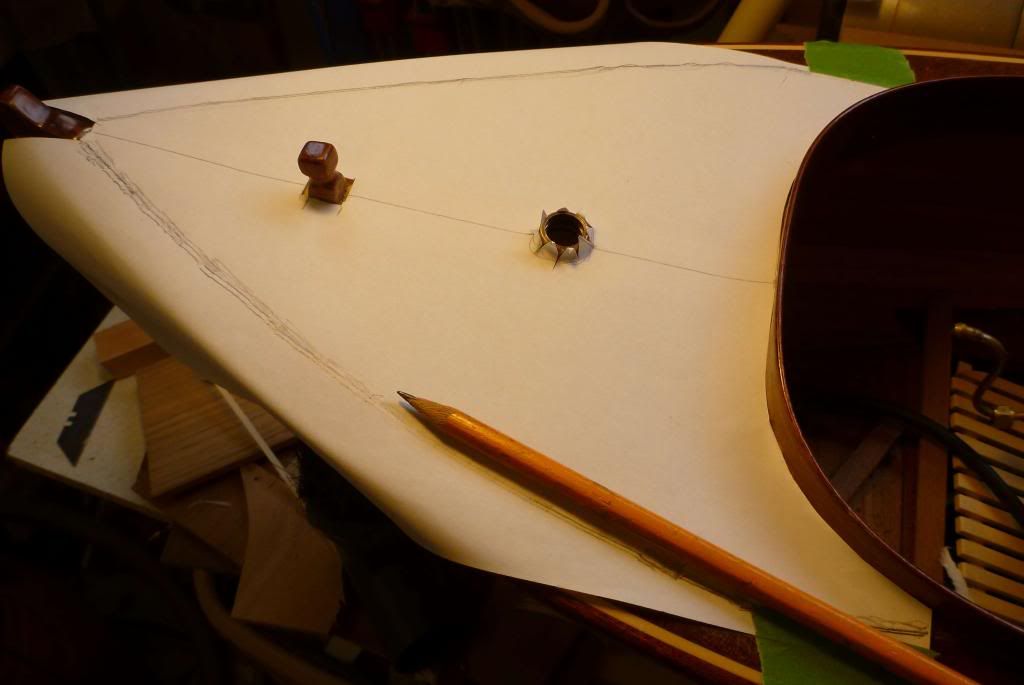
and here is the paper pattern being traced for the subdeck -
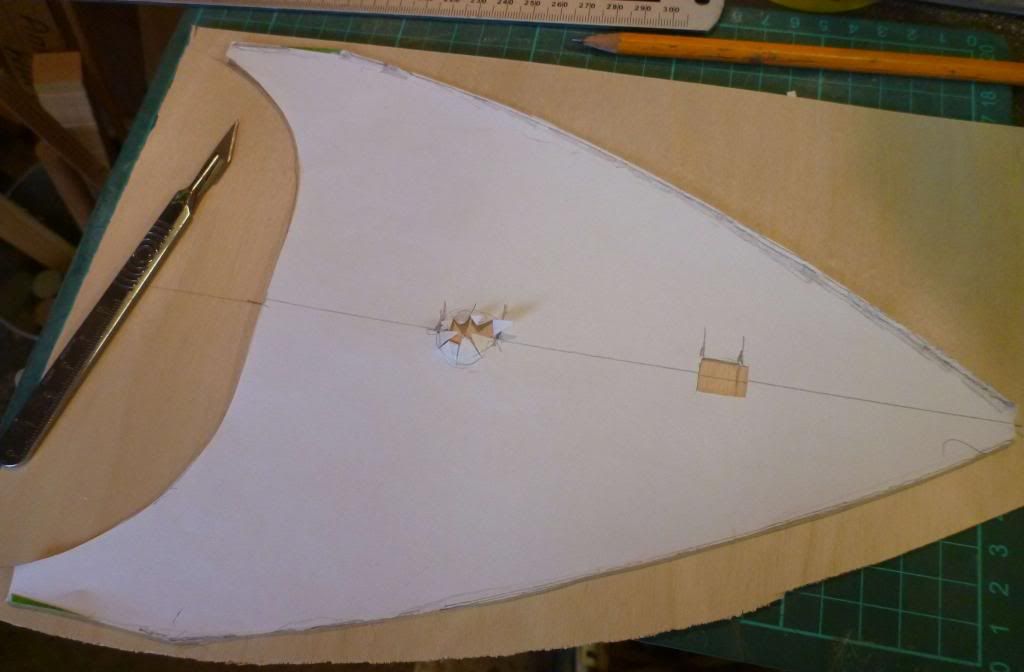
The pattern is transferred to the ply - 1/32" because that was all the shop had when I went in

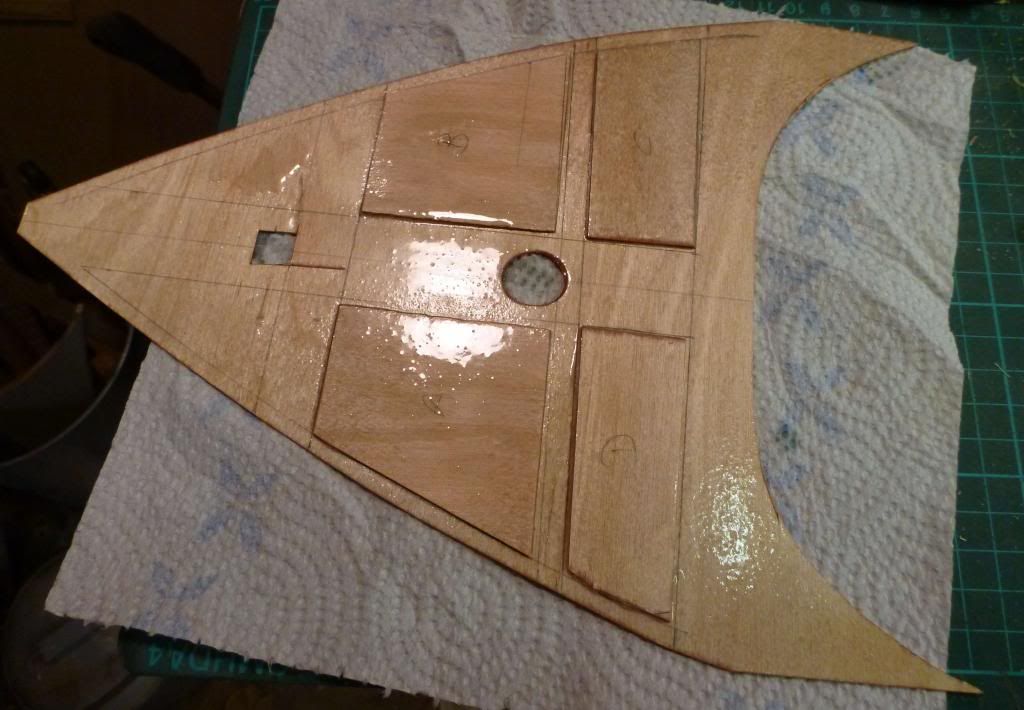
I though that the ply probably needed a little beefing up over the large unsupported areas, so I added the panels you can see below, then epoxied the underside of the deck.
The subdeck was then glued in place.
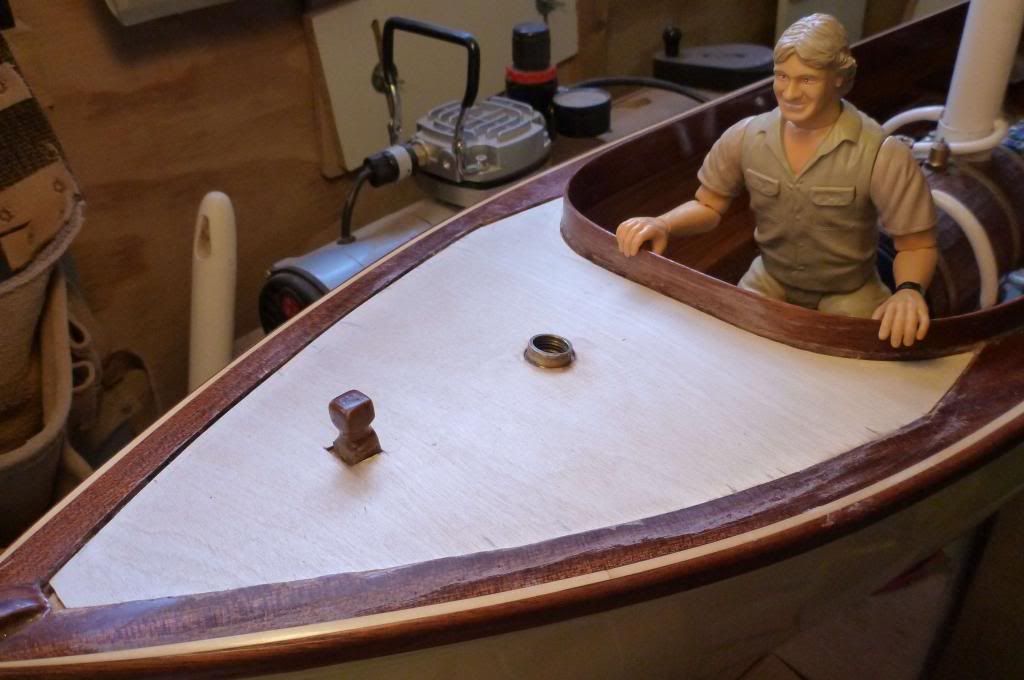
Crikey! Steve looks happy with it so far

To get the holly centre strip and the adjacent planks fitted around the filler cap and samson post, I stuck the pieces down to a scrap of wood with double sided tape -
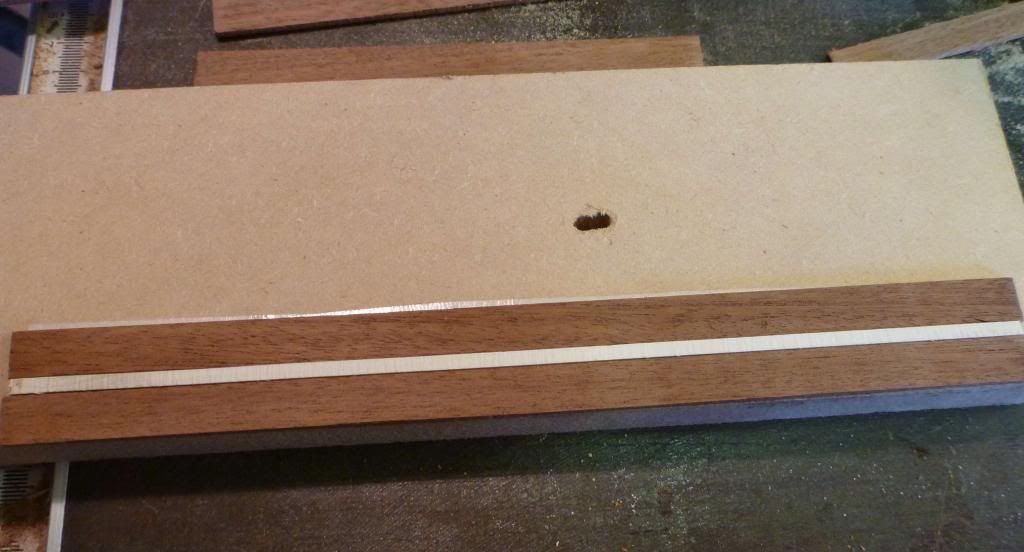
then after some careful measuring (I used digital calipers and made quite a few measurements until I was sure it was right) I dtilled a hole for the filler -
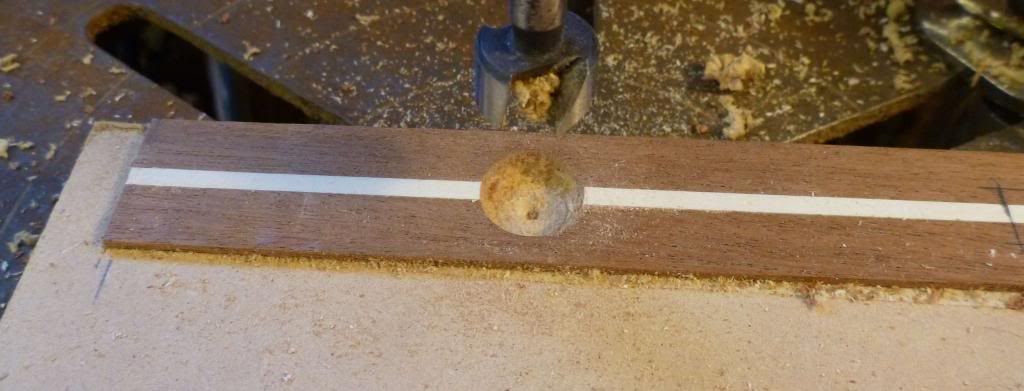
and squared off a hole for the samson post.
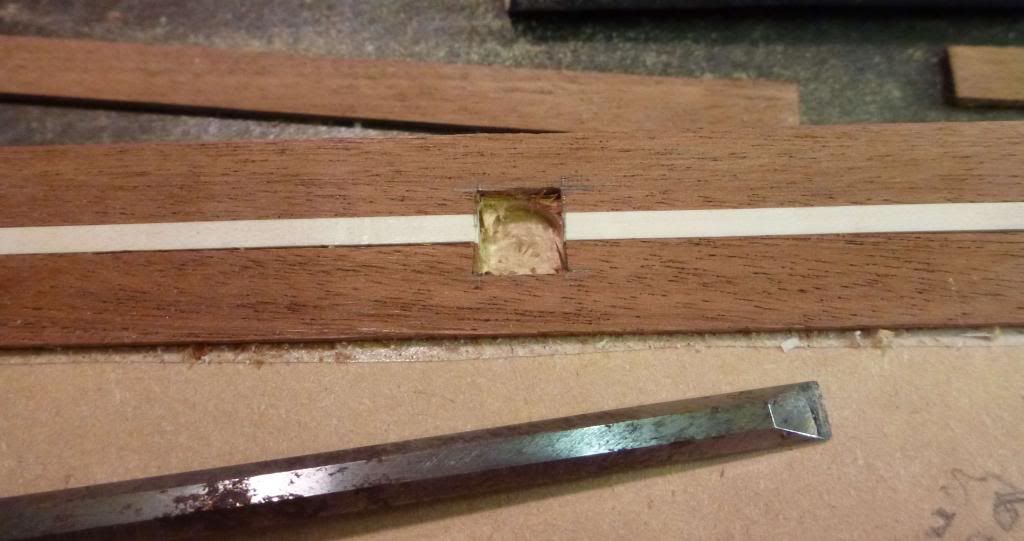
The pieces were pulled off the tape and were ready for final trimming to shape. I was pleased and relieved that everything slotted neatly into place

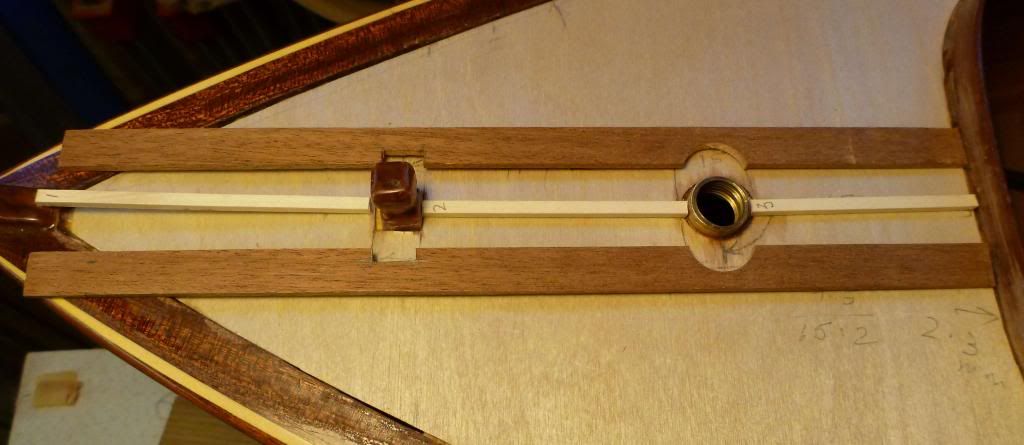
After that, it was just a question of cutting, shaping and gluing, cutting shaping and gluing......
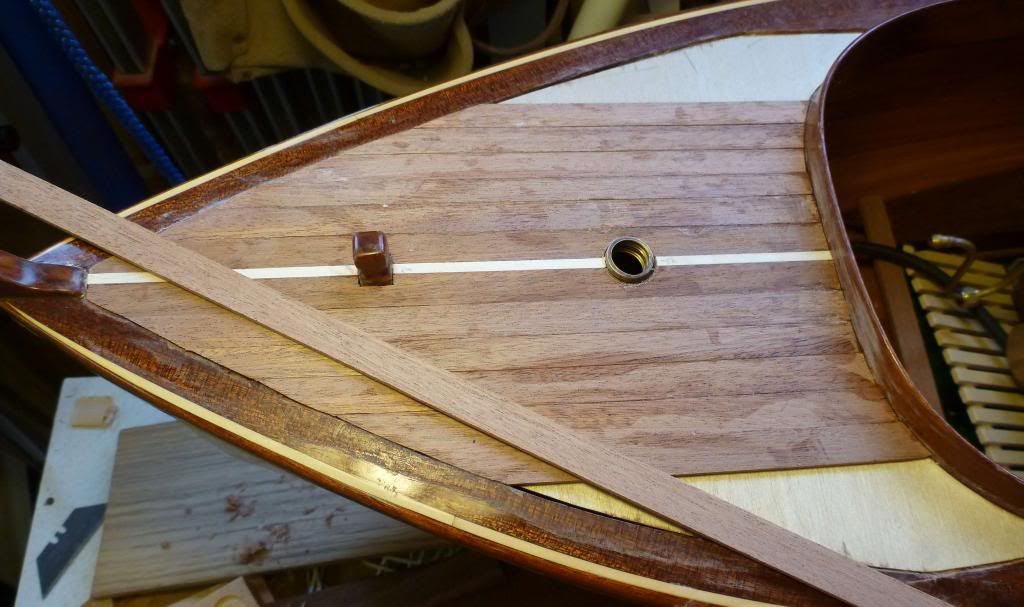
until the gap was filled. I then spent a fair while scraping to get the deck flush and smooth.
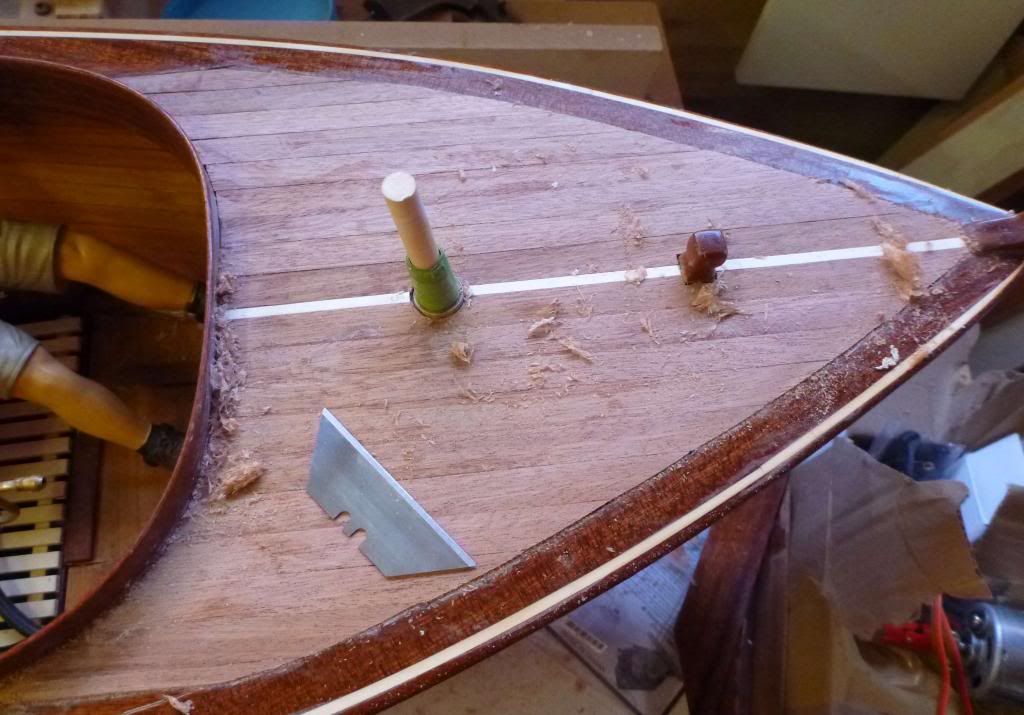
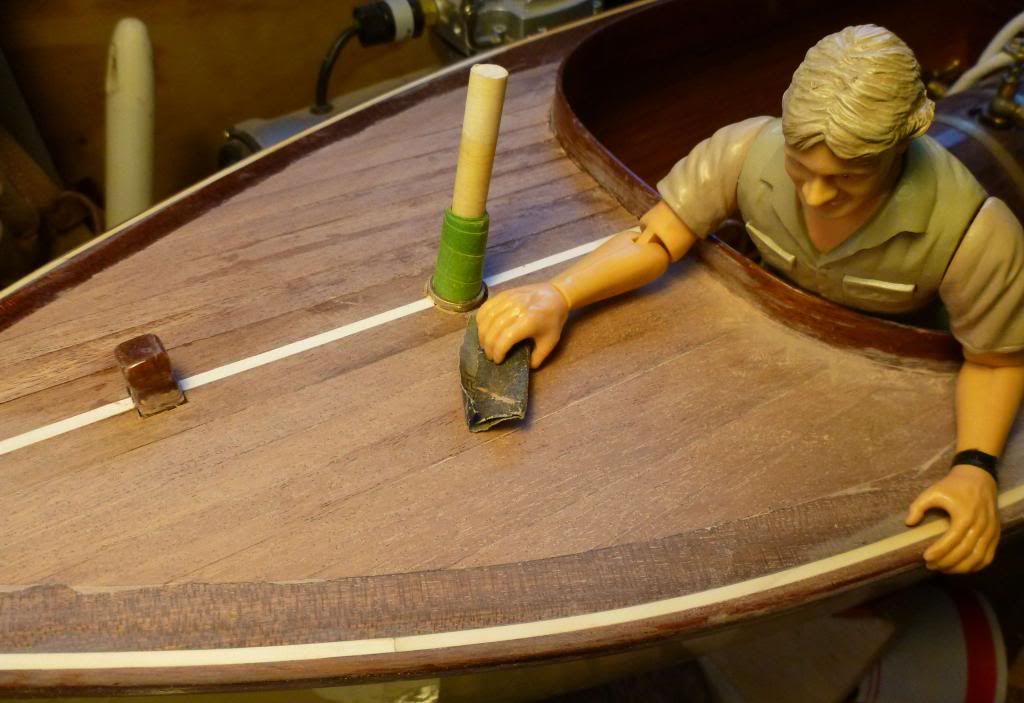
Then Steve did some sanding for me. Eagle eyes will spot that I did need some filler along the margin plank in places - too ham-fisted with the chisel and knife

Then it was time for some epoxy. The extra beam and subdeck seem to have done the trick - the deck is solid as a rock

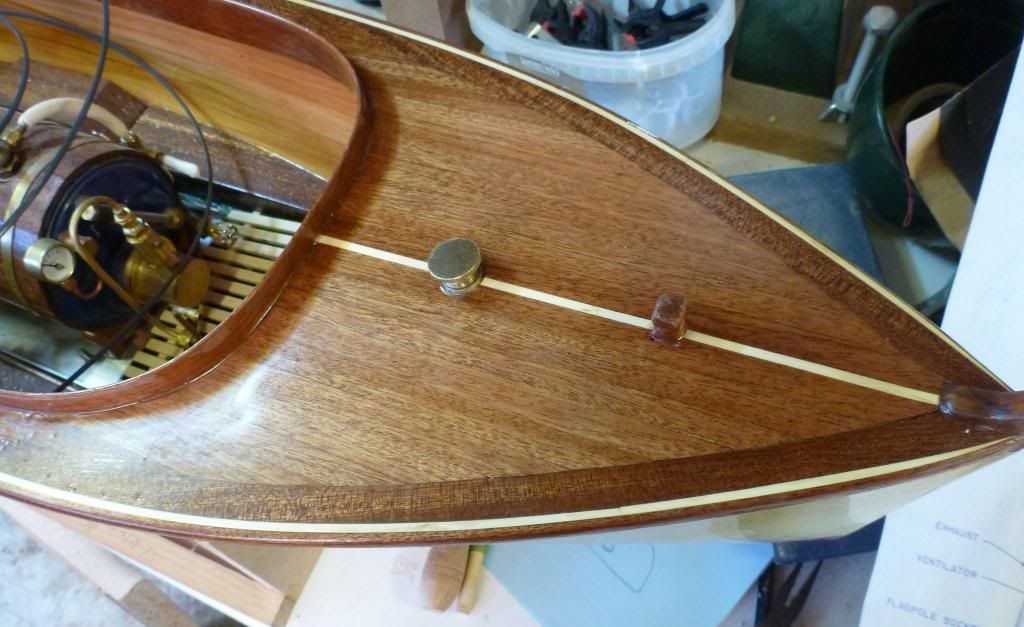
I haven't put the varnish on just yet - I am hoping that the new planking will darken somewhat to match the old, and I don't want the UV protection the varnish provides to stop that. I will varnish and polish in a month or so.
Well, that's it. I was worried I would make a complete mess of this, which is part of the reason it took so long for me to start. But it has turned out OK, and even the small patches of filler have merged into the background a little. I am also adding some tiddly bits, like fairleads and cleats, and a wheel, to complete the job. I'll try to remember to post a picture when she is finally, finally finished.
Good steaming!
Greg
 Author
Topic: Solent steam launch build log (Read 50684 times)


