Dear Friends
I would like to introduce you to my workshop, which reflects the multitude of technologies I am touching in the course of my project building a model sail ship from scratch in my own way. Why I am following this path I try to present in
my introduction to this forum.
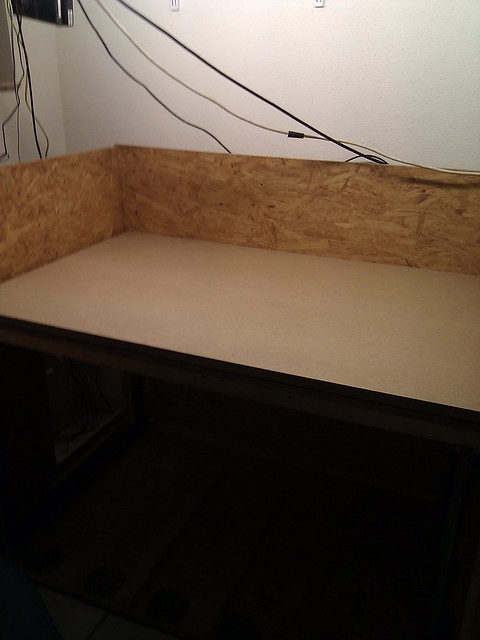
Toi my believe every workshop has a history that leads to its current status and helps to understand why it is as it is. I started to setup a workshop, I was misusing a room of our flat when I started, because, was it me, my wife, or one of the then still very young kids, broke a hole into its hull by moving a "tree" in the room, where our cat was thought to be exercising its claws. I do not know if you have something like this in the USA. As this is painful, i decided to build a work bench that had build below the desk surface an hangar for my hull!
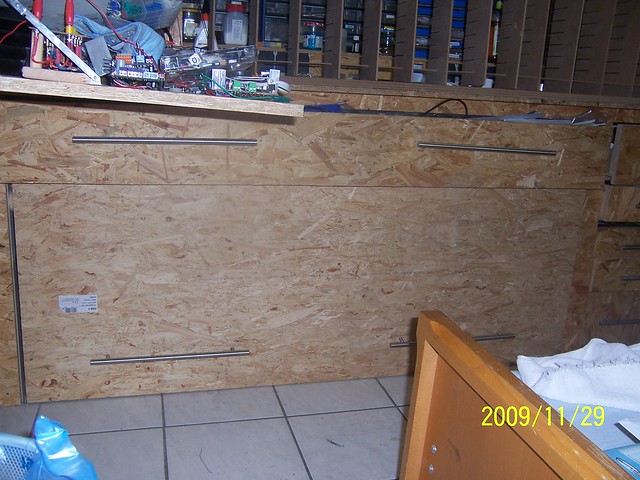
As the room in the cellar in our new house is pretty narrow, I could only take pictures of the workbench in parts. What you see is the portal to my hangar and above it one of the large drawers, what reflects one of my goals, to find a place where to put all the stuff I got in a place to organize it.
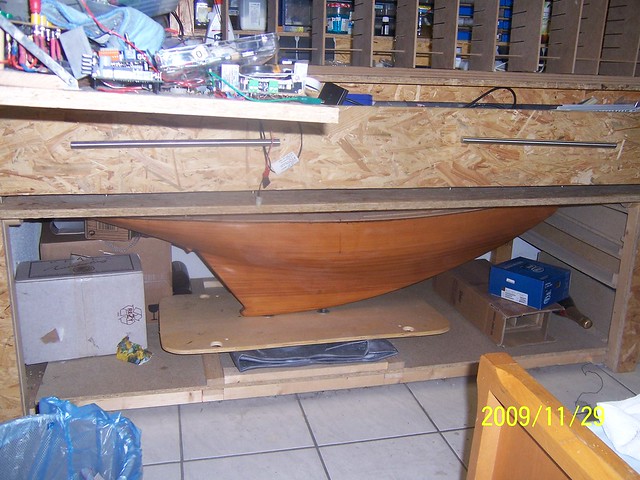
The next picture shows the hangar, with its portal open and in it the first hull that I started building, named the Sabrina. You also can see some boxes in which I have stored wine and champagne bottles, but also the lead sheet I got to source my needs for lead in my boat. It came from a person I know, who offers services for dentists and this lead sheet was used to isolated the X-ray-room at a dentist office being closed. So I got enough lead for the foreseeable future!
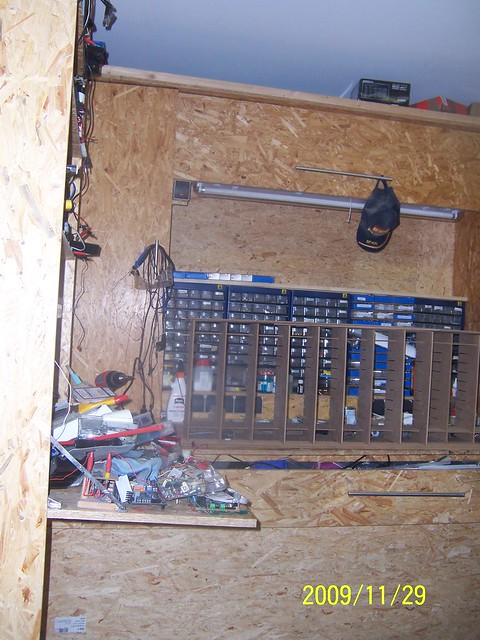
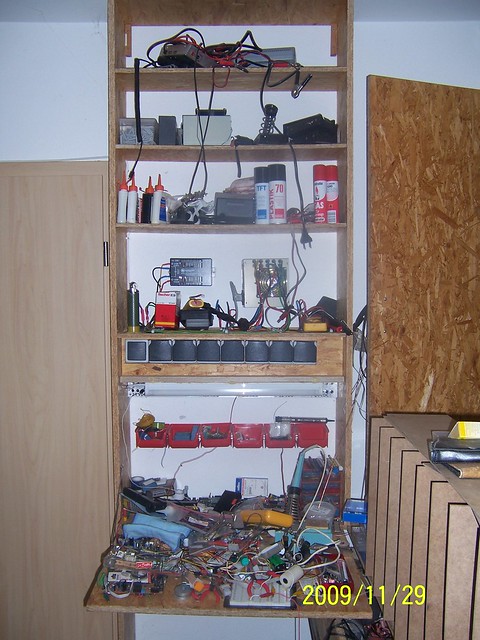
The next picture shows the workbenches upper left side. In the front you get a partial view of my first generation work bench for electronics and behind you can see how I was building the frame of a shelve planned to be placed in the empty space above the blue cabinets and below the neon lights to place in it the assortment boxes that would offer many, many places where to store goods in an hopefully organized way. On the left a cabinet, an identical one is on the right side and above it another shelver compartment and on top of this all a place to store those long things that have on place else.
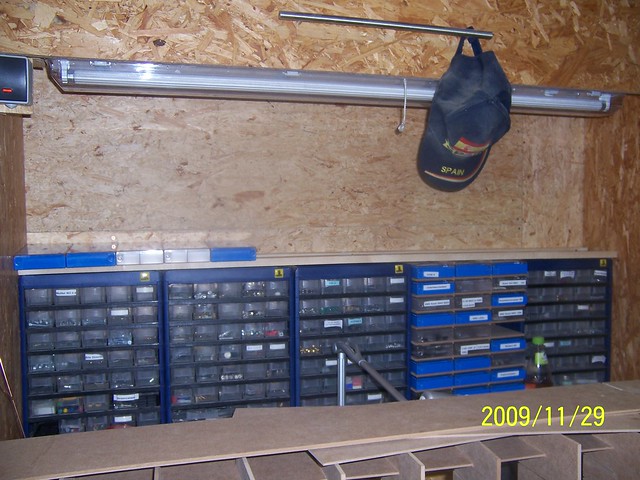
A more detailed view to the shelve and the cabinets.
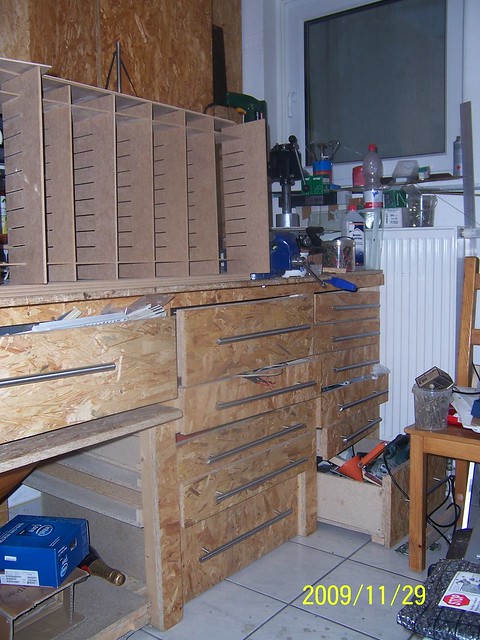
Next a view of the lower right side of my workbench. being familiar to work with wood I chose that material to build the structure, something that proved to be the wrong decision, as with the time some parts of the structure got worn out leading to make it difficult to operate the drawers and in consequence the former nice view of the work bench suffered, as can be appreciated in this picture. The left column of drawers reflects the size of my workbench while we lived in a flat, the second column of drawers was added when we moved into this house and I did get one of the cellar rooms to be my workshop. i had more room, so I could extend the size of the workbench.
Next you see my first generation electronic workbench. As it happens, it gets to be a place where I put all that somehow belongs to electronics and so it is one of the seeds where the chaos growths! I placed it into en empty space available between the door to enter the cellar and my workbench.
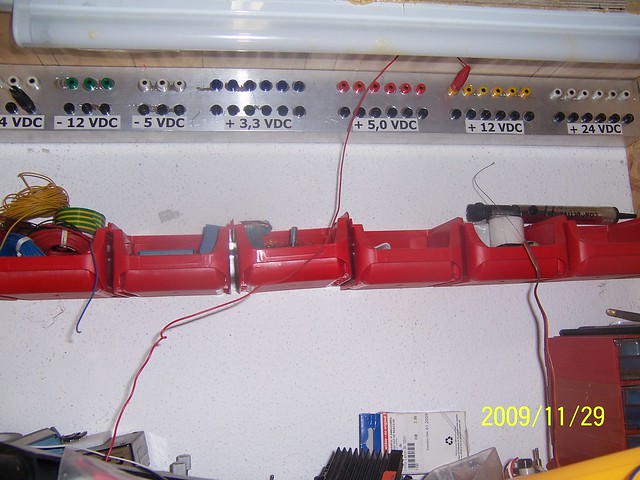
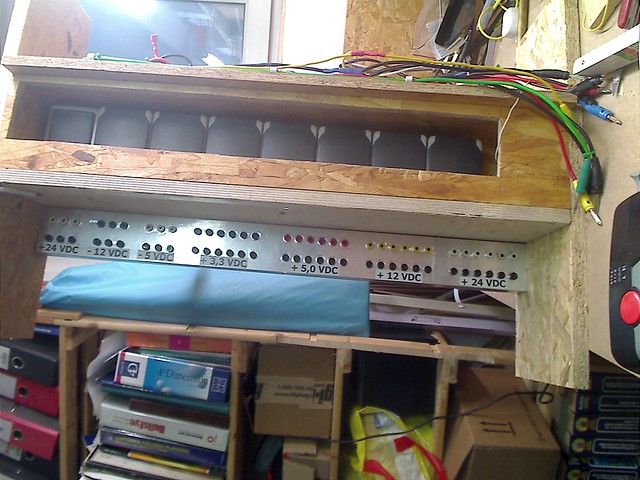
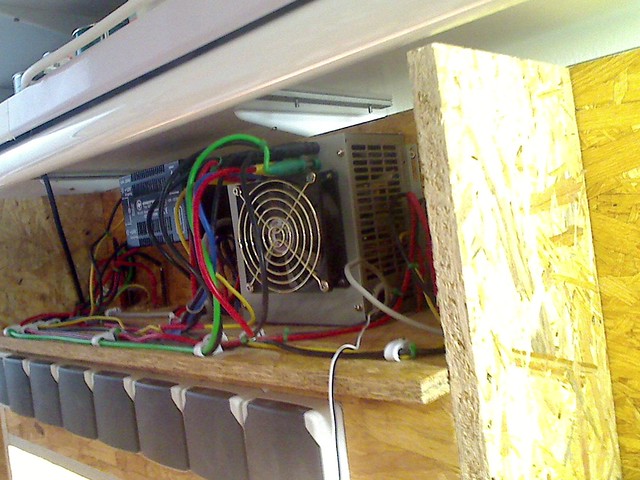
This picture shows the module t make available the different DC voltages I source from a modified PC power supply and the 24 VDC i go get by using a doubler for the 12 VDC of the 600W power supply. As my eyes quality is deteriorating, diabetes plays a role in it, I always try to have good sources of light available.
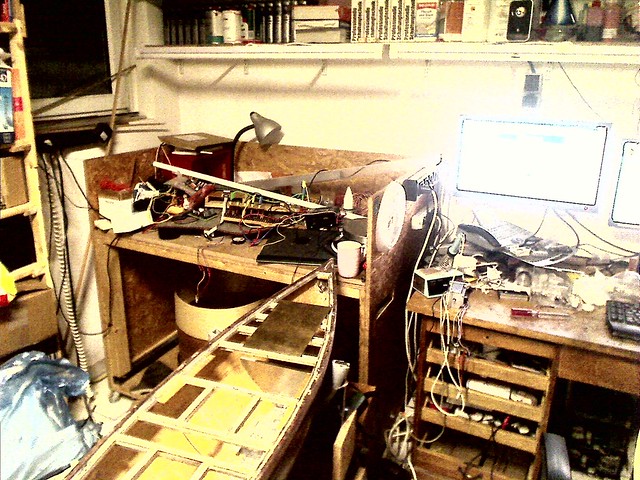
Having introduced you to my 1. generation electronic workbench and just about to finish the second generation one, I will pass to introduce you to my brand new electronic workbench. I used for this a piece of furniture that was once used to have the lathe placed on it.
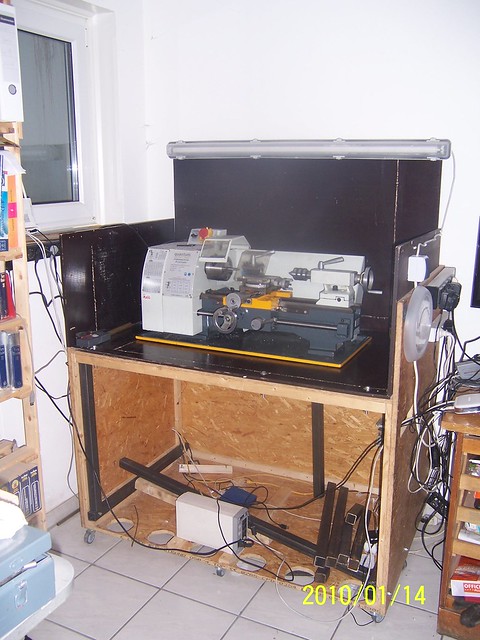
I have build a second workbench in my workshop, so the lathe was moved there and this piece of furniture got available to be used as a luxury electronic workbench! here a picture when I cleared it to have the electronic workbench made out of it!
Next a picture that shows the chaos, before the work on this workbench started by now placing all electronics related stuff there! But it also shows the chaos spreading onto my office desk and in front of all this a first picture of my second hull, the boat will be named Carina.
This is a picture that shows my office desk as it looks when I am working on it. I do make technical translations!
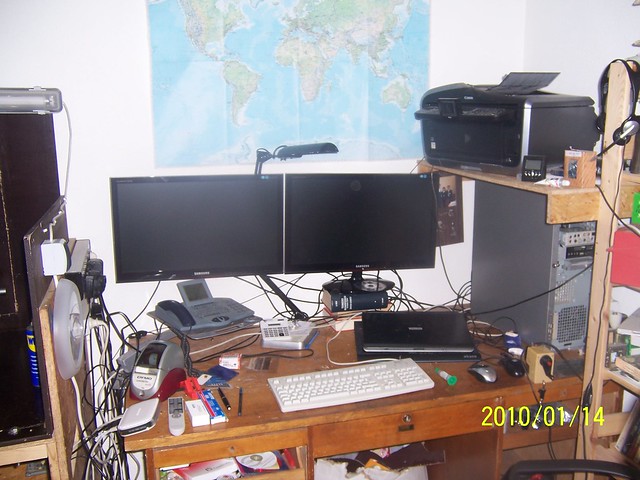
The 2 LED monitors are of great use for that work, but also useful to play and to work with software tools on my PC!
Next you see how I am integrating a steel made structure into the unit, as it is important to have good earth while working on electronic components. The unit is upside down, so you can appreciate how I am putting carpet tiles on its bottom, so I can move the unit without scratching the tiles of the floor!
Next you can see a series of pictures showing details of my power supply unit, moved from the former electronic workbench to the new one.
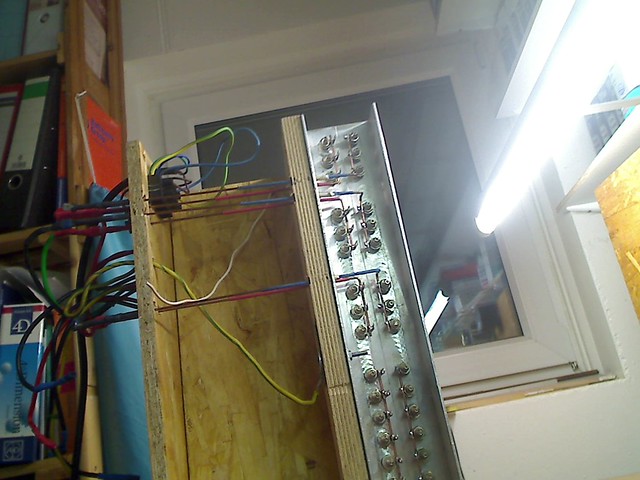
Now a picture of the complete module, a view from the rear, upside down:

Now a view from the front, the unit placed on a side!
The many sockets are typical for me. There cannot ever be too many of those available! They are not yet in their final position, as I can still implement the connections to it and to the AC main power of the house.

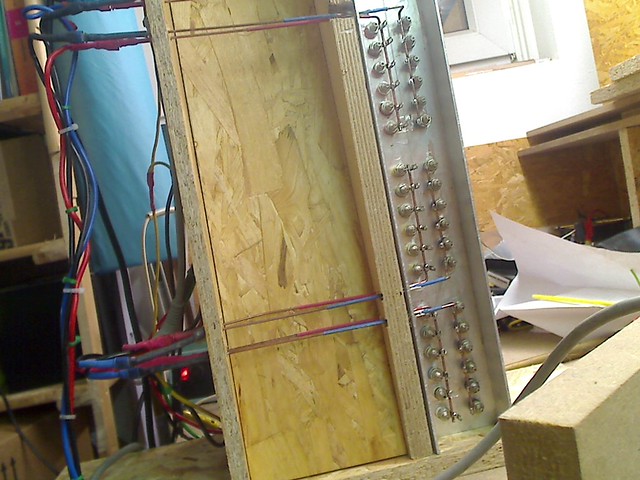
Next you get a view of the unit now integrated into my electronic workbench. I was still planing how to realize the next details and how to integrate the oscilloscope into the workbench!
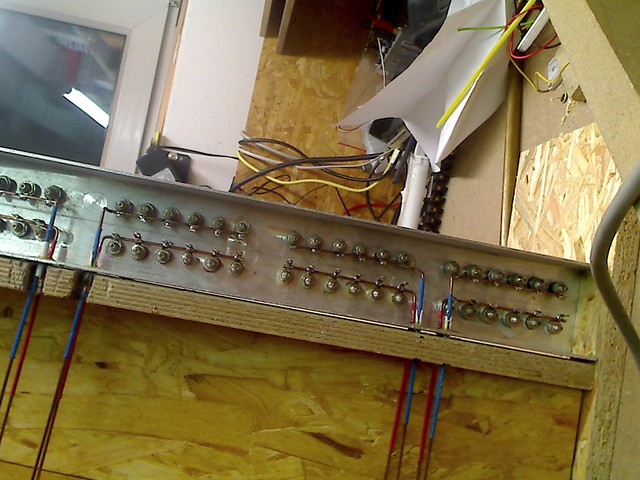
Next a detailed picture of the power outlets and the distribution of the different DC tensions supplied from the modified PC power supply.

Next a picture from the top, that shows the need to protect the unit from objects that may be falling from above and could make short circuits!
Next a picture that documents the attention I am paying to ensure an unobstructed diffusion of the heat generated by the electrical equipment in the workbench!
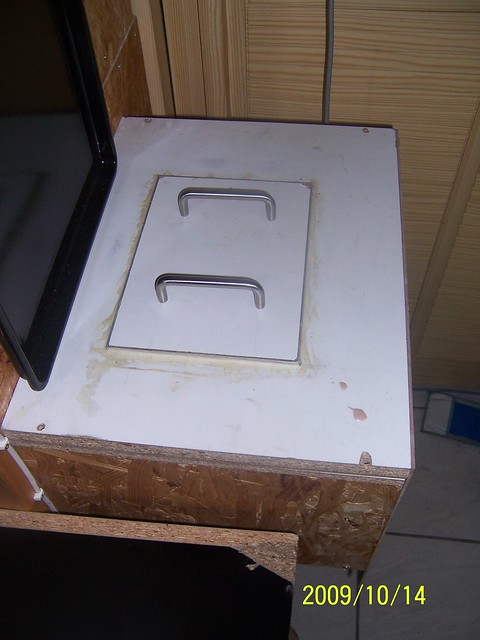
As for the electronics I do build my own circuits where required, I have build a unit to expose the picture of a circuit printed on a transparency for an inkjet printer to a board with positive photosensitive coating.
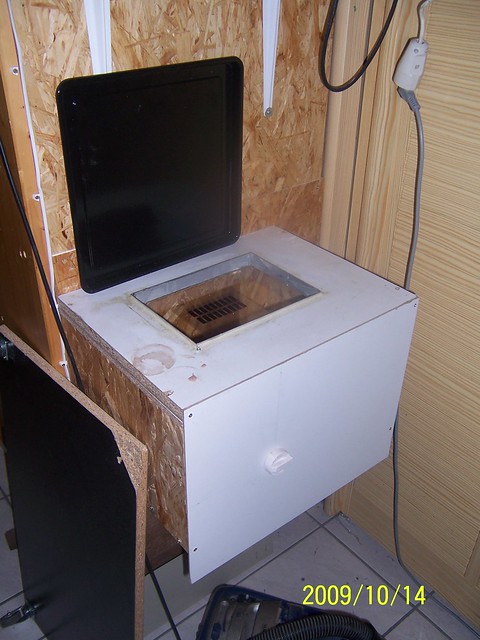
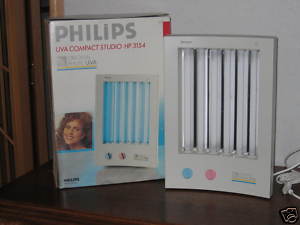
You can appreciate the picture of a circuit on the glas below which you find a UV light source.
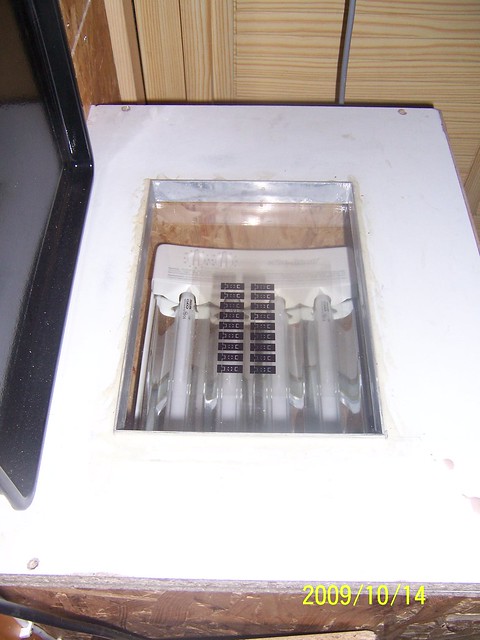
This picture allows to see the UV light source, which is a facial tanner purchased at ebay for just 1.- Euro plus transport cost, about 1.30 USD! You can´t get the UV lights cheaper!
Here you get the exposition unit closed, a board could be exposed now to the UV Light!
Passing the circuit designed using a free version of an adequate tool and the normal inkjet printer to make a electronic circuit board is just one part of the challenge. The other one results from the fact that the most interesting modern advanced circuits come in advanced packages difficult to be handled by amateurs. i did want to get an equally easy, high quality way to handle, i.e. packages with i.e. 120 pins and 0.015748 inch distance between center of pin to center of pin. For this I do use soldering paste and a technique named "reflow soldering".
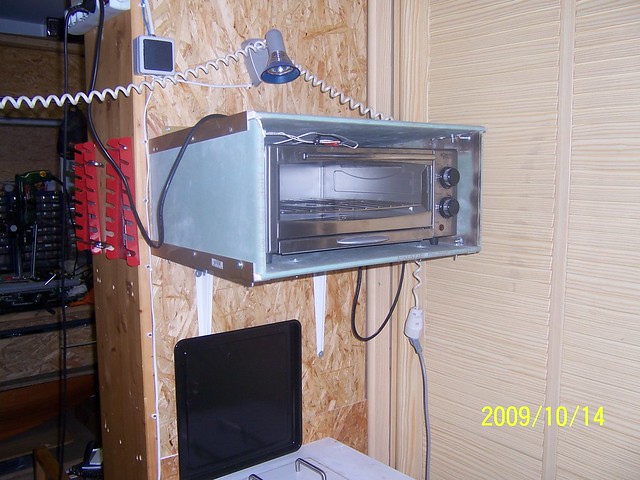
This unit is build using a pizza oven, which I purchased via amazon for less that 40.- USD´s. as you can see, great attention has been placed on üpreventing possible fire coming from the unit. The dark spots on the right side came from my experiments using a gas welding unit to verify to myself that no heat comes to cause harm out of this unit. I am trying to show, that all this units can be build by oneself to get a proper equipment at a very low price.
Now I finish with the electronic part of my workshop and go to the machinery I have available. I started using equipment I had available, my good old Bosch drilling machine. During a certain task I will present in my report of building the Carina from scratch, I reached the limit I could achieve in exactness of the work and as i happen to have saved some money from translation jobs I purchased myself a milling machine with digital indication for 3 axes!

Last year, recovering from my stroke, a good friend of mine from Spain helped me to organize my workshop and we decided to build a second workbench to separate the polluting works like milling or the use of a lathe from those more clean ones like electronics or my office desk.
So, the first workbench presented to you is to the left of this picture. At this place before I had a couch that also was used for guests and which has been moved to the "clean" section of my room in the cellar! As you can see, the whole workbench is build around a steel structure that is build of steel beams, screwed together, to be ready if I should happen to have to relocate again! Once my kids are all out from home we plan to move into something smaller and cheaper!
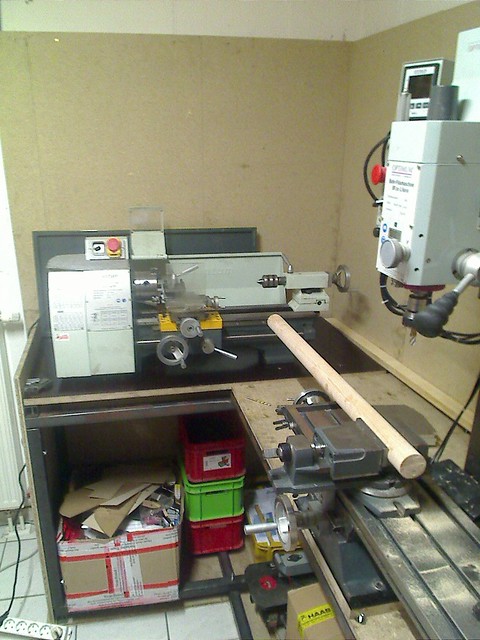
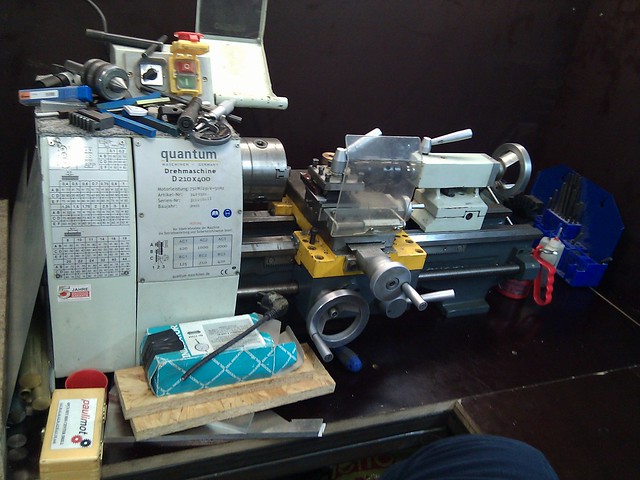
You see my turning machine placed on the left side and my milling machine on the right side. Great effort was taken to place both machines at such places, that I did not run into problems working on larger parts.

On this picture you can see that I have plenty of space below the second workbench to store stuff. As of now this space is used to put stuff in boxes there, which than will be moved to their final well organized place. As I will advance the amount of stuff stored there will be getting less and less. But having such a place to deposit stuff helps to create order at other places in my workshop.
As you can see, still the tendency to put things that do not have yet their right spot at any place builds the seed for chaos! But the main reason to show this picture is to show the material I use to make it easy to clean the space after working on one of the machines! This wooden boards are normally use in construction to build the receptacle to fill with concrete. The surface of this boards resists a lot of strain, mechanical and chemical and dirt does not adhere to its surface, so it is easy to clean after working with the machine.
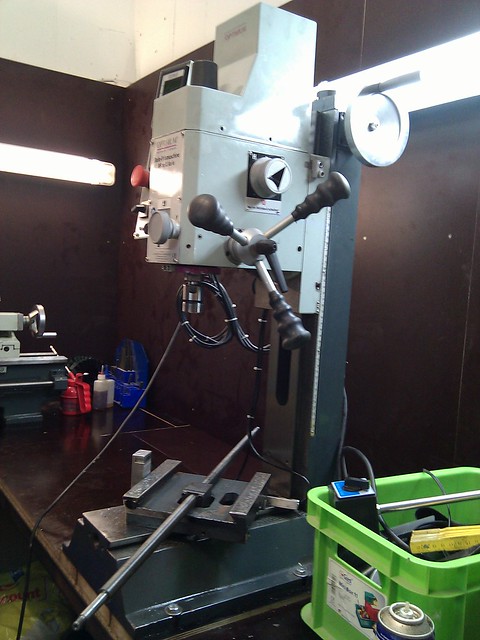
Here a picture of the milling machine. I am doing a mayor work to clean and adjust the machine after having been in use for a longer time. Excellent exercise to get to know the machine better and adjusting it, to fix problems it had and i did not notice before because of lack of familiarity with such a machine before!
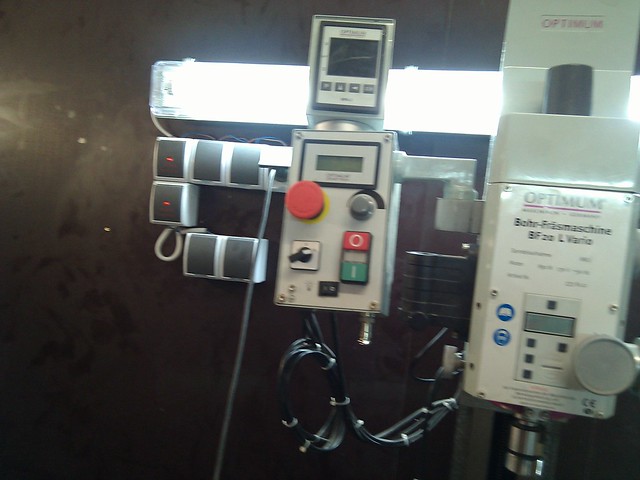
But you can see also confirmed here my love to have good light source at a working place and to have as many as possible power outlets available! here at the milling machine,

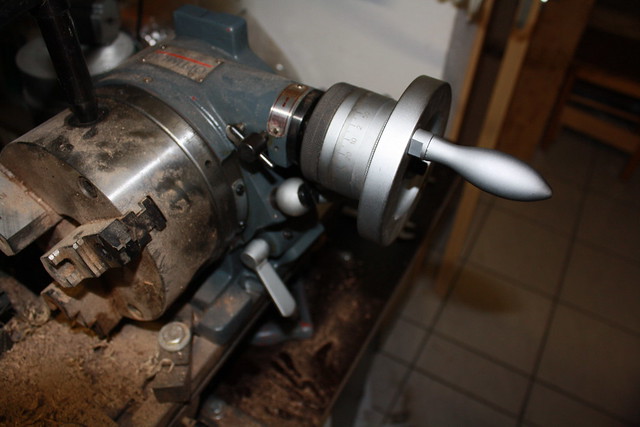
and here at my turning machine!
I close this presentation of my workshop by presenting the last 2 units!

First my band-saw. It was built in East Germany, the former communist Germany. Simple but rock solid and doing its job, probably much longer than I will live! I purchased it for just a few dollars from the person I purchased my turning machine and after some work on it it is now fully and reliably operating!
Next my turning table:
This works together with my milling machine and makes it possible to mill round forms. It did cost more than my turning machine!


 Author
Topic: Presenting my workshop and how I am fighting uphill to get order into it (Read 30968 times)
Author
Topic: Presenting my workshop and how I am fighting uphill to get order into it (Read 30968 times)