Right then lets get the roof of the bridge planked,right then we really need to sort out the camber of the roof so the center was Marked out and a piece of scrap wood was used around 8mm x8mm and a couple of 4x4's were used on the edge of the roof,this allowed a decent roof camber
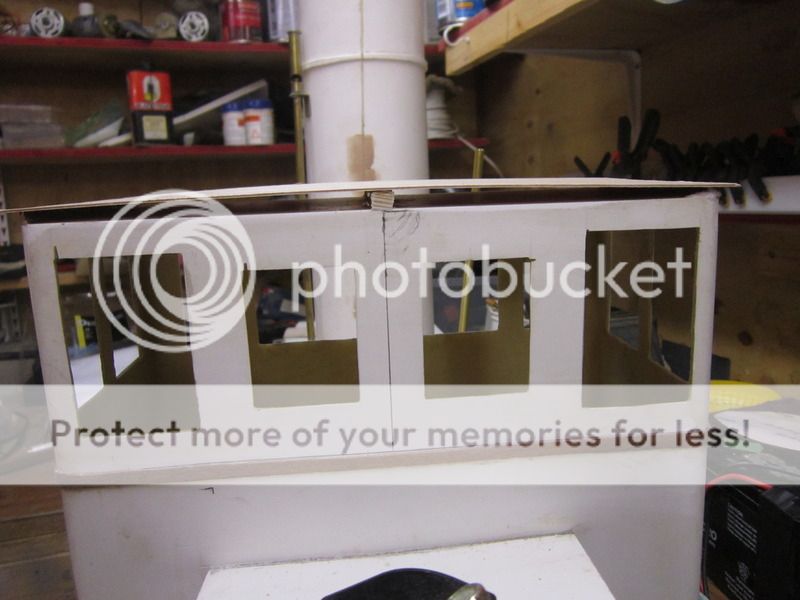
A piece of ply was then glued to these so I could plank it over and a center line was marked so I could start form the middle and work outwards

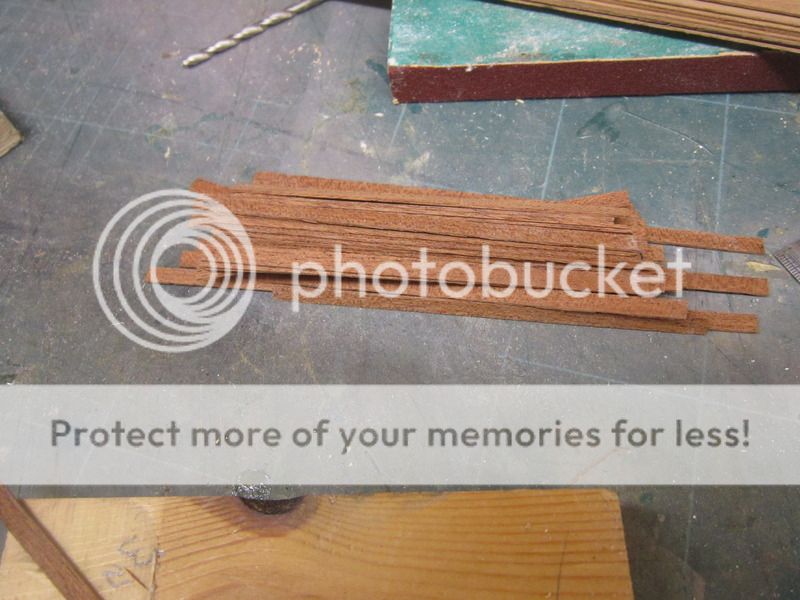
Around 40 were needed for the roof alone
I was initially going to use Pva Waterproof wood glue but changed my mind as I couldnt wait to get it done so Opted for Gorrilla Glue the Gell one...must admit this is spot on so so easy to use and I didnt even stick my fingers together and is waterproof as well

This is the roof around 3/4 done
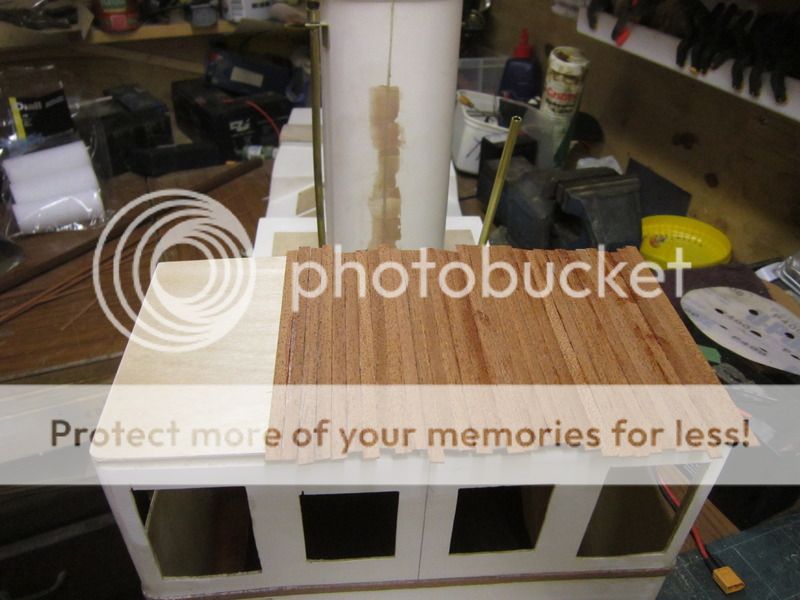
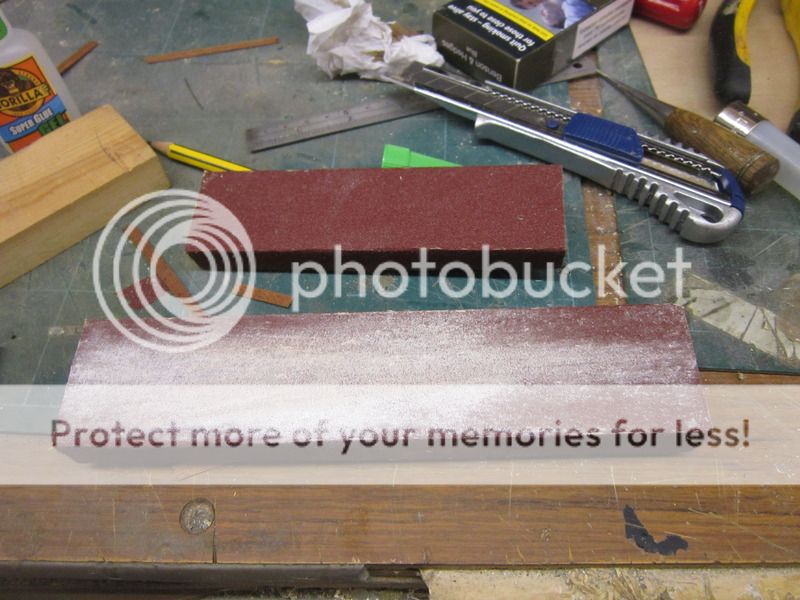
Roof Done..But you will see that the planks are higldy pigldy so to speak and need to be rubbed down to the wodth and length of the plywood roof,How do we do that may you well ask...well very simply really...I made a rubbing down block by simply glueing a peice of 80 grit sandpaper with spray glue to a block of wood..I also made one of 180 grit and 400
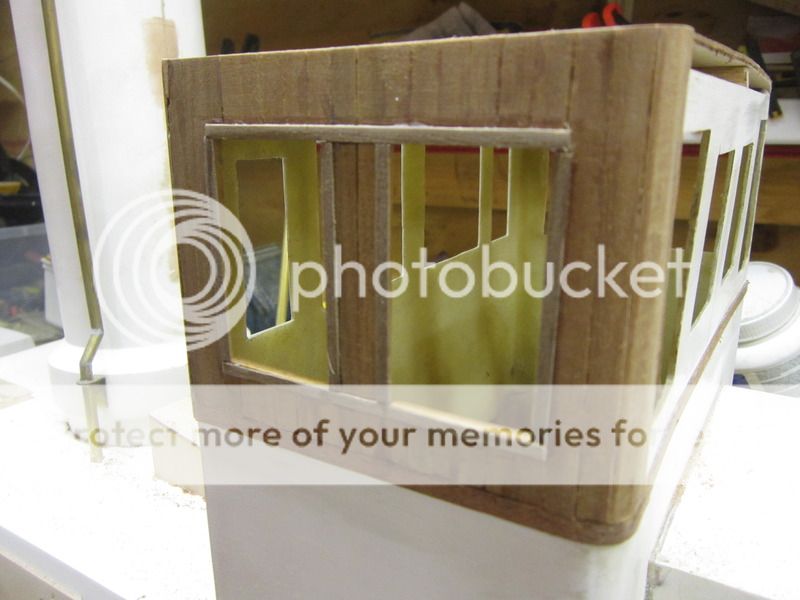
Here you will see that i have started the vertical planks that go around the bridge are

This was done in a similar way to the roof But a dremel was used to get a rough shape and then a simply filed to finish
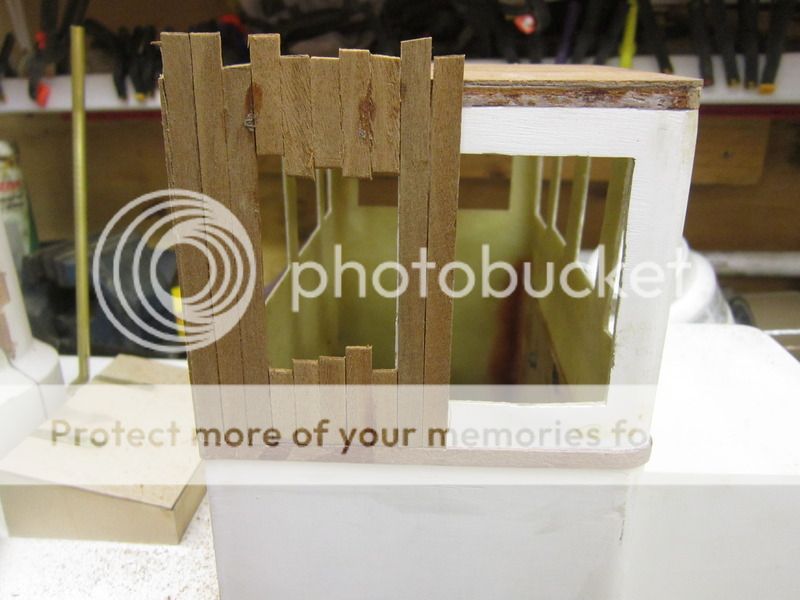
As there are windows around the bridge a window frame is needed I will show you how to do this on the next instalment

Dave


 Author
Topic: Tid Tug 164 Build Models By Design...The BIG UN (Read 32257 times)
Author
Topic: Tid Tug 164 Build Models By Design...The BIG UN (Read 32257 times)