Since I started building model boats I have always been impressed by those who build proper clinker model hulls, and have always assumed they have a level of skill way beyond mine. So recently I thought I would test that assumption and have a go at Vic Smeed’s River Queen design. I bought the plans and set to, but I warn you now, this build will not end up in the Masterclass section! I started off building a trial hull just to identify the likely issues (lots of them!), and used cheap ply for the planks, so they were never going to bend properly. I got about a third of the way through a very messy planking, and decided it was time to start on the real thing, but I am glad I did the trial because it did indeed help me resolve some fairly fundamental issues. This will be electric powered, not steam, in case any steam enthusiast was getting excited.
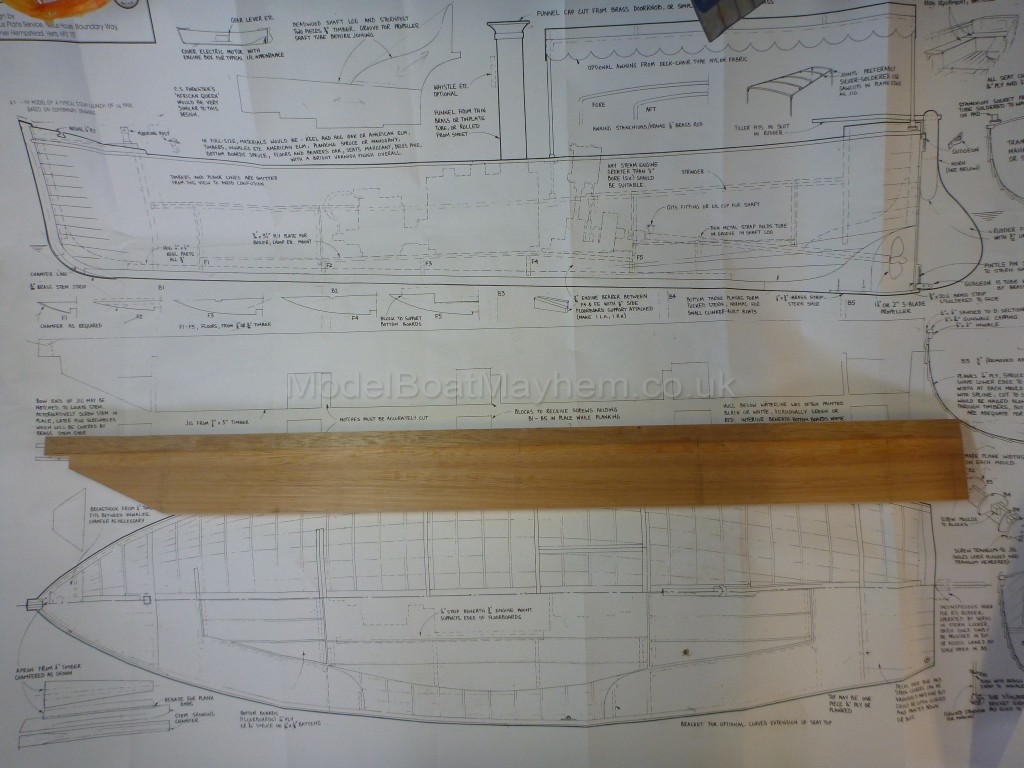
The first job is to make the building jig, and here is the backbone of it on the plan.

I also photocopied the bulkheads from the plan, and then taped the centre line onto a piece of ply, traced it, then flipped the template over to get the matching half.


The next job was building the keel/stem/deadwood which is illustrated in the next few piccies. The various pieces were cut to rough shape from the plan and fettled to fit. (Occasional pictures are from my trial hull, so if you spot some differences in the wood or joints, that is why.)


The stern deadwood has the prop shaft running through it so I made it in two parts, grooved them out on the router table and Araldited the whole lot together.


When doing this part on my trial hull, I discovered an error in the plan. The keel is drawn in the side view as 3/8” deep, but everywhere else as ½” deep. The housing in the bottom of the deadwood obviously needs to be ½”, not 3/8”, as you can see from the piccie above, with the correct sized deadwood laid over the plan.
The keel is then glued to the deadwood and the first really tricky part is looming – cutting the rebate for the planks along each side of the stem/keel/deadwood. This was one area where I made a bit of a mess on my trial hull, and was only slightly better on the real thing. A combination of sharp Stanley knife, small chisels and abrasive paper eventually got me somewhere close.

The hardest part was where the planking sweeps up in a curve towards the transom. I had a practice go on a scrap of wood to make sure I could cut a smooth curve, then did it for real -

Then took a chisel to make the rebate more like |I thought is should be.


You can see that this process has exposed the tube for the prop shaft – not good for the chisel edge, and potentially annoying when putting a plank over that area.
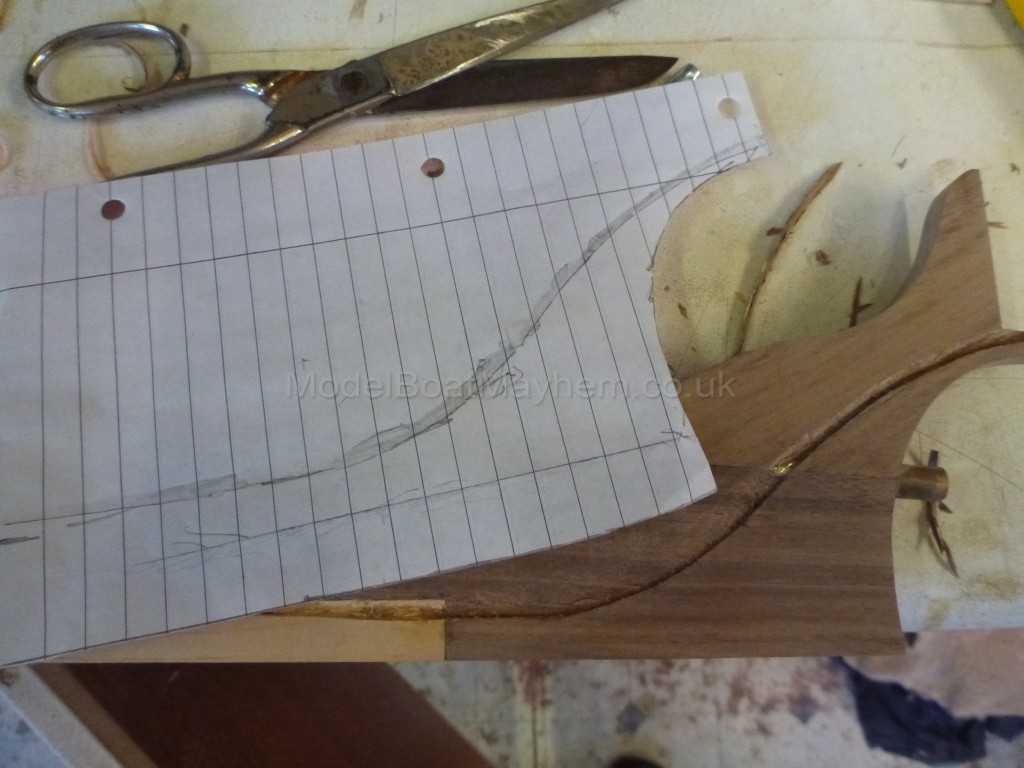
Next problem was how to reproduce that curve, cut freehand, on the other side. I traced the curve, cut out the pattern and drew round it on the other side.


With the rebate completed on both sides (and a fresh tub of wood filler standing by for later!), it was time to set the frames and keel up on the building jig. Most of the frames are removed after building, so were made of scrap plywood. The transom and the frames at each end of the hull remain as part of the hull, so were made from slightly more presentable wood. The plan suggests screwing the transom to the backbone, but this leaves a screw hole to be filled in the middle of the transom. I added a tab to the top of the transom so I could fix it in place then cut it off once the hull was finished.

The plans show access doors in the rear bulkhead, and I cut the hole for these before fixing it in place on the jig, and made a blank to fit the hole.


Slots had been cut in the backbone to accept the frames as indicated on the plan.

However, when they were put in place, the cutouts for the keel to sit in were all at different heights. I had to shim all of the frames by different amounts to get them all to sit in line for the keel. Once done, this is where we were.

Having shimmed the frames I was concerned that maybe the sheer line was going to be all wavy up and down, so I turned everything the right way up and put a flexible strip along the tops of the frames to check. Everything looked fine. Big sigh of relief – not sure what I would have done if it had been wonky!

Next step some planking. Oooh-err.


Greg
 Author
Topic: Vic Smeed's River Queen (Read 13983 times)


