Well I've definitely had a problem this week but also managed to solve it with a bit of help

This has been my desk - no wood to play with just plans and callipers and utter confusion

My problem has been understanding the rising frame drawings. Now that I know how to read them it's quite obvious but I was stuck for days. The problem is pictured below. At first glance it looks like the frame sits on the rising wood at point A. It doesn't - it actually makes contact with the rising wood at point C which is level horizontally with point B on the drawing. That makes sense - however point C is too wide for the rising wood so what's going on???
It turns out that what looks like the rising wood at point A is just a piece of draughtsman's licence and doesn't actually represent the rising wood at all. Maybe its just easier to draw it that way but it certainly gave me a headache


To complicate matters a bit further frames 1 and 2 do not sit level on the rising wood either

Confused - you should be as I was

Anyway lets actually have a go at making these frames. I cut the patterns out of wood as before and started by making sure that I had the correct angle where they sit. I did this by photocopying the rising wood and used this as a template. Its a nice feeling when the wood and paper literally click together

The second stage of assembly - the parts with the yellow stripe marked 1 are actually 2 pieces that meet vertically in the middle. The butt joint there is a real pain


The finished assembly

Then I bevelled the inside - such a waste of wood but hey ho!

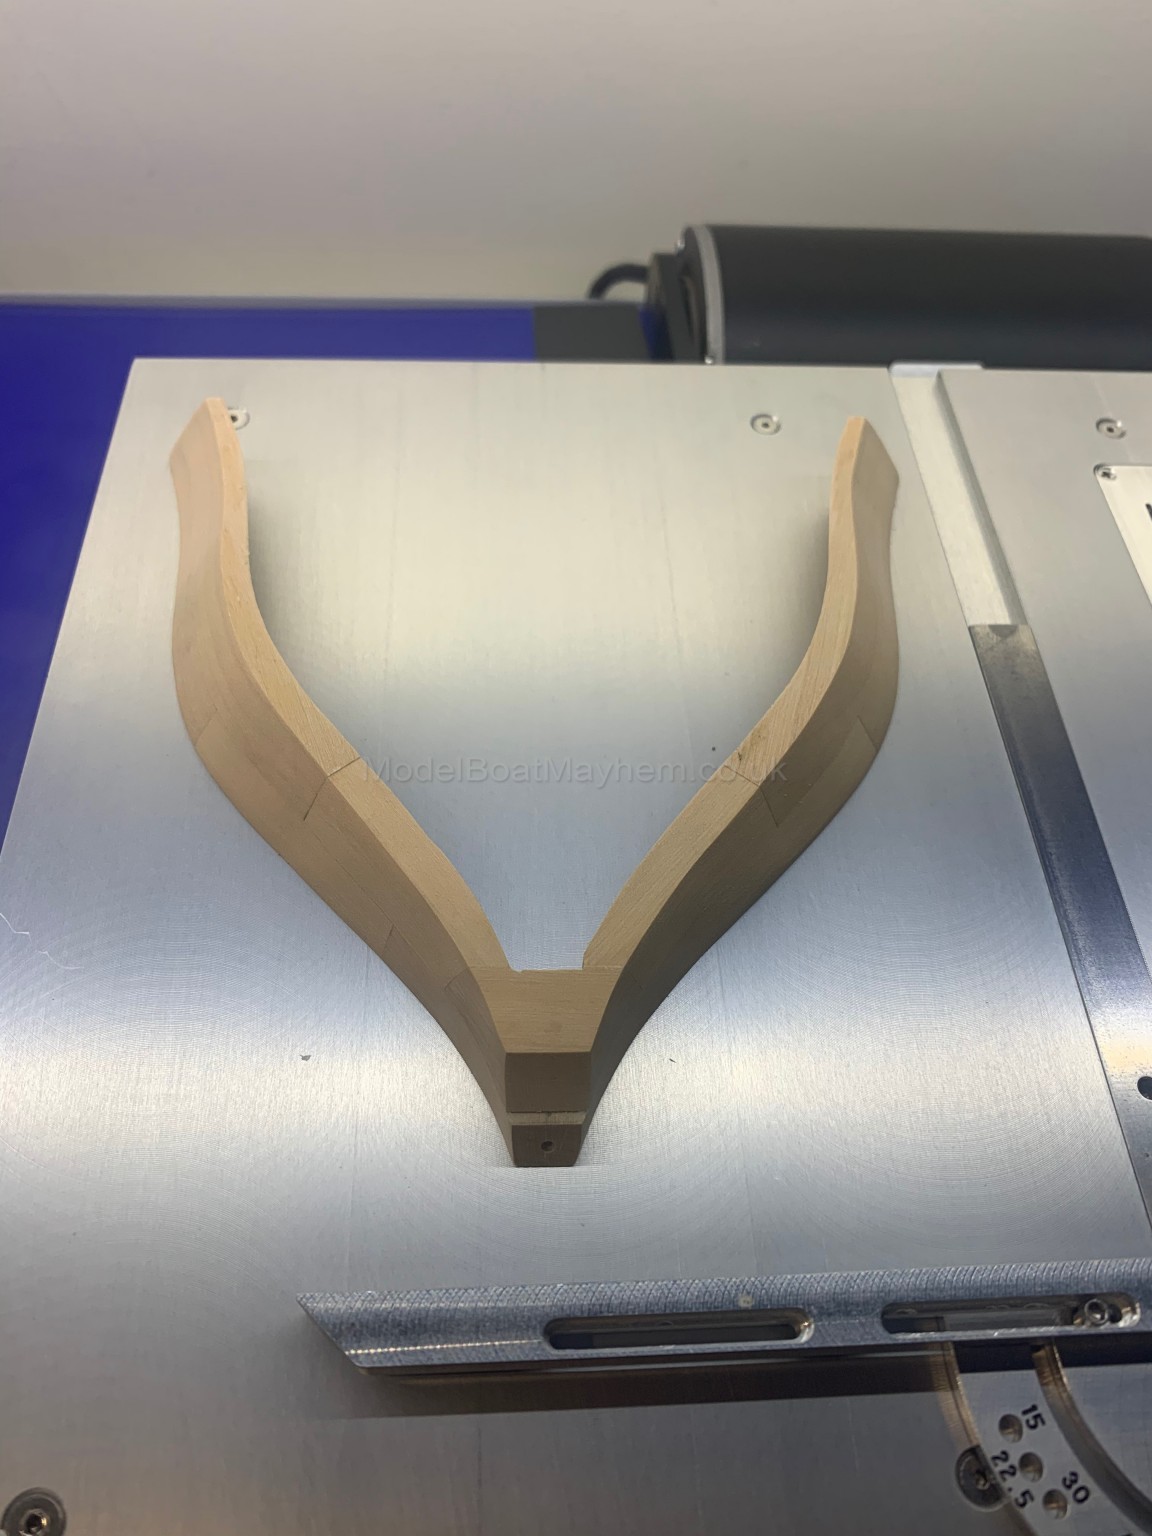
I then bevelled the outside and I now have my first rising frame


Its actually quite slender but very strong

So I've 3 more rising frames to make but this is the most heavily bevelled one. It's not finished as its only rough sanded and still needs the bolts inserted. Its challenging yet for some reason extremely satisfying work
Mark
 Author
Topic: Mark's "Le Rochefort" Build 1/24 Scale (Read 177920 times)


