|
Schnellboot -
My Build of Jack's Robbe S130. |
|
| Index 1 2 3 4 5 6 7 8 9 10 11 12 13 14 Links | |
Click photos to
enlarge.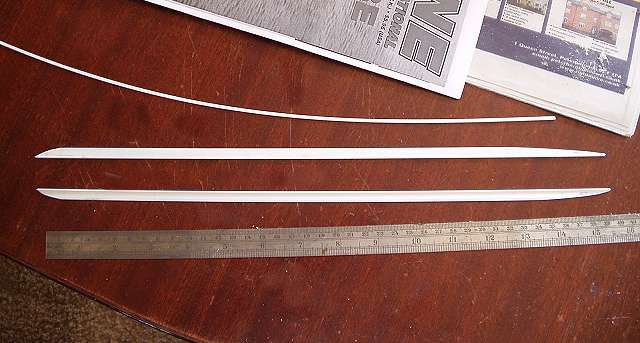 |
(As
you can see, this week I'm now working on our French polished dinning
table.... and soon after found myself sleeping in the spare room! ) |
 |
The first piece to be attached is the middle piece, a 'L' shaped plastic girder. The plans are quite clear on the dimensions and how this is to be aligned along the hull .......... "quite clear" but not precise! I aligned the middle piece along the hull, held it in place with plastic clams and tacked it in place with superglue. |
 |
With the first piece in place the rear rubbing strake can be fitted. This piece is described as "4.3-Rear rubbing strake, 1x 3x230 - Profiled." The trouble is, it doesn't say what the profiled shape is and there are 20 lengths of plastic to chose from!!!?! After an hour of deliberation and elimination, I picked a flat strip of plastic with enough length to fulfil the job and super glued it in place. |
 |
As you can see, there's now a problem. I didn't quite get the 2 pieces aligned. Never mind, it will look better once the front piece is in place. |
 |
The front strake in place. This one lines up with the middle one - so the rear one must be wrong! |
 |
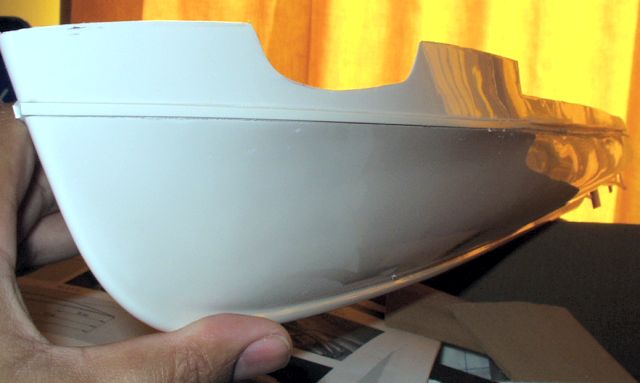
Overhead, the 2 rubbing strakes look
true and straight. With all rubbing strakes fitted the hull is transformed into something much more purposeful looking. |
 |
This is the Starboard view, not bad! Fortunately, this side was much better aligned than the Port side strakes, so....... |
 |
.... as you can see, the Port side middle strake was recalled for further attention! Have you ever tried to remove a piece of plastic, stuck to plastic with super glue???? Not an easy job I can tell you. A lot of very careful knife work later, I got it off in one piece and almost no damage! |
 |
The hull and rubbing strake were sanded back and cleaned up, realigned and glued back. A much better job second time round. ( Superglue is much harder than the plastic so the superglue can be quite easily sanded off without damaging the base plastic. ) |
 |
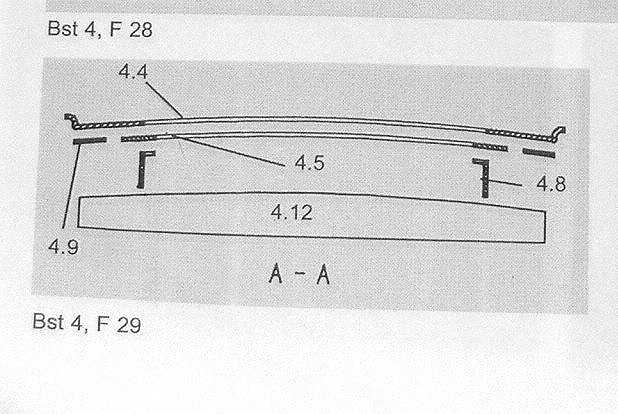
Getting back to the deck, the plans and instructions are Very precise about the alignment at the front. |
 |
Unfortunately using these dimensions produces a 10mm overhang at the back???!??! I wasn't too worried about this at first but there are fixtures, rails and hatches all to be aligned up with the back! This is going to take some thought.....! |
 |
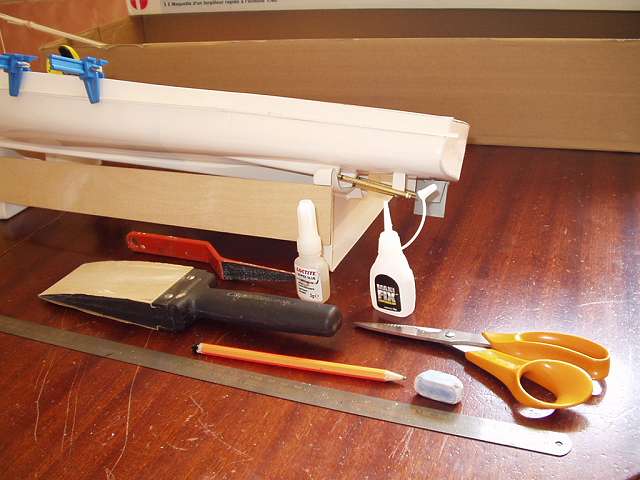
Fixing the deck down
was causing sleepless nights as there seemed to be something that didn't
make any sense to me. |
|
|
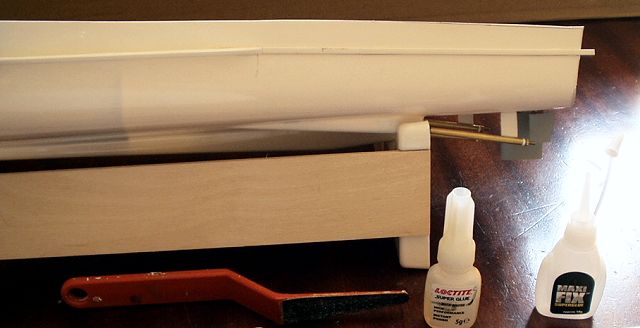
This is what you get
in the box! The edges of the deck form a trough / groove that the hull
sits in. Once the deck and hull is aligned, thin superglue will be poured
inside and out of the joint - several times until a strong joint is formed
and then the outer edge of the deck trimmed and sanded back flush to the
hull. |
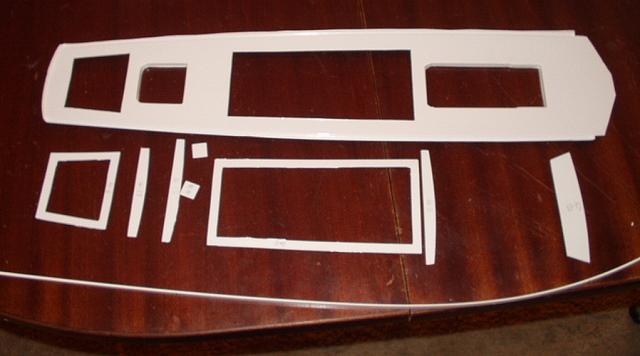 |
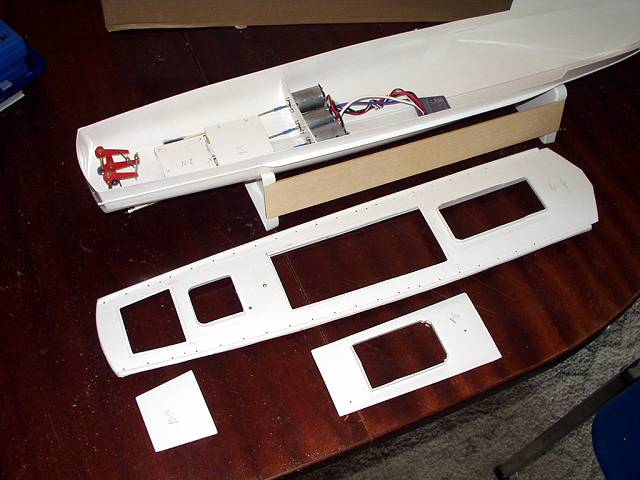
But before all that, the deck has about 20 reinforcing pieces, frames and beams to be glued in / on. |
 |
An inner plate is fitted under the main hatch. The hatch it self will sit on this edge. |
 |
Same with the rear / tiller hatch. |
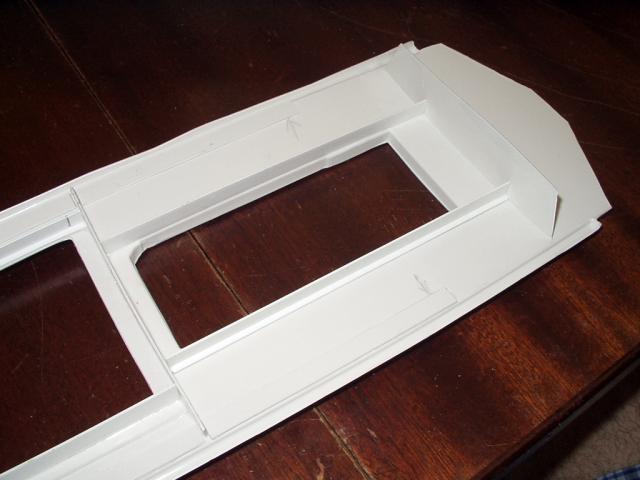 |
Front girders and frames glued in place. |
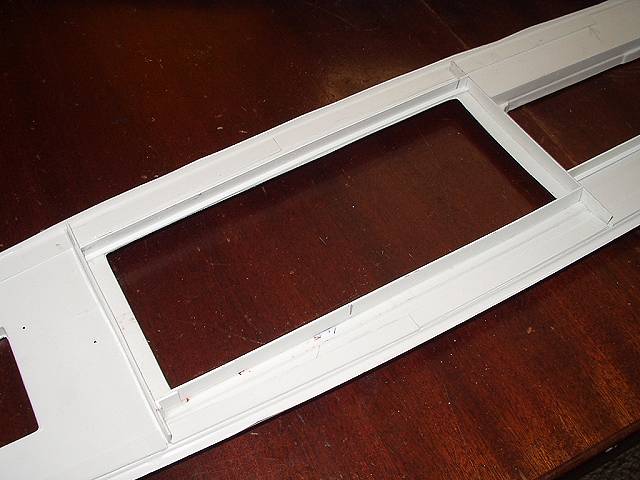 |
Main hatch pieces in place. |
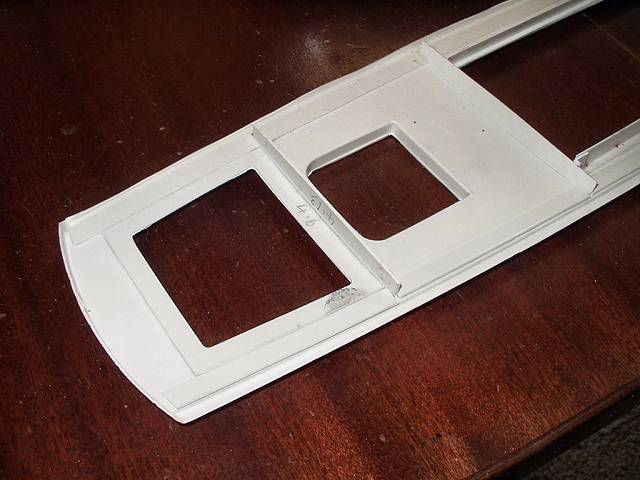 |
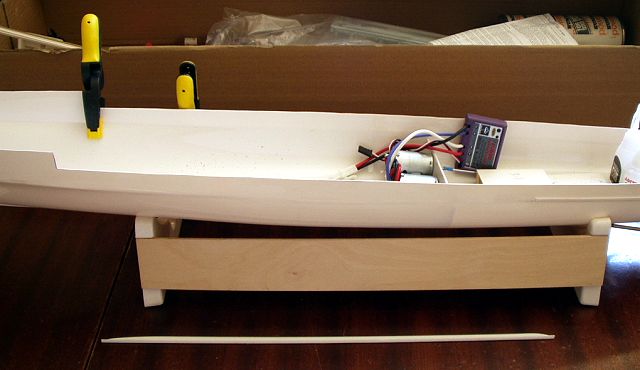
The rear deck has a pronounced curvature and the girders needed quite a bit of help while the glue set. |
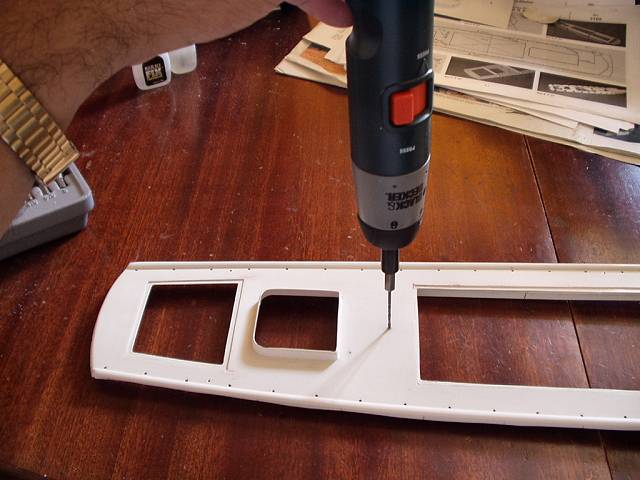 |
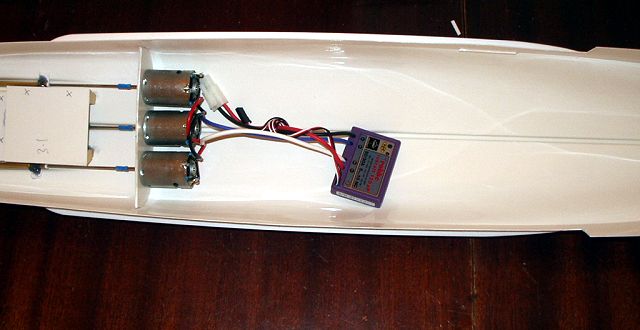
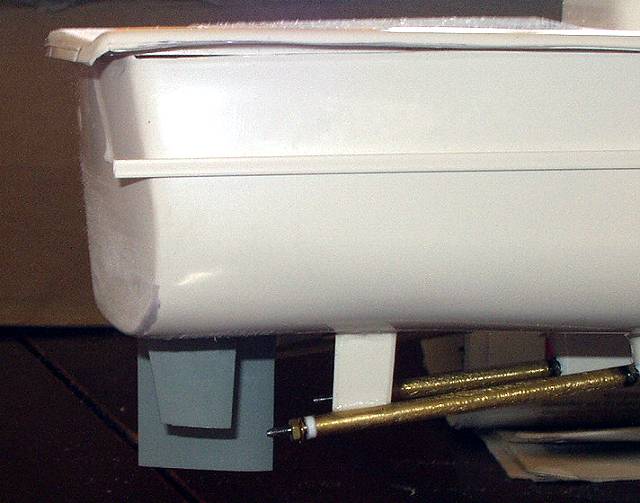
Drilling the mounts for rear gun emplacements.... and setting myself up for a divorce! |
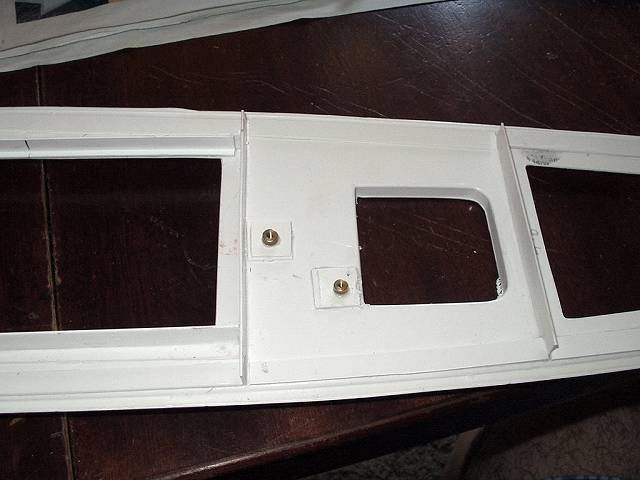 |
The brass mountings fitted in place from under the deck. |
 |
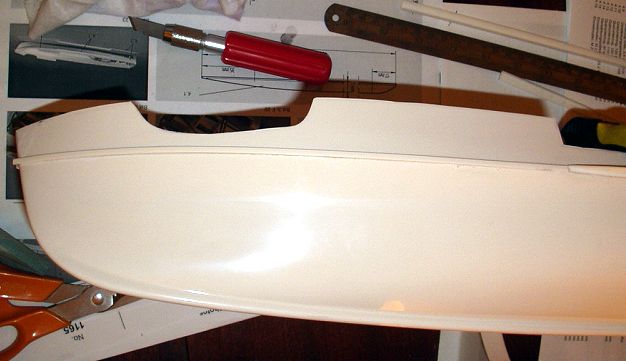
The deck is now fully prepared. The hatched trimmed to shape and test fitted. I also sanded the 'shine' off the deck in perpetration for the later painting. |
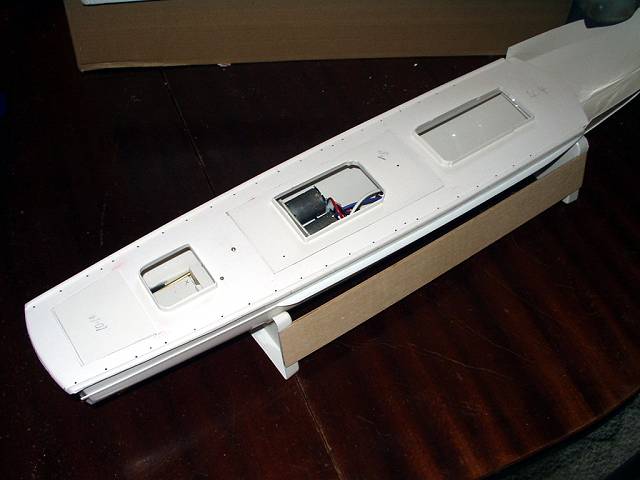 |
Test fitting of the deck and hatches. The deck is much stronger now as you might guess. |
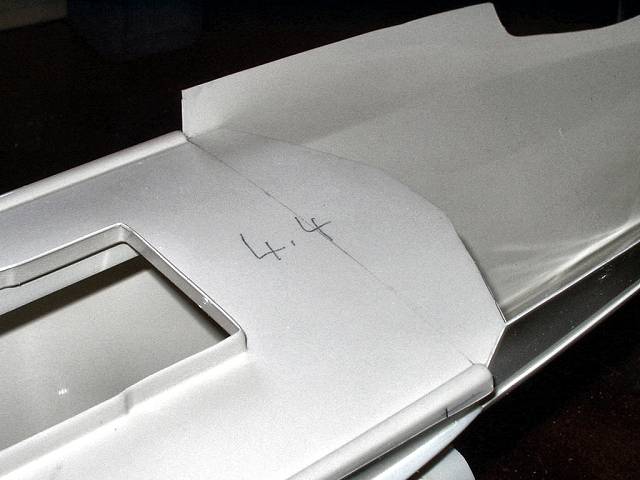 |
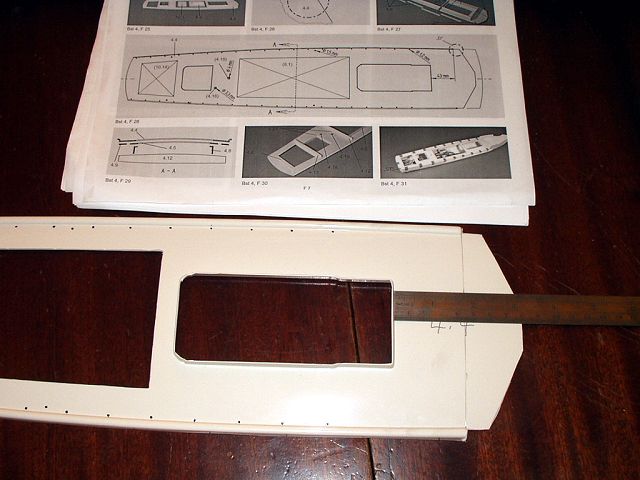
As above and in the instructions, the precise dimensions of the front of the deck are clearly stated. |
 |
Test fitting of the cockpit / "Control dome" fits these dimensions and the hull perfectly, but....... |
 |
.... the deck still over hangs quite away. I
think I will have to 'add' to the instructions when it comes to the point
of finally fixing the deck down. ( "I used newspaper, cutting mats and drilling blocks all the time dearest! Honest!" ) |
| Index 1 2 3 4 5 6 7 8 9 10 11 12 13 14 Links | |