|
Schnellboot -
My Build of Jack's Robbe S130. |
||
|
Click on the photos to enlarge. |
||
 |
Last
weekend I trundled of to 'Bradders' garage / workshop to let him work some
more magic on the S-130. 'Bradders' credentials are; |
|
 |
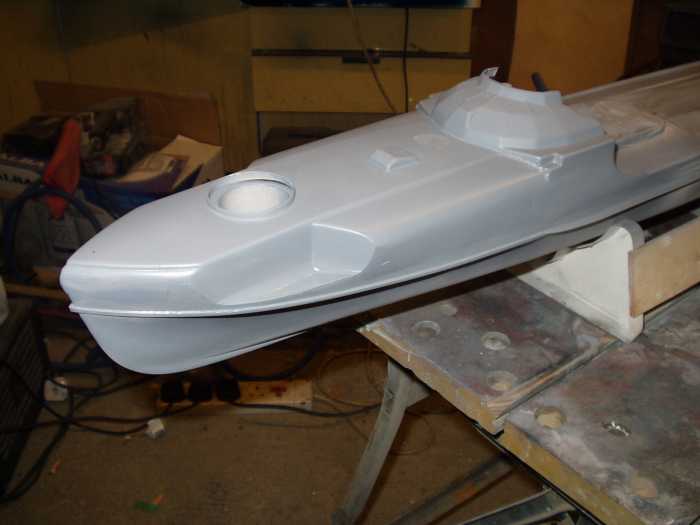
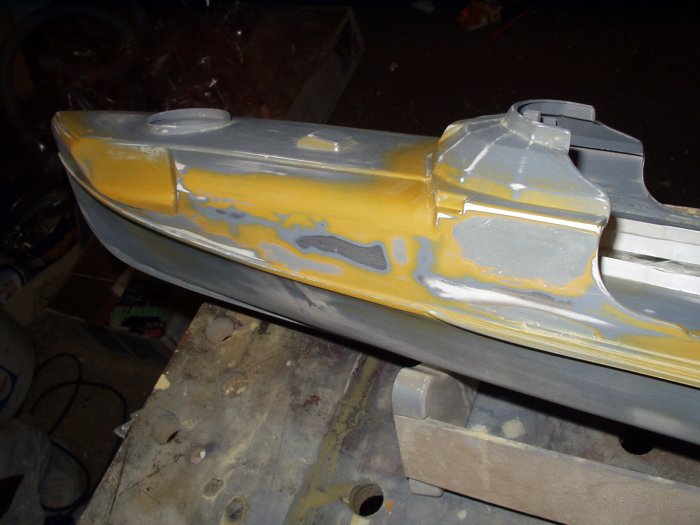
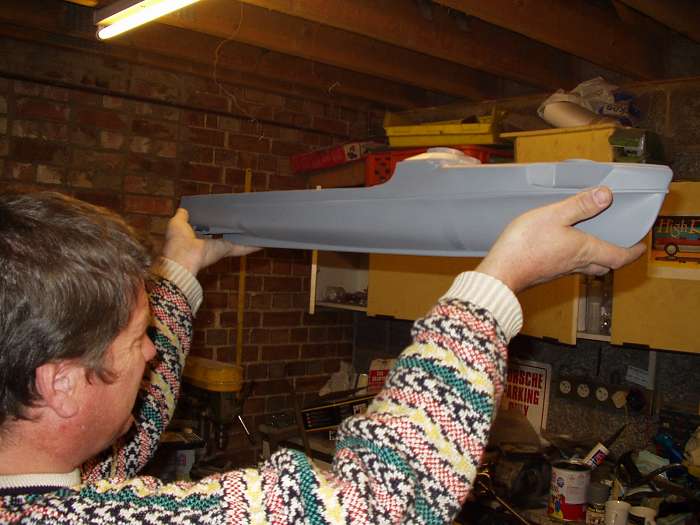
'Bradders' said that once a
first dusting of primer was allied to the boat all the blemishes would
quickly show up - Correct! Here 'Bradders' is contemplating the hull ...and a 'Dump'!?! We are using Acrylic based pains throughout. |
 |
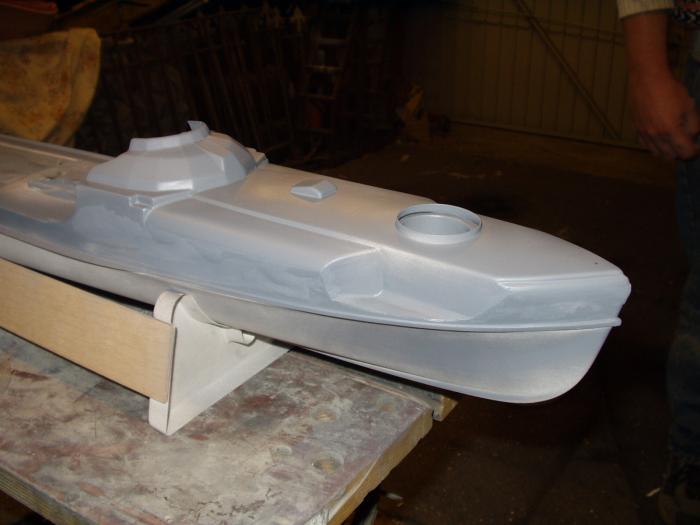 |
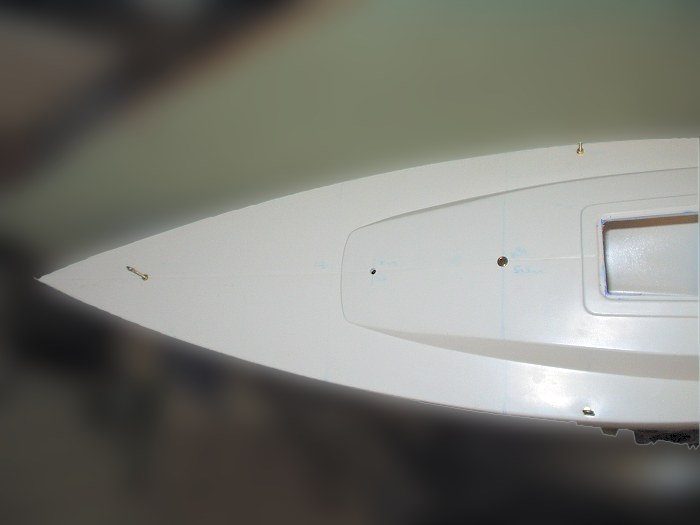
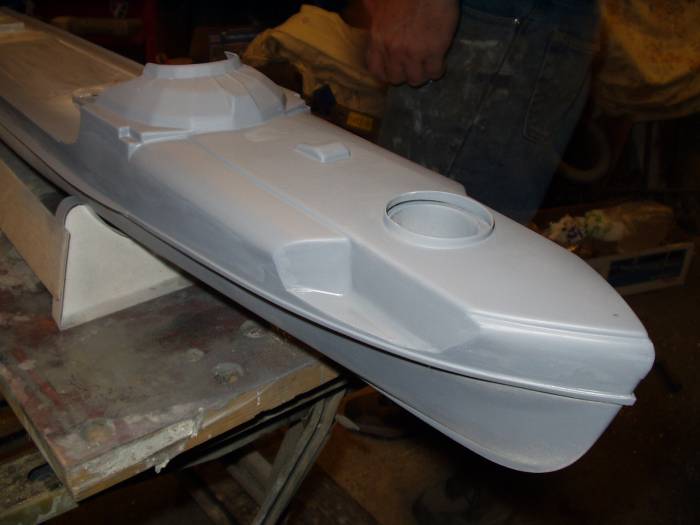
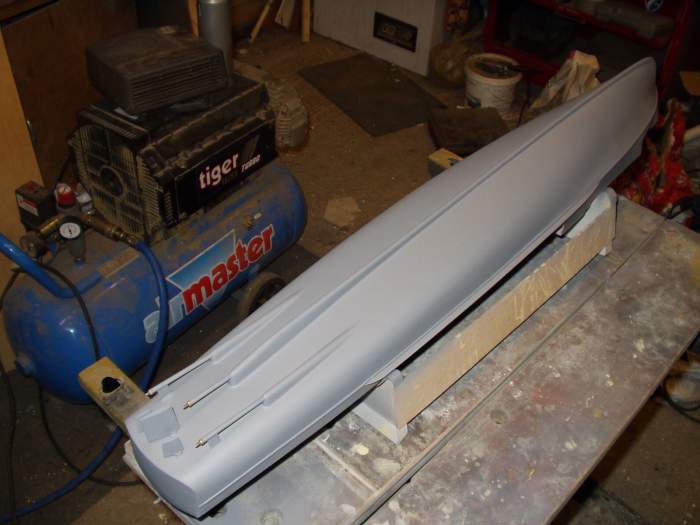
We now had a very good basis to work up the compound curves and much to my pleasure - nice sharp edges around the torpedo doors. |
 |
 |
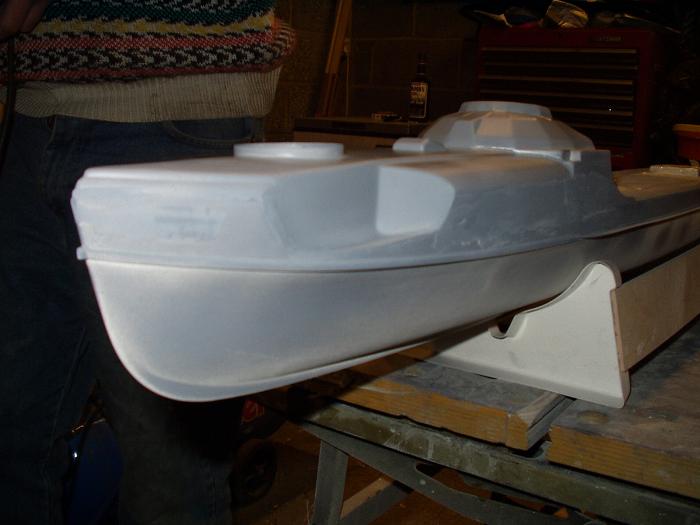
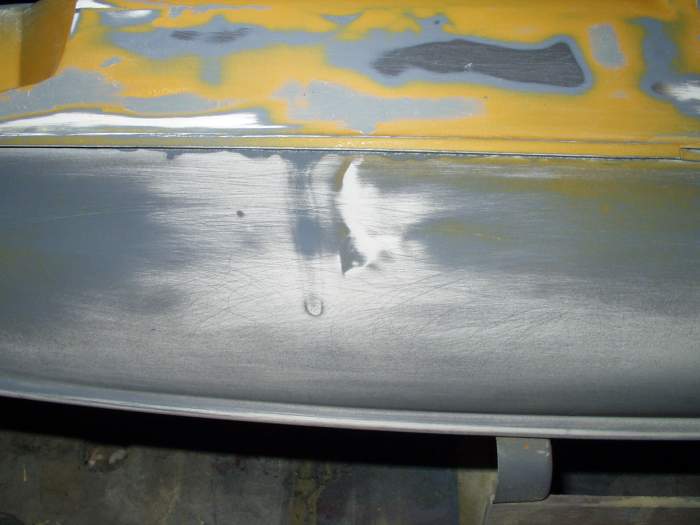
More rubbing down and another coat of primer, still a few low spots. |
 |
 |
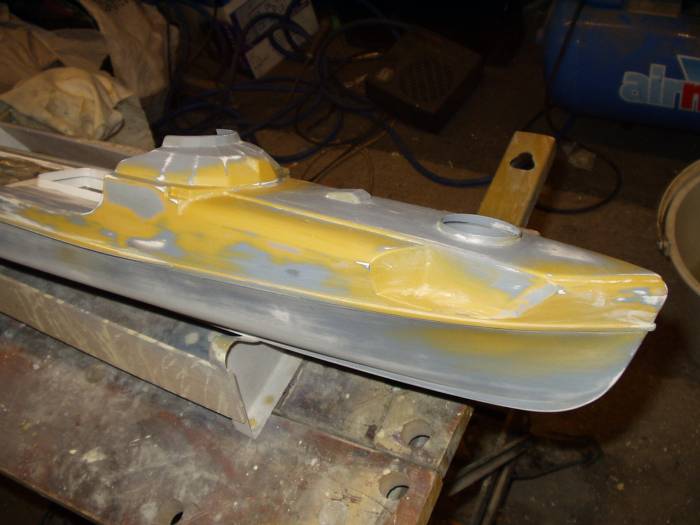
Another session of filler and another coat of primer. |
 |
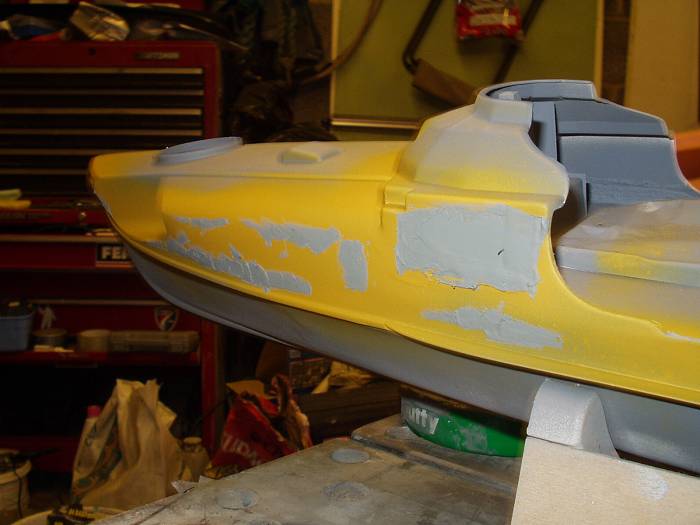 |
After this a coat of primer
filler. Next Knifing putty / fine surface filler was applied to start filling up the small scratches , dings and dents. |
 |
 |
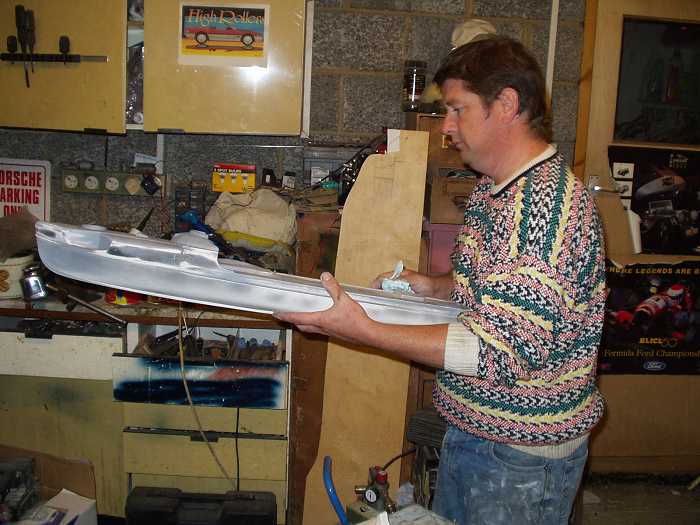
More rubbing down. All I had to do was sit back and keep the conversation going! COOL! |
 |
 |
A final coat of filler primer.... |
 |
 |
... allow to cool and inspect. |
 |
 |
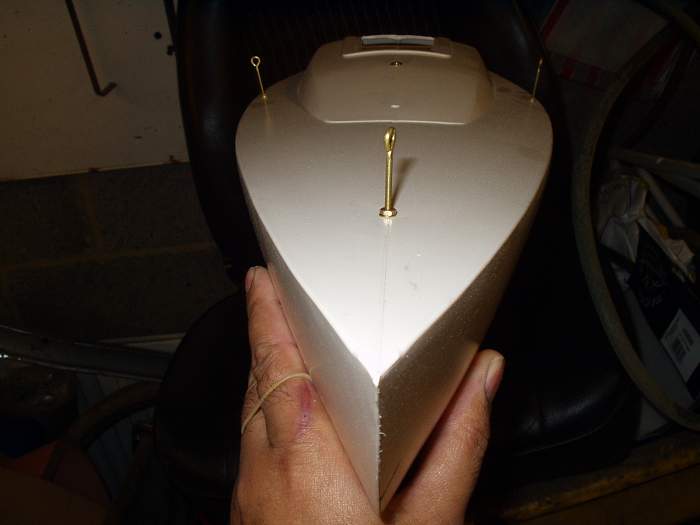
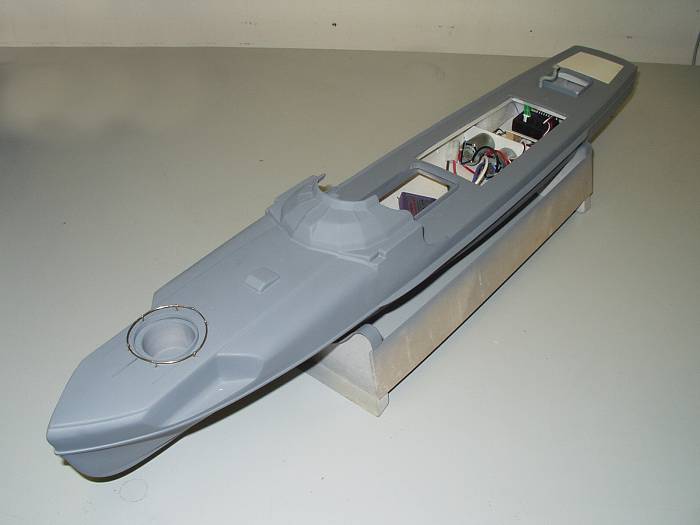
Remember when spraying to mast of all the internals first. |
 |
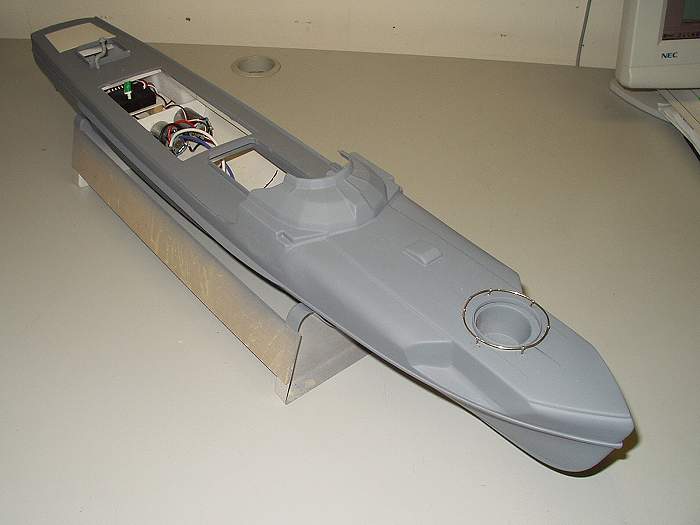 |
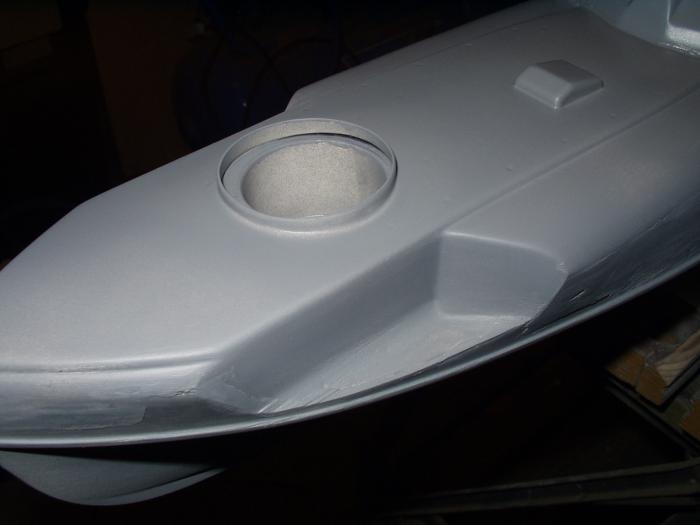
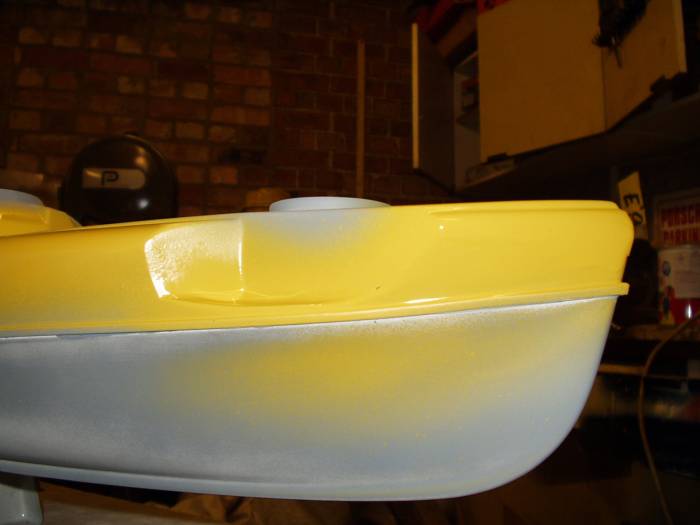
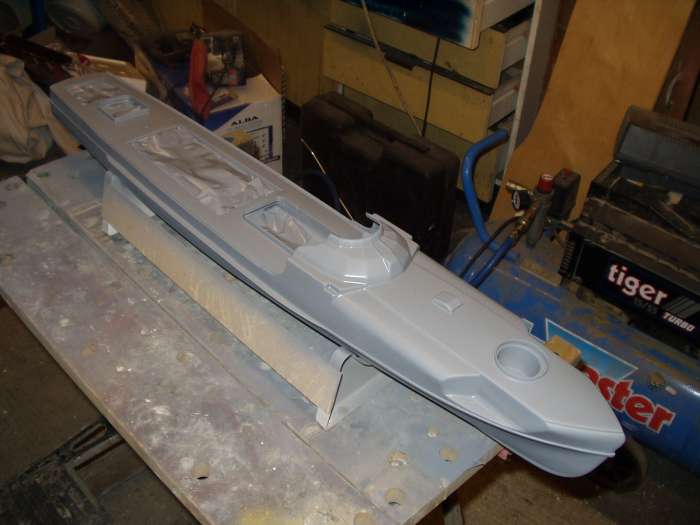
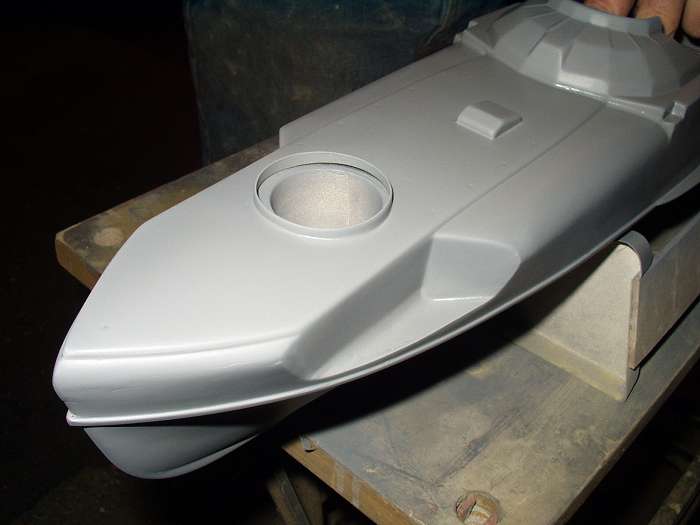
Back at work - she starting to look good, which spurred us on to get cracking. |
 |
 |
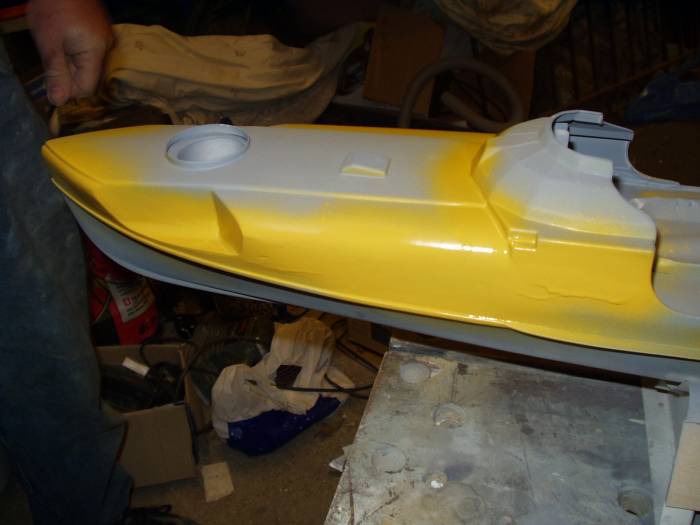
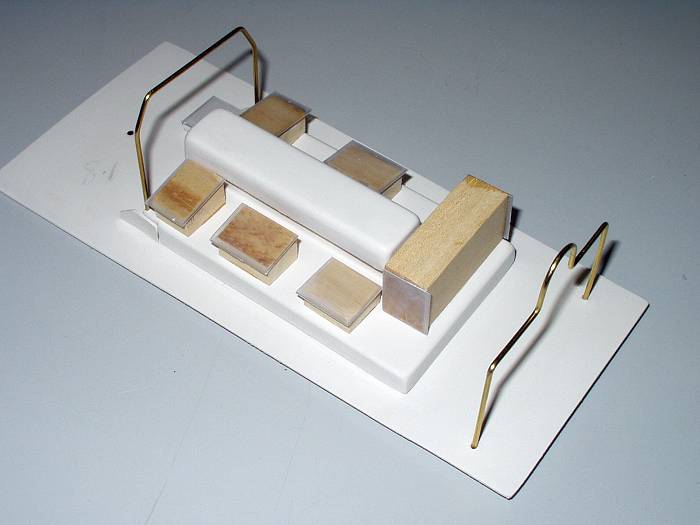
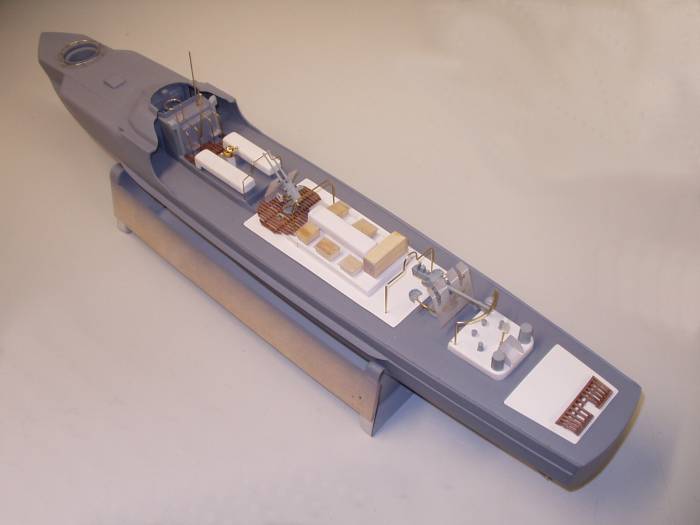
Next the bridge superstructure
was worked on and decision are to be made; "What can be fixed down and what not!" As we are now working up to the finished details, some parts would need painting before fixing on. Fortunately, this is predominately an all grey boat so over-sprays actually help! |
 |
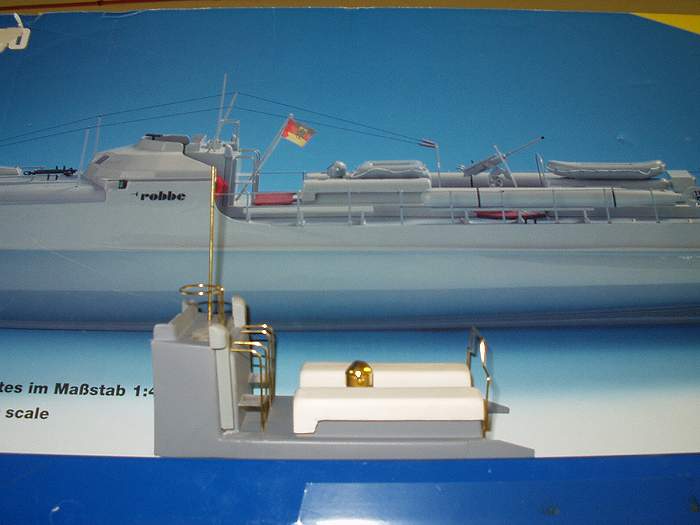 |
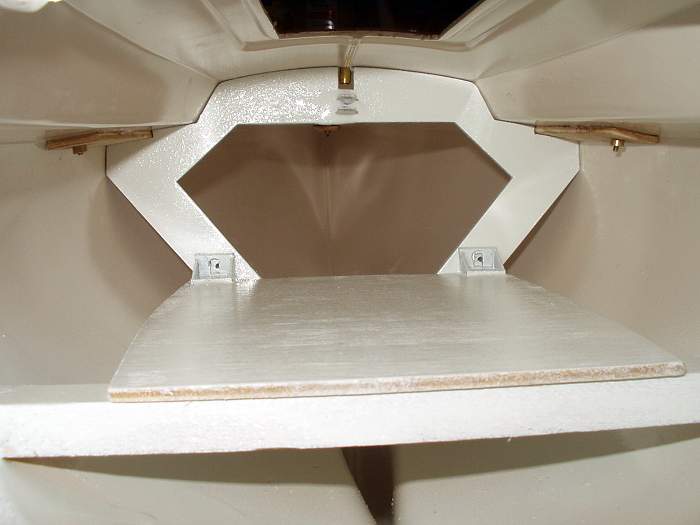
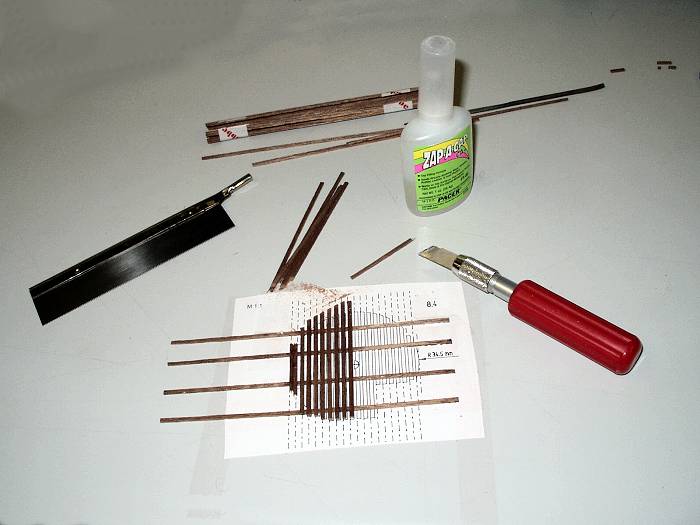
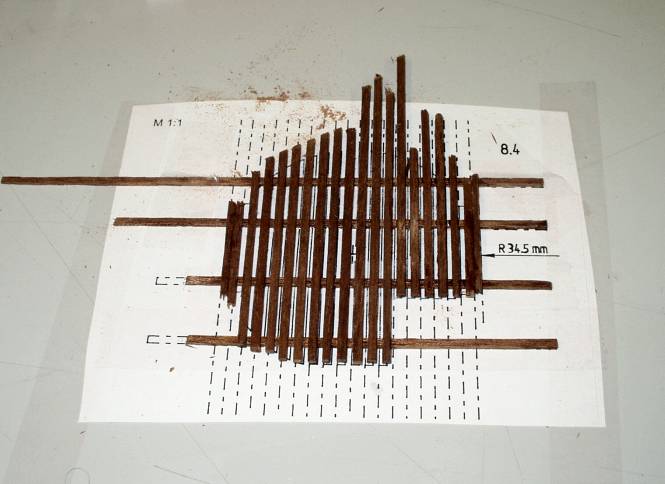
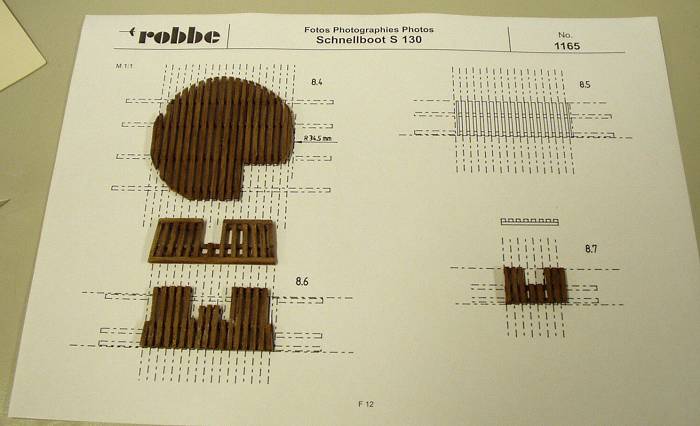
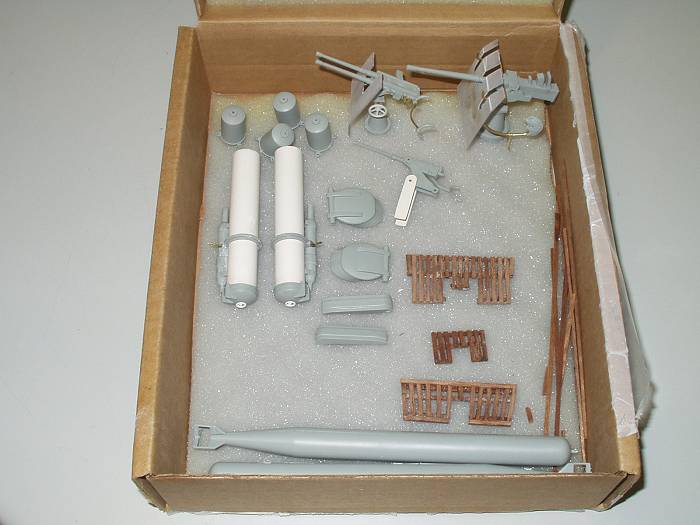
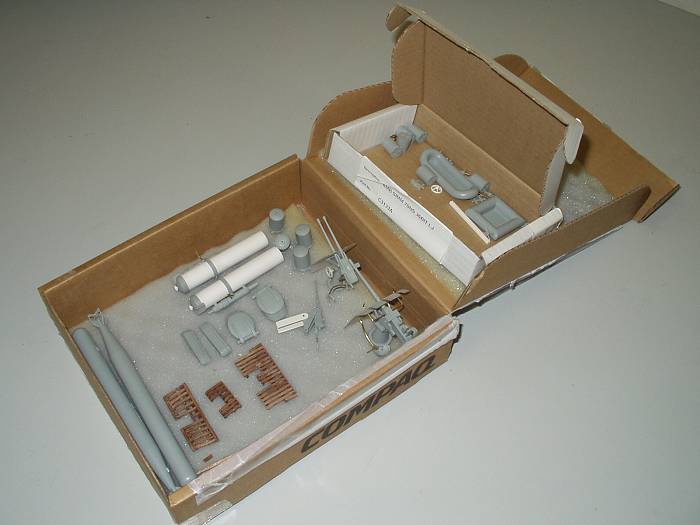
The first wooden bits - the
foot grating now needed to be made up which gave rise to another puzzle.
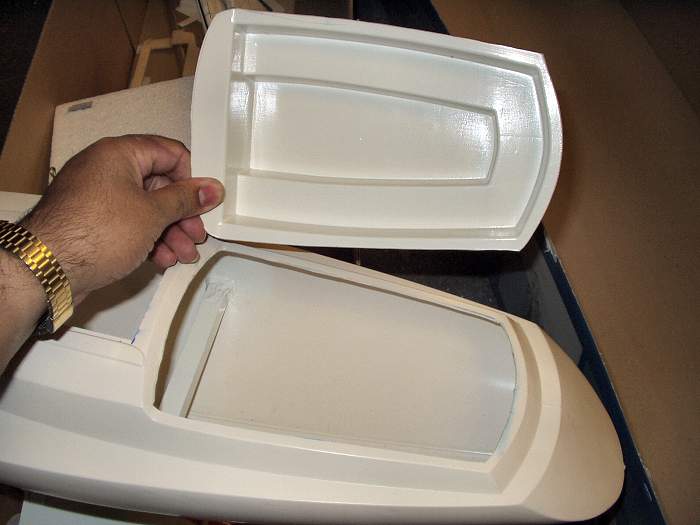
Look at the picture left. the rear picture is the box lid, the item in front is the actual model. Notice the difference in the gap under the flag? ( between the hand rails and the white engine 'trough' vents)! Yes the model on the box and the actual model are different again, but never mind the plans and instructions are different to both!!!! |
 |
 |
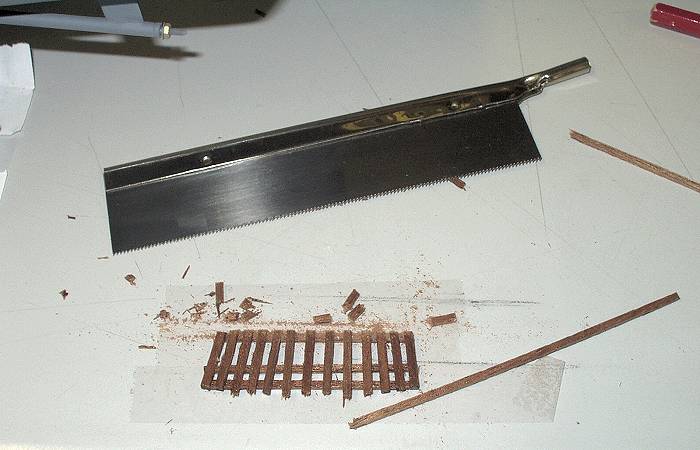
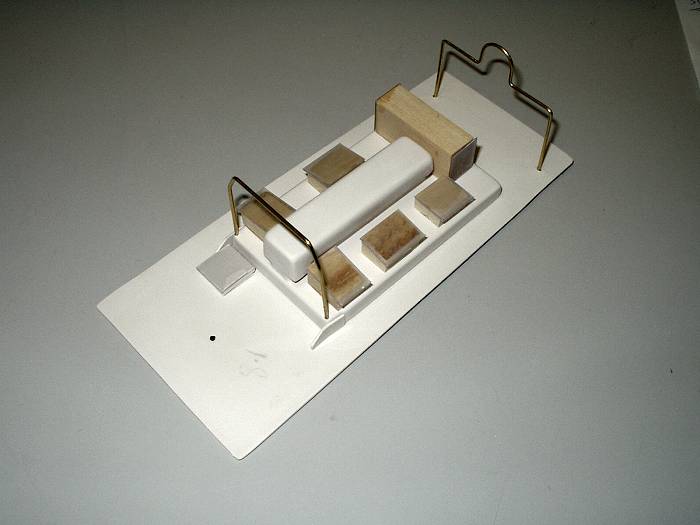
The gratings were made up over
the plans.... sort off but made shorter and made to fit the actual gap. This new fangled "wood" stuff will never catch on but I managed to make an acceptable piece. |
 |
 |
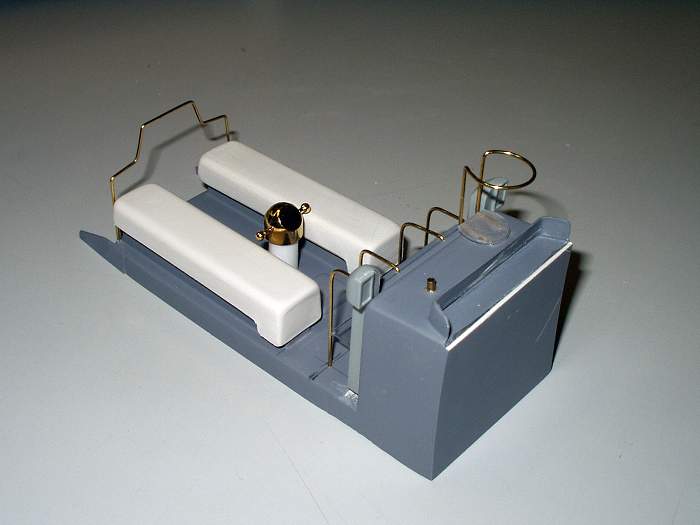
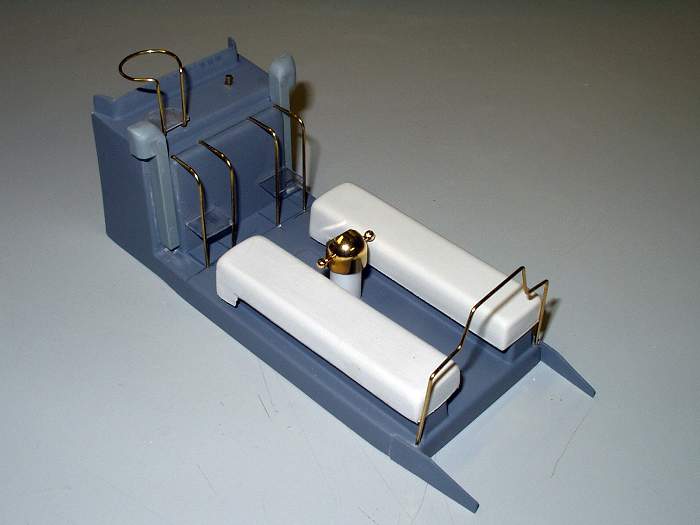
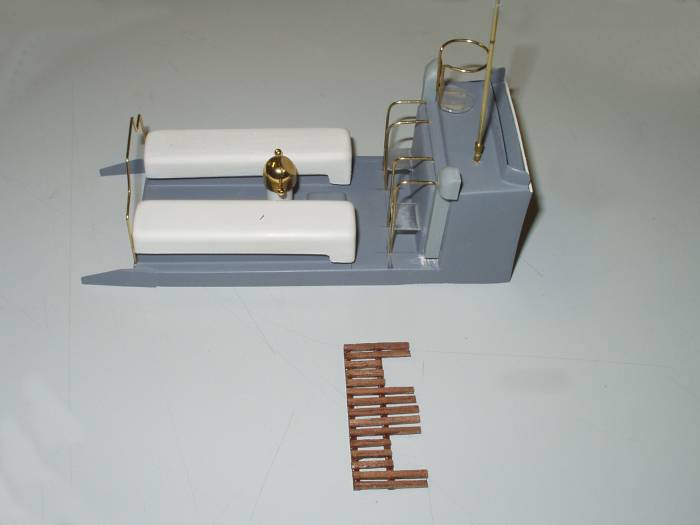
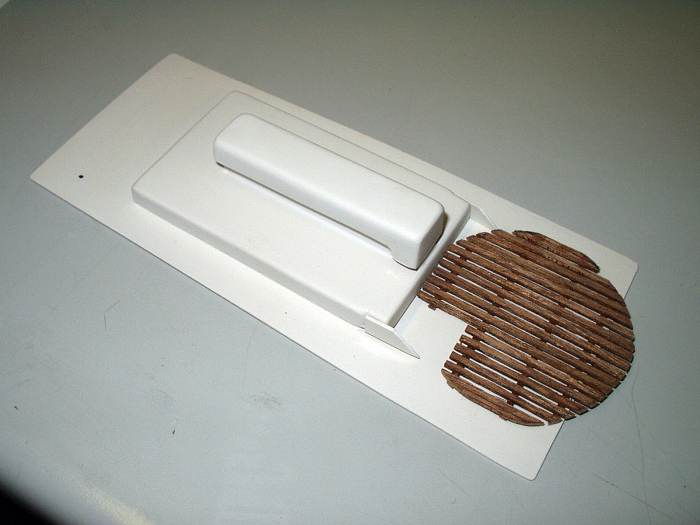
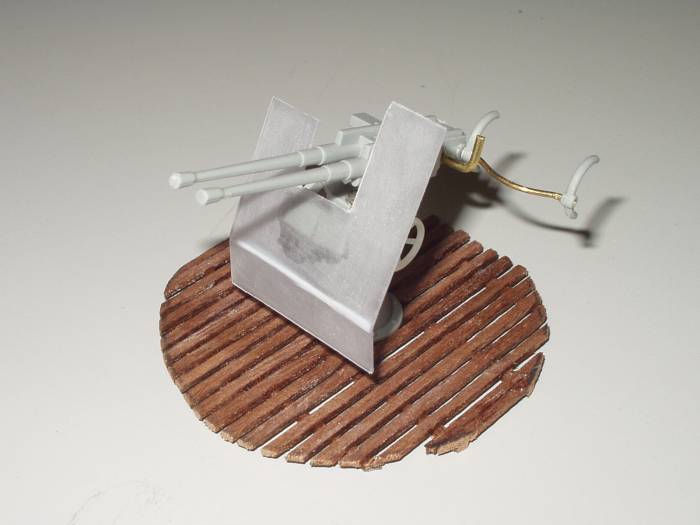
As I had a bit of confidence
now I went straight on to the midships gun, the twin AA gun foot grating. I must say, 'Bradders' and I were most impressed with the quality of the wood included in the kit! |
 |
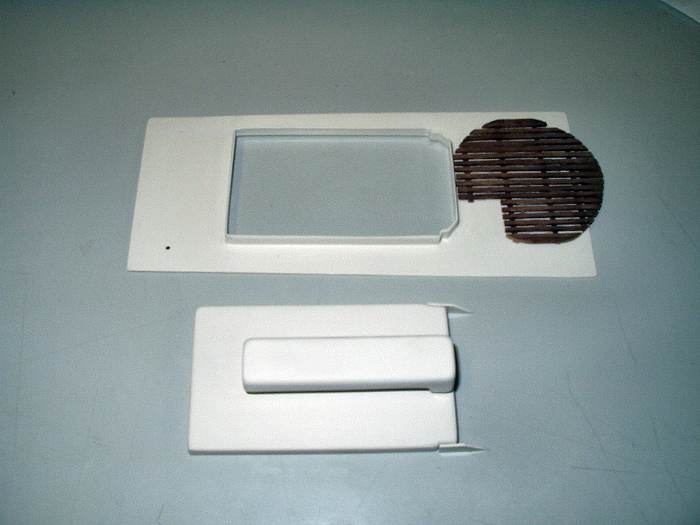 |
Again the grating, although very fiddly and time consuming, went together according to plan. Superglue was used for all the wood joints. |
 |
 |
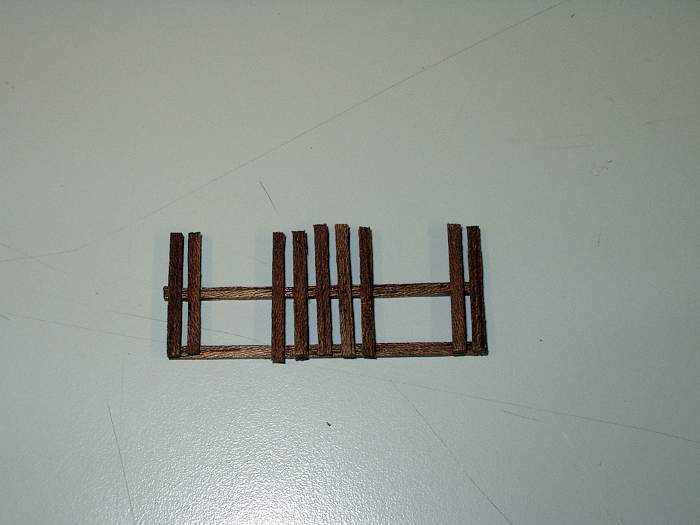
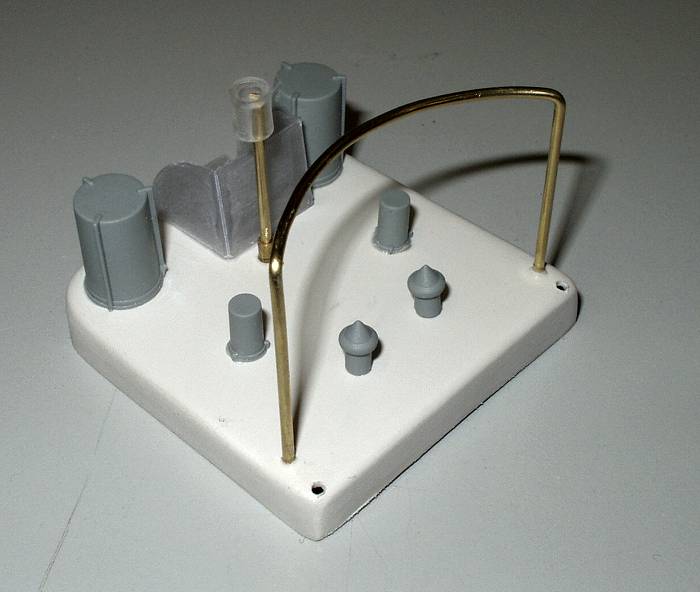
the last wood grating required was a double grating for the drivers stand. |
 |
 |
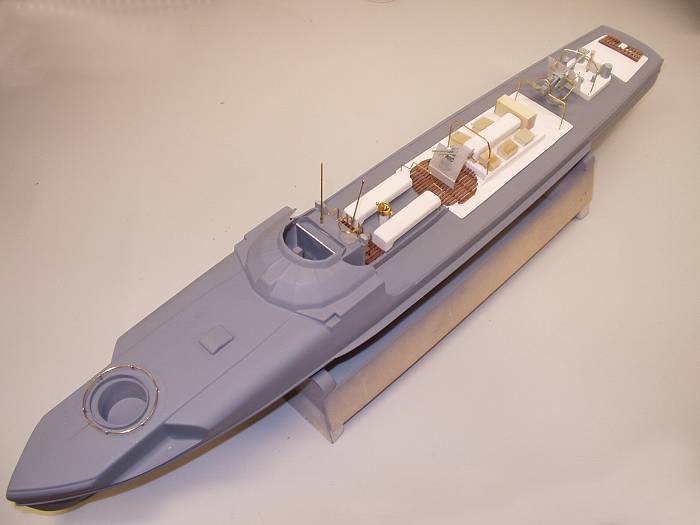
'Bradders' wasn't at all
happy with my efforts on this one and promptly set about making a
replacement. As you can CLEARLY see in the picture right, my grating (middle) is clearly superior... unfortunately it doesn't fit correctly so I had to use 'Bradders' grating ! "Cocky little ^%&^£#@& 'Bradders!!!' " |
 |
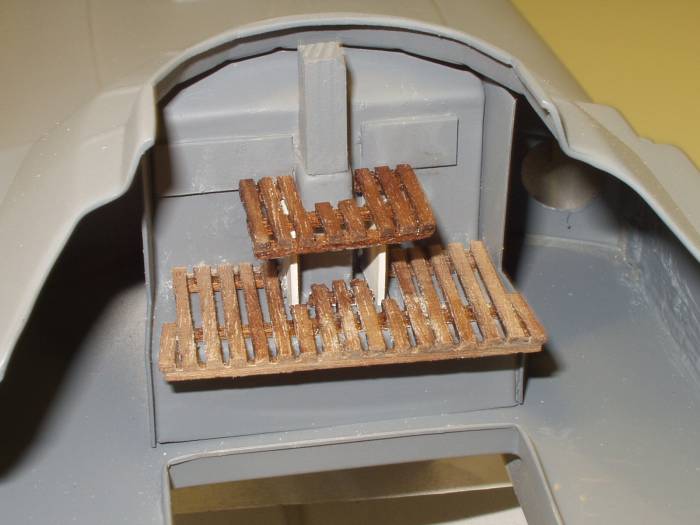 |
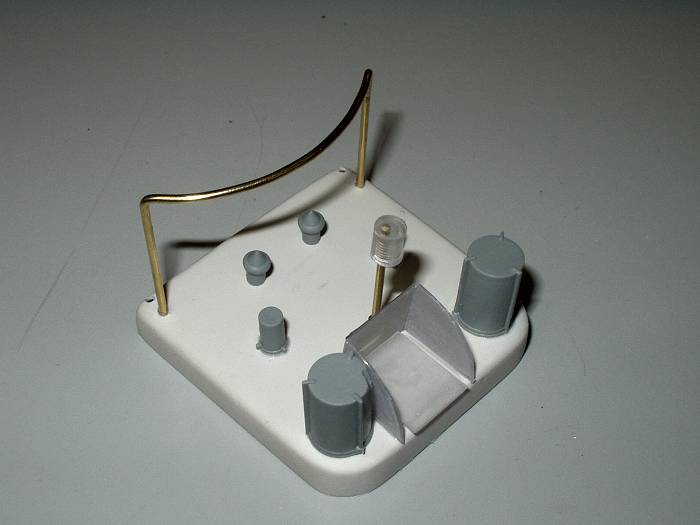
'Bradders' grating lower
fits correctly, ie. it overhangs the actual step by about 8mm which is
what fooled me in the first place. None of the gratings are fixed down as the boats needs it final coats of paint first. |
 |
 |
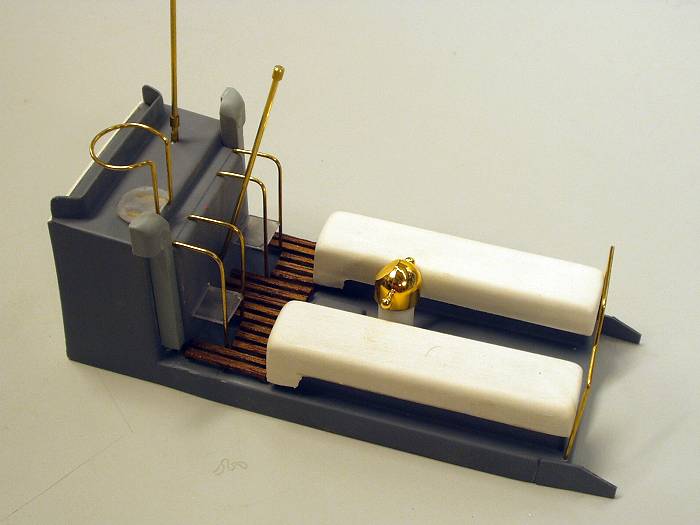
The middle hatch was just blocks of wood with plastic squares stuck on them to look like hatches and doors etc. Quite effective actually! And the wood is even cut to the correct size and sanded! |
 |
 |
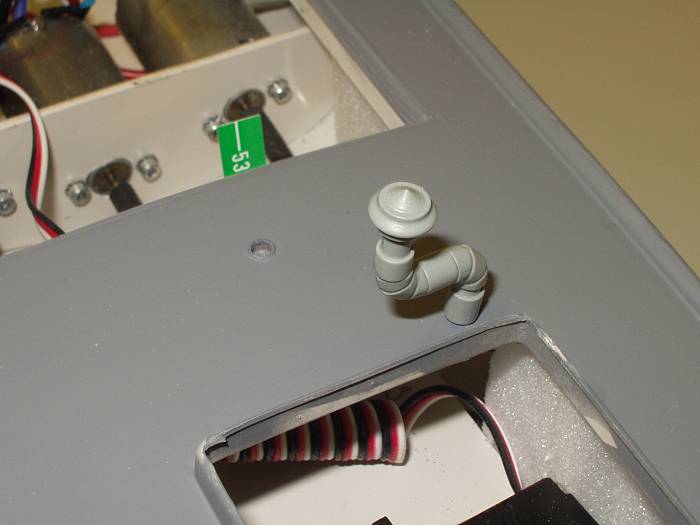
The rear hatch was also quite easy but check the assembly of the navigation lamp lots of times before making up! |
 |
|
|
||
 |
So there we have it for this
week. She starting to look like what she's meant to look like and everything is progressing well. |
 |
 |
Back round to 'Bradders' this weekend or next week to do a bit more filling and spraying........ Sue make very good tea! |
 |
|
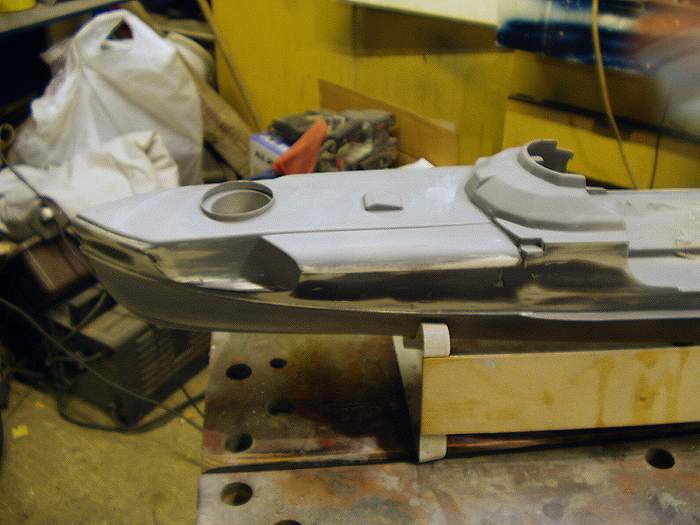
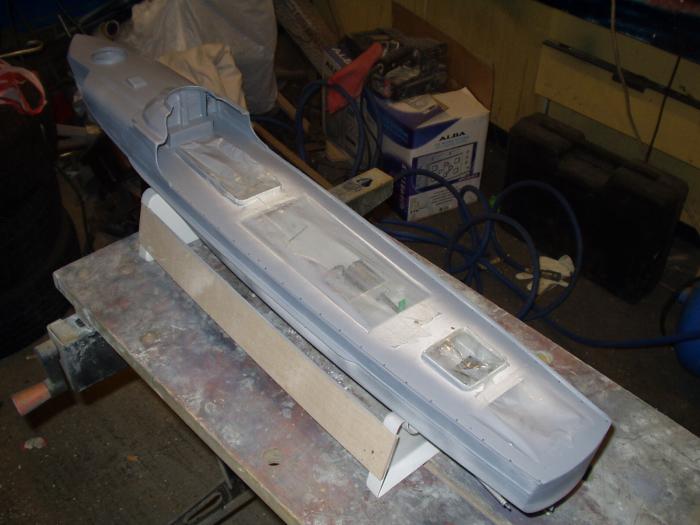
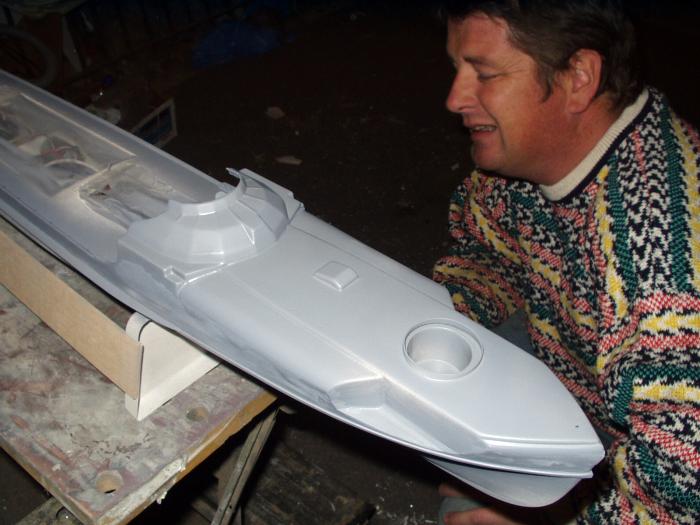
Robbe COMTESSE Yacht |
||
|
Just in case any of you out
there think I hate all Robbe products, this is my ex Robbe Comtesse.
'Bradders' is now building it. The kit contains an exceptional hull almost
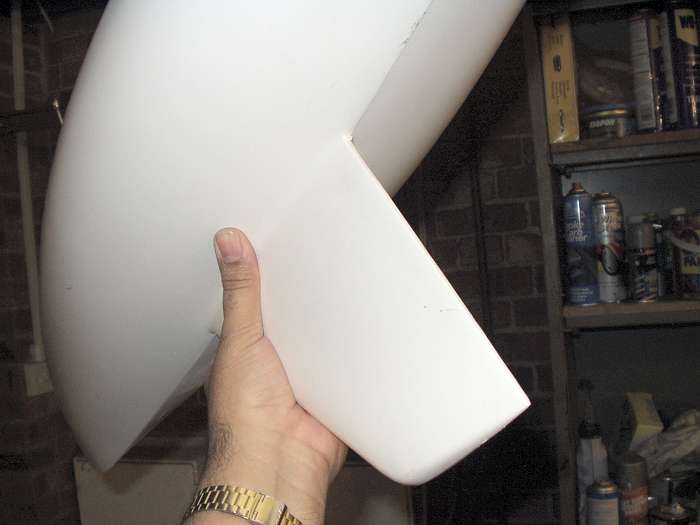
complete and ready for painting. This is a 'blow' moulded hull ( blown into a female mould ), whereas the S-130 is a vac formed hull ( pulled / formed over and mail former). The difference - all the detail on the Comtesse is on the outside of the hull - all the detail in on the inside of the S-130!!!!!!!! If only the S-130 had a hull like this....... sigh! Look for yourself... |
||
|
|
||
|
|
||